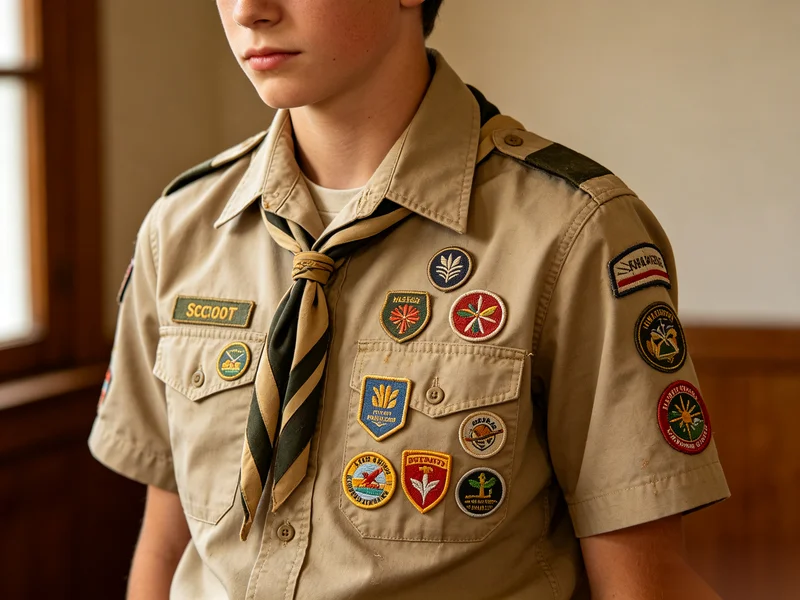
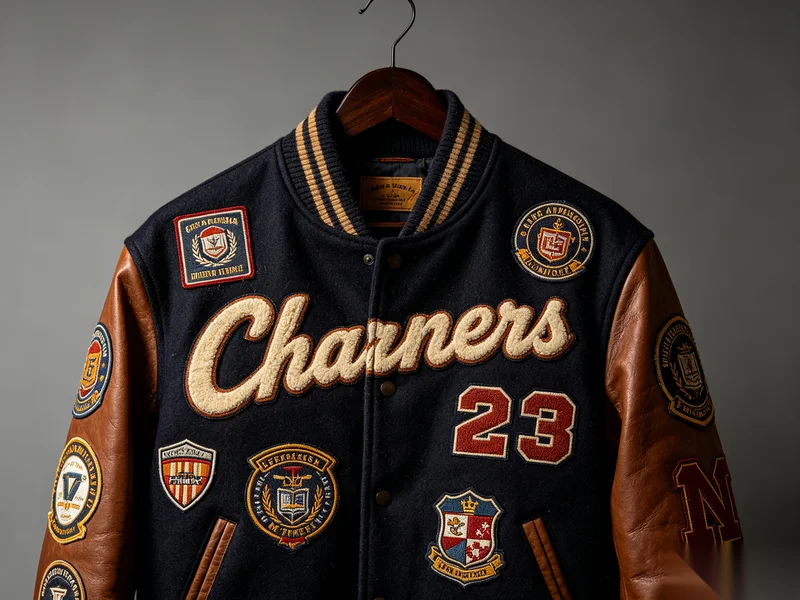
Iron patches (also called iron-on patches or heat seal patches) are one of the most convenient and popular ways to customize clothing and accessories. With a heat-activated adhesive backing, they can be applied quickly using a household iron or heat press machine.
They are widely used for:
- Fashion branding
- DIY decoration
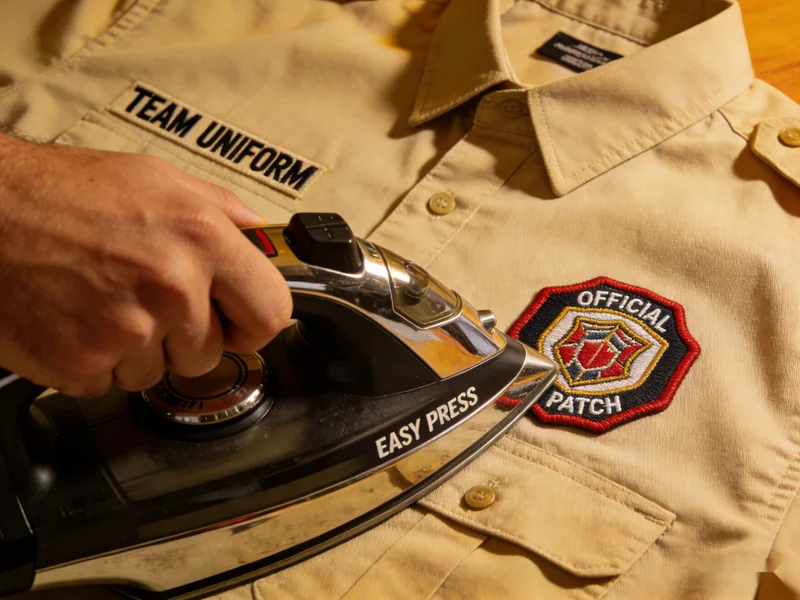
- Team uniforms
- School badges
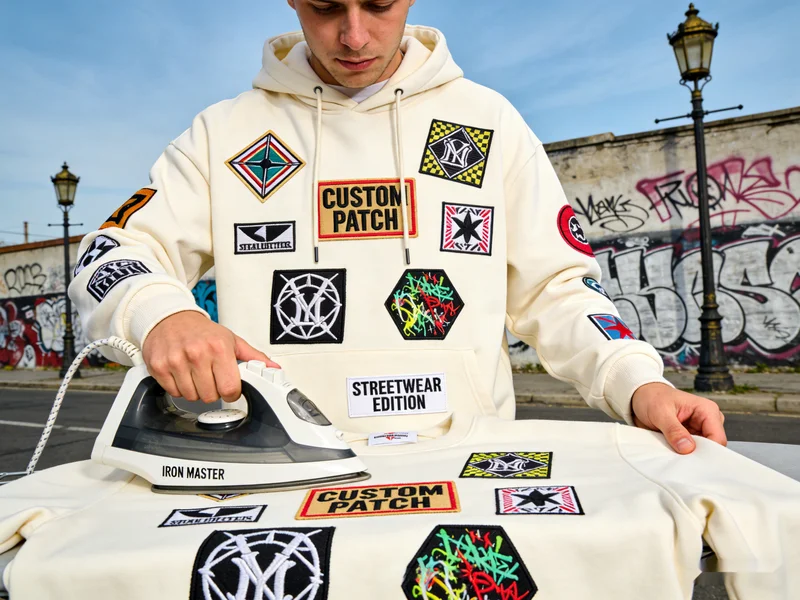
- Streetwear customization
- Repairing torn garments
But choosing the right design style and understanding proper application methods are essential to ensure durability and professional results.
What Are Iron Patches?
Iron patches are fabric-based patches with a heat-activated adhesive layer on the back. When heat and pressure are applied, the adhesive melts and bonds to the garment surface.
They can be produced in different patch constructions:
- Embroidered iron patches
- Woven iron patches
- Chenille iron patches
- Printed iron patches
- 3D raised patches
Popular Iron Patch Design Styles
Choosing the right design style can significantly affect the final look.
1️⃣ Bold Logo Patches
✔ Simple shapes
✔ Strong color contrast
✔ Clear outlines
Best for brand logos and corporate identity. Thick borders help prevent edge lifting.

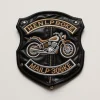
2️⃣ Vintage & Retro Designs
✔ Distressed colors
✔ Classic typography
✔ Old-school badges
Perfect for denim jackets, varsity apparel, and heritage brands.
3️⃣ Minimalist Text Labels
✔ Small size
✔ Clean font
✔ Subtle branding
Ideal for streetwear and modern fashion labels.
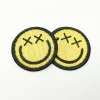
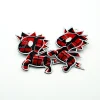
4️⃣ Cartoon & Graphic Artwork
✔ Fun illustrations
✔ Vibrant thread colors
✔ Eye-catching shapes
Commonly used for kidswear and lifestyle brands.
5️⃣ Oversized Statement Patches
✔ Large back patches
✔ Detailed artwork
✔ Multi-color embroidery
Often applied on jackets, hoodies, and backpacks.
Recommended Fabric Types for Iron Patches
Iron patches work best on:
- Cotton
- Denim
- Canvas
- Polyester blends
Avoid applying directly on:
- Nylon
- Waterproof fabrics
- Elastic/stretch fabrics
- Leather (without special adhesive)
High heat may damage delicate materials.
Important Application Tips
To ensure strong bonding, follow these guidelines:
🔥 1. Temperature Control
Use 150–180°C (300–350°F) depending on fabric type.
⏱ 2. Apply Enough Pressure
Press firmly for 10–20 seconds.
🧼 3. Preheat the Garment
Remove moisture before applying the patch.
🧵 4. Consider Reinforced Stitching
For heavy-use garments, sewing around the edge improves durability.
❄ 5. Wait Before Washing
Allow at least 24 hours before washing.
Common Mistakes to Avoid
❌ Not using enough pressure
❌ Applying on heat-sensitive fabric
❌ Moving the iron during pressing
❌ Washing immediately after application
❌ Choosing extremely thin fabrics
Improper application is the most common reason iron patches fall off.
Iron Patches vs Sew-On Patches
| Feature | Iron Patches | Sew-On Patches |
|---|---|---|
| Application Speed | Fast | Slower |
| Convenience | High | Medium |
| Durability | Good | Excellent |
| DIY Friendly | Yes | Requires sewing |
For long-term uniforms or heavy-duty garments, combining heat press + stitching is recommended.
Are Iron Patches Durable?
Yes — when properly applied to suitable fabrics.
However, for:
- Industrial washing
- Heavy friction use
- Outdoor tactical gear
Sew-on backing may be a better option.
Final Thoughts
Iron patches offer a fast, convenient, and visually impactful way to customize apparel. With the right design style and proper application method, they can provide long-lasting performance and strong brand visibility.
Whether you’re creating fashion products, DIY collections, or promotional items, iron patches remain one of the most versatile customization solutions.
About Author
——————————————————————————————————————————————

Apollo
Senior E-commerce Manager
Apollo is an experienced e-commerce manager specializing in patches, apparel accessories, and digital marketing, helping global textile brands grow with proven online strategies.
——————————————————————————————————————————————