If you want to personalize your clothing, repair worn spots, or showcase your interests, learning how to sew patches is a valuable and timeless skill. Whether it’s a fashion statement, a badge of honor, or a practical fix, sewing patches allows you to create a durable, handcrafted finish that will last through countless wears and washes.
In this guide, we’ll walk you through everything you need to know about sewing patches onto clothes—covering tools, materials, hand-stitching and machine methods, as well as pro tips for both beginners and advanced DIYers.
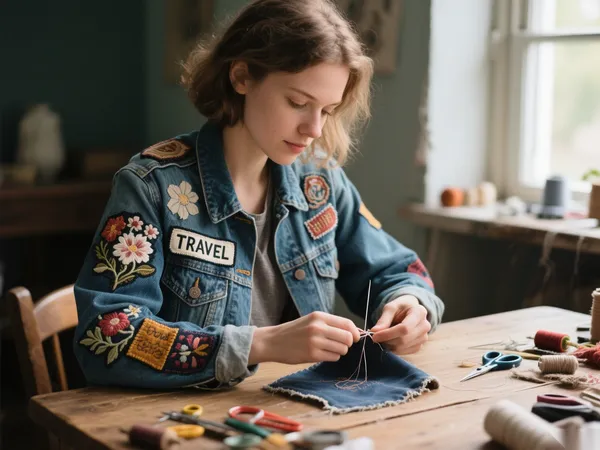
Why Choose to Sew Patches?
There are many ways to attach patches—iron-on adhesives, Velcro, or fabric glue—but sewing offers the most secure and long-lasting solution. This is especially important for garments that experience frequent wear, friction, or washing cycles, such as denim jackets, backpacks, or uniforms.
✅ Benefits of Sewing Patches:
- Universal application – Works on fabrics unsuitable for heat, like nylon, wool, or leather.
- Durability – Properly sewn patches won’t peel off or shift after multiple washes.
- Precision – Allows better control of placement and stitch type.
- Aesthetic value – Creates a neat, handcrafted finish that can be either discreet or decorative.
💡 Pro insight: Many military, scout, and biker patches are always sewn on rather than ironed, as this method guarantees longevity and respect for tradition.
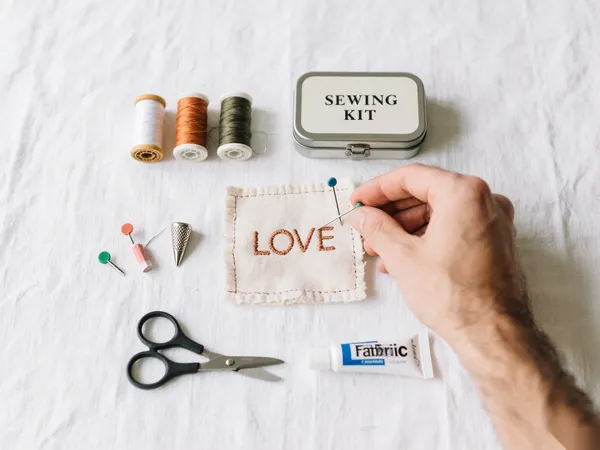
Tools You’ll Need
Before you begin, gather these essentials:
- Patch(es) – Embroidered, fabric, woven, or custom-made.
- Needle – A sharp hand-sewing needle, or a sewing machine needle (universal or heavy-duty).
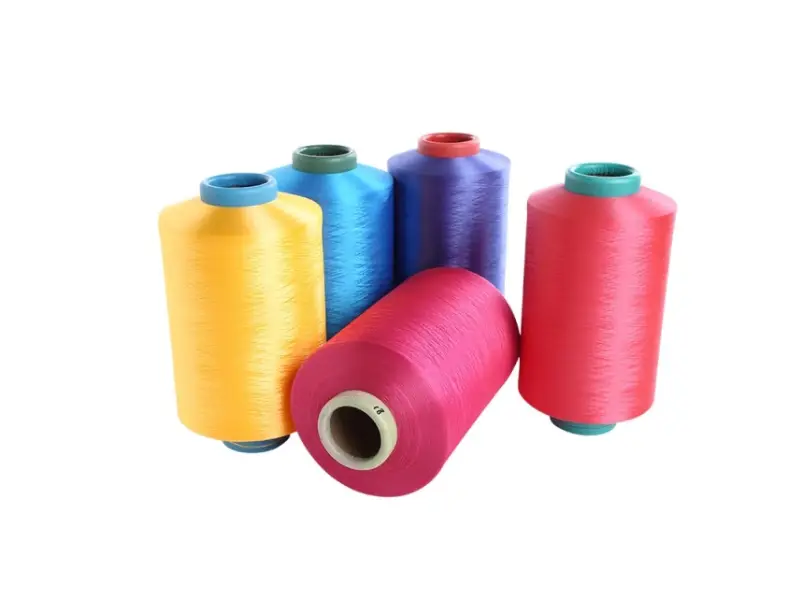
- Thread – Color-matched for a seamless look, or contrasting for bold designs.
- Scissors – For trimming thread.
- Pins, fabric glue, or basting tape – To hold the patch in place.
- Thimble – Useful for thick fabrics like denim or leather.
- Fabric pencil or chalk – For precise positioning.
💡 Advanced tip: For leather or canvas, use a leather needle with waxed or heavy-duty polyester thread to prevent breakage.
Step-by-Step: How to Sew a Patch by Hand
Hand sewing is the most accessible method—no machine required, just patience and steady stitching.
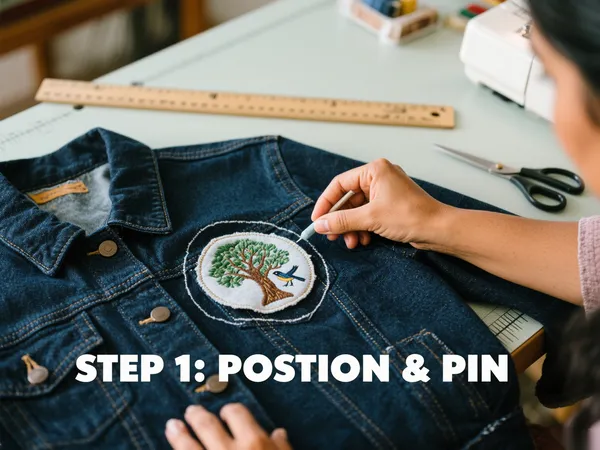
1. Position the Patch
- Try on the garment or lay it flat.
- Place the patch exactly where you want it.
- Secure with pins, temporary fabric glue, or double-sided tape.
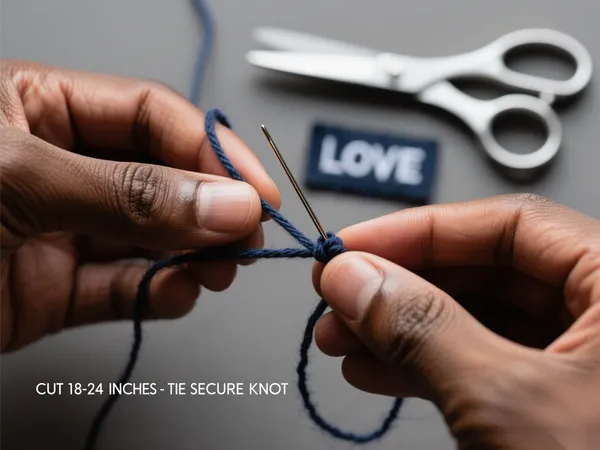
2. Thread the Needle
- Cut about 18–24 inches of thread.
- Tie a knot at the end to prevent slipping through the fabric.
3. Start Sewing
- Begin from inside the fabric to hide the knot.
- Choose your stitch style:
- Running stitch – Clean, simple, medium durability.
- Whip stitch – Decorative, rustic, and strong.
- Keep stitches evenly spaced (⅛–¼ inch apart).
- Sew close to the patch border for a neat finish.
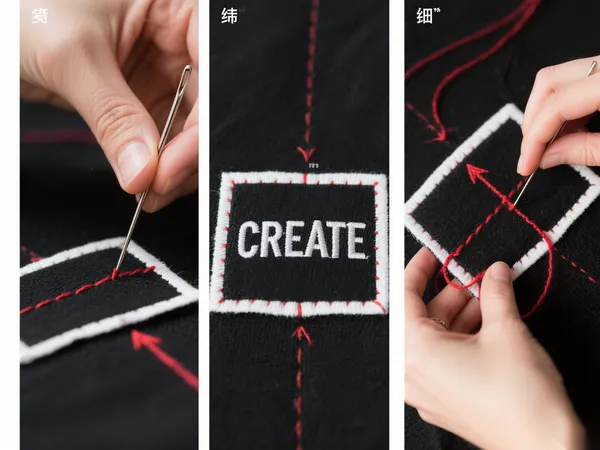
4. Secure the Thread
- Tie a knot inside the garment after completing the circle.
- Trim excess thread.
✂️ Pro tip: Double-thread your needle for extra strength on thick patches.
Using a Sewing Machine for Patches
If you’re comfortable with a sewing machine, this is a faster and more uniform method.
Best for:
- Large patches
- Frequent projects
- Denim jackets, tote bags, uniforms
Machine-Sewing Steps:
- Pin or glue the patch in place.
- Select a straight stitch for subtlety or a zigzag stitch for maximum security.
- Sew slowly around the patch edges, following curves carefully.
- Backstitch at the start and end to lock the seam.
💡 Pro tip: Use a zigzag or satin stitch for stretch fabrics like sportswear—it prevents the patch from tearing away when the fabric moves.
Choosing the Right Thread and Stitch Style
The look and durability of your patch depend on the stitching method:
| Stitch Type | Look | Strength | Ideal Use |
|---|---|---|---|
| Running Stitch | Clean and subtle | Medium | Simple patch outlines |
| Whip Stitch | Decorative and rustic | Strong | Embroidered or fabric patches |
| Zigzag Stitch | Bold and secure | Very High | Machine sewing on activewear |
| Blanket Stitch | Decorative edge finish | High | Edgy or visible patch borders |
Tips for a Polished Finish
- Match thread color to the patch border for an invisible look.
- Use contrasting thread if you want a bold, standout edge.
- Pre-wash garments before sewing to avoid shrinkage pulling the patch later.
- Slightly stretch athletic fabrics while sewing to prevent puckering.
- For large patches, stitch a few lines across the center in addition to the border for extra stability.
Where to Use Sewn-On Patches
Sewn patches are versatile and suitable for:
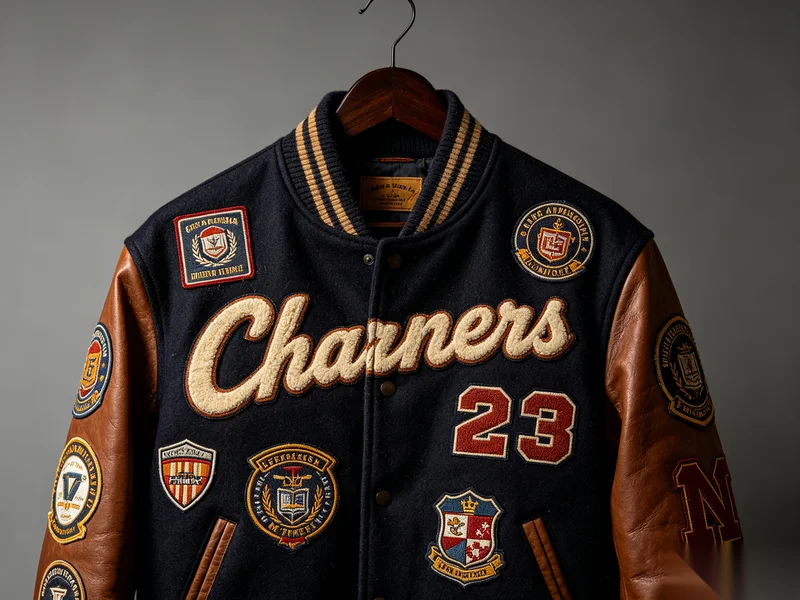
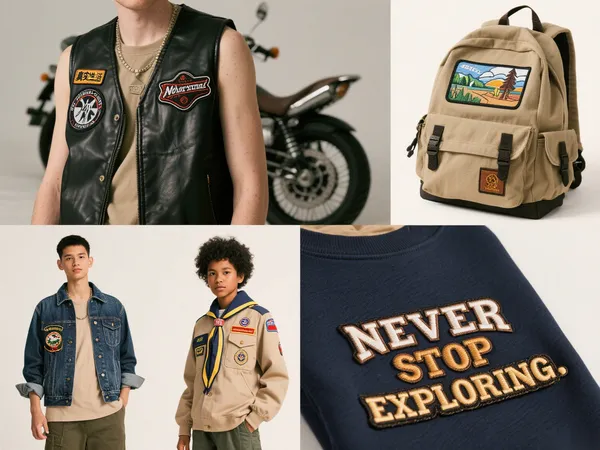
- Denim jackets & jeans – Classic biker or streetwear looks.
- Canvas tote bags – Personalize everyday accessories.
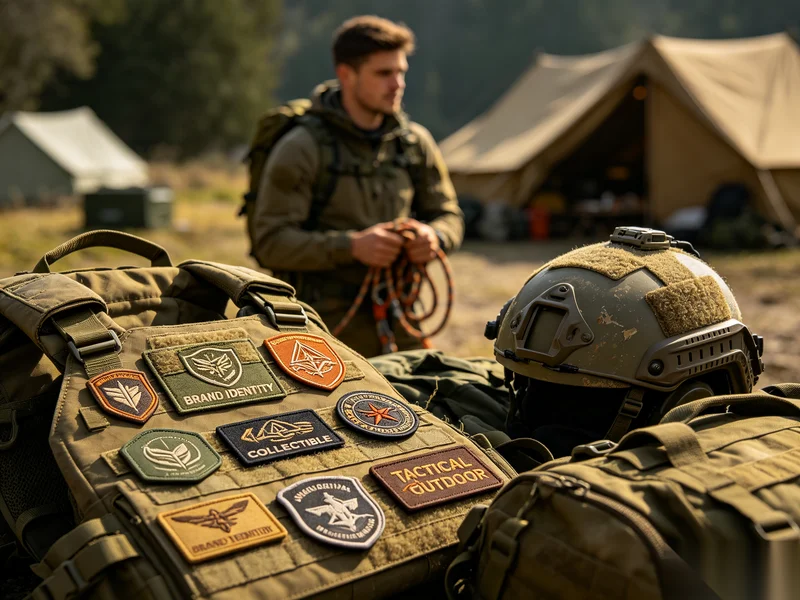
- Military, scout, or service uniforms – Secure and regulation-approved.
- Backpacks & travel bags – Add personality and durability.
- Sweatshirts, hoodies, & flannels – Casual style customization.
- Leather vests & biker gear – Traditional and rugged placement.
Final Thoughts
Mastering how to sew patches is a rewarding DIY skill that opens endless opportunities for creativity and repair. Whether you want to customize your favorite jacket, restore an old backpack, or proudly display a club emblem, sewing ensures strength and style.
With just a needle, thread, and some patience, you can transform everyday garments into one-of-a-kind pieces that tell your story—and stand the test of time.
So grab your patch collection, pick up your sewing kit, and start stitching personality into every piece you wear.
About Author
——————————————————————————————————————————————

Apollo
Senior E-commerce Manager
Apollo is an experienced e-commerce manager specializing in patches, apparel accessories, and digital marketing, helping global textile brands grow with proven online strategies.
——————————————————————————————————————————————