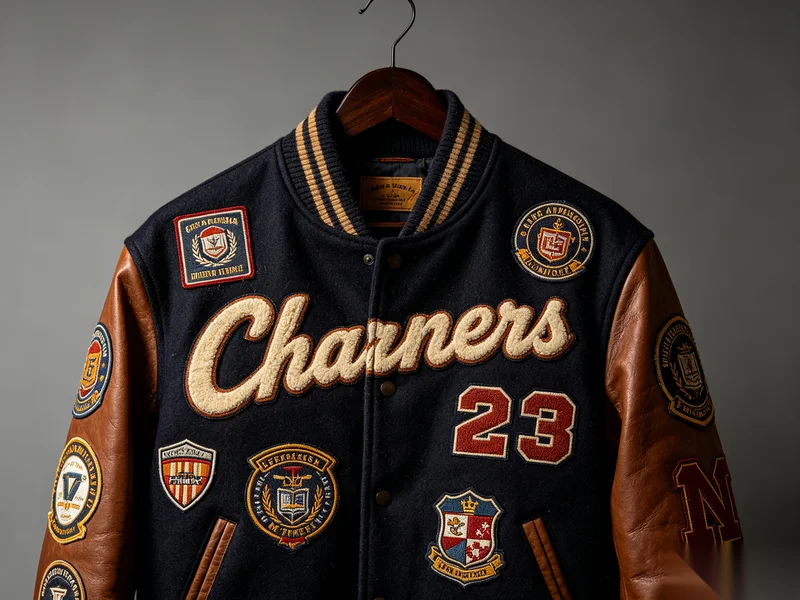
Whether you’re repairing torn fabric, customizing your denim jacket, or attaching a uniform badge, learning how to sew patches is a skill that blends functionality with creativity. Unlike iron-on methods, sewing offers a permanent and durable solution that works across all types of fabric.
In this guide, we’ll explore the best techniques for how to sew patches on clothes—including the specific process of how to sew a patch on a shirt—and when to use hand sewing vs. machine sewing. You’ll also find helpful tips for both beginners and experienced DIY enthusiasts.
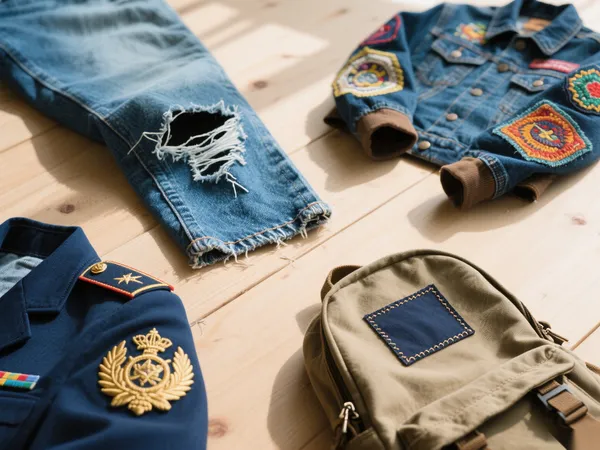
Why Choose to Sew Patches?
Sewing patches has been the go-to method long before heat-activated adhesives became popular. Here’s why it still holds up:
- Stronger hold than iron-on glue
- Works on any fabric type, including delicate or heat-sensitive materials
- Gives a vintage or rugged aesthetic
- Practical for decorative, repair, or branding patches
Whether you’re patching up a hole on a cotton shirt, sewing a logo on a uniform, or adding flair to a denim jacket, sewing ensures that the patch stays secure wash after wash.
💡 Pro tip: If you plan to sew a patch on a shirt that will be washed frequently, sewing is far superior to adhesives—it keeps the patch crisp and secure without peeling edges.
Tools You’ll Need
For Hand Sewing
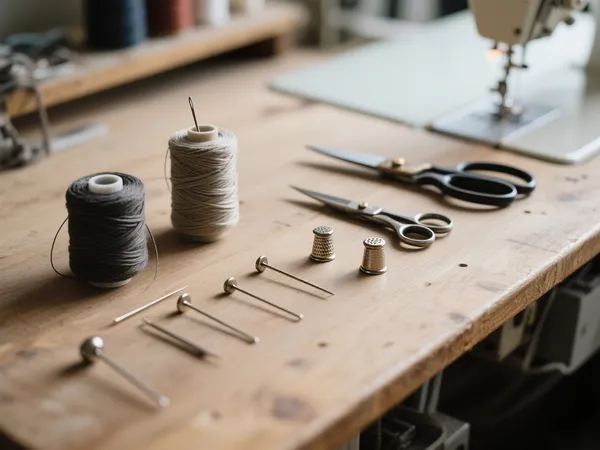
- Needle (sharp, small eye for thicker threads)
- Thread (heavy-duty or color-matched to patch edge)
- Scissors
- Thimble (useful for thicker fabrics)
- Pins or fabric glue (to hold patch in place temporarily)
For Machine Sewing
- Sewing machine with zigzag or straight stitch
- Heavy-duty thread
- Needle appropriate to fabric (cotton, denim, polyester, leather)
- Seam ripper (for corrections)
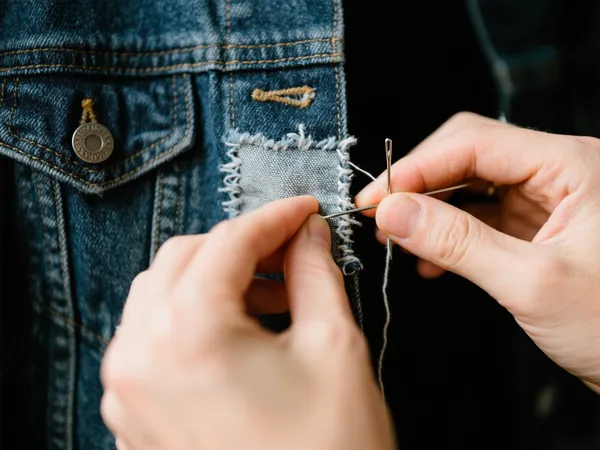
How to Sew Patches by Hand
Hand sewing is ideal for small patches, shirts, or irregular areas where precision matters.
Step-by-Step Instructions:
- Position the Patch
- Place the patch exactly where you want it (front pocket, chest, sleeve).
- Use pins or fabric glue to hold in place.
- Thread the Needle
- Choose a matching or contrasting thread, depending on your desired style.
- Tie a knot at the end.
- Start Sewing
- Insert the needle from underneath the shirt fabric.
- Use a whip stitch (around the edges) or a running stitch (in and out along the border).
- Keep stitches close and even (⅛” apart).
- Secure the Stitch
- Tie a knot inside the shirt.
- Trim the excess thread.
✂️ Pro tip for shirts: Since shirts are lighter than jackets, avoid overly tight stitches to prevent puckering. A running stitch is usually smoother for thin cotton.
How to Sew Patches with a Sewing Machine
A sewing machine is best for large patches or frequent sewing projects like uniforms and work shirts.
Step-by-Step Instructions:
- Prepare the Machine
- Use a sharp, medium-sized needle (e.g., size 80/12 for cotton shirts).
- Select a straight stitch for a subtle look, or zigzag for extra hold.
- Pin the Patch
- Secure with pins or temporary adhesive.
- Start Stitching
- Sew around the patch perimeter, staying close to the edge (1–2 mm).
- Pivot neatly at corners.
- Finish and Secure
- Backstitch at the end.
- Trim threads for a clean look.
🧵 Pro tip for shirts: Use lightweight thread and tension settings to avoid stiff seams that could irritate the skin.
Choosing the Right Stitch for Your Patch
| Stitch Type | Look | Strength | Ideal Use |
|---|---|---|---|
| Straight Stitch | Clean, subtle | Medium | Shirts, uniforms, lightweight garments |
| Zigzag Stitch | Bold, secure | Very High | Jackets, workwear, or thick fabrics |
| Running Stitch | Fast, light, hand-sewn | Medium | Cotton shirts, casual customization |
| Whip Stitch | Decorative, visible | Strong | Embroidered or fabric patches |
| Blanket Stitch | Artistic border finish | High | Statement patches, visible design work |
| Blind Stitch | Nearly invisible | Medium | Formal shirts or delicate garments |
Best Fabrics to Sew Patches On
While patches can be sewn on almost any material, these fabrics are especially patch-friendly:
- Cotton shirts and uniforms – Ideal for logos or name tags.
- Denim – Classic choice for jeans and jackets.
- Canvas – Durable option for bags and vests.
- Leather – Requires heavy-duty tools and needles.
- Polyester blends – Sewing is safer than heat-based methods.
⚠️ Note: If sewing on thin or stretch shirts, use lightweight thread and avoid overly tight stitches to maintain comfort.
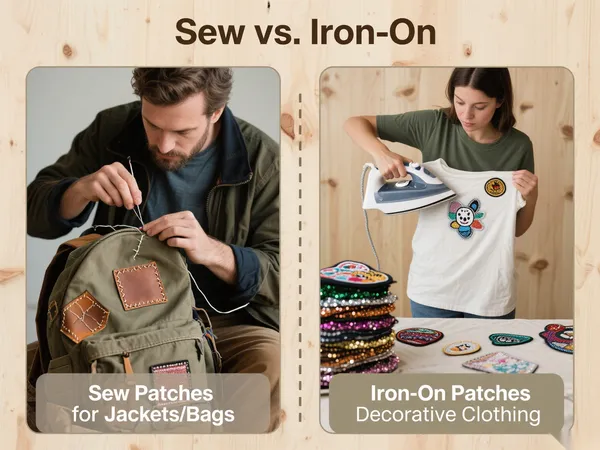
When to Sew vs. Iron-On
| Sew Patches | Iron-On Patches |
|---|---|
| Durable and long-lasting | Quick and easy for temporary designs |
| Works on all fabrics | Limited to heat-tolerant fabrics |
| Best for shirts, uniforms, jackets | Better for fashion pieces, not heavy use |
| Requires skill and time | Applied in minutes with an iron |
Special Tips: How to Sew a Patch on a Shirt
- Placement matters – On shirts, patches are usually applied to the chest, sleeves, or above the pocket for visibility.
- Comfort first – Avoid thick, stiff patches that may feel heavy or itchy against the skin.
- Match thread weight – Use lightweight thread for thin cotton shirts, heavy-duty thread for work shirts.
- Stabilize fabric – For stretchy or thin shirts, place a small piece of interfacing inside the fabric before sewing to prevent pulling.
Final Thoughts
Learning how to sew a patch on a shirt or any garment opens endless creative and practical opportunities. From personalizing casual wear to attaching durable badges on uniforms, sewing provides strength, precision, and style that adhesive methods can’t match.
With just a needle, thread, and patience, you can transform your shirt—or any piece of clothing—into something unique and long-lasting. So next time you need to add personality or repair your wardrobe, reach for your sewing kit and stitch your story one patch at a time.
About Author
——————————————————————————————————————————————

Apollo
Senior E-commerce Manager
Apollo is an experienced e-commerce manager specializing in patches, apparel accessories, and digital marketing, helping global textile brands grow with proven online strategies.
——————————————————————————————————————————————