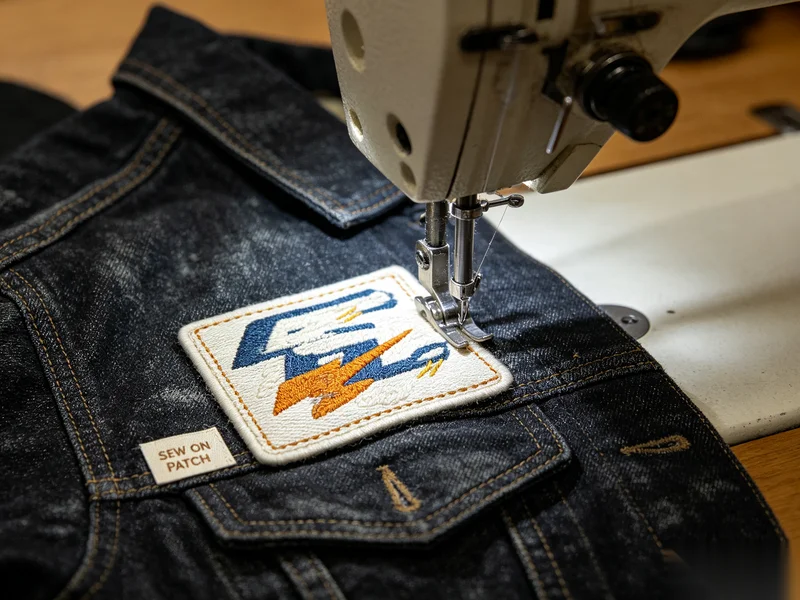
When developing custom clothing apparel trims, providing a detailed specification sheet is one of the most effective ways to ensure your supplier understands your requirements from the very beginning. Whether you’re ordering woven labels, embroidered patches, silicone badges, TPU logos, heat transfers, hangtags, or webbing, a complete specification minimizes misunderstandings, speeds up sampling, and improves production consistency.
Many sampling revisions and production delays aren’t caused by manufacturing issues—they happen because key information was missing from the original request. A comprehensive trim specification acts as a roadmap for both your design team and your manufacturer, ensuring everyone works toward the same goal.
In this guide, we’ll walk through the essential elements every trim specification sheet should include.
1. Provide Clear Artwork
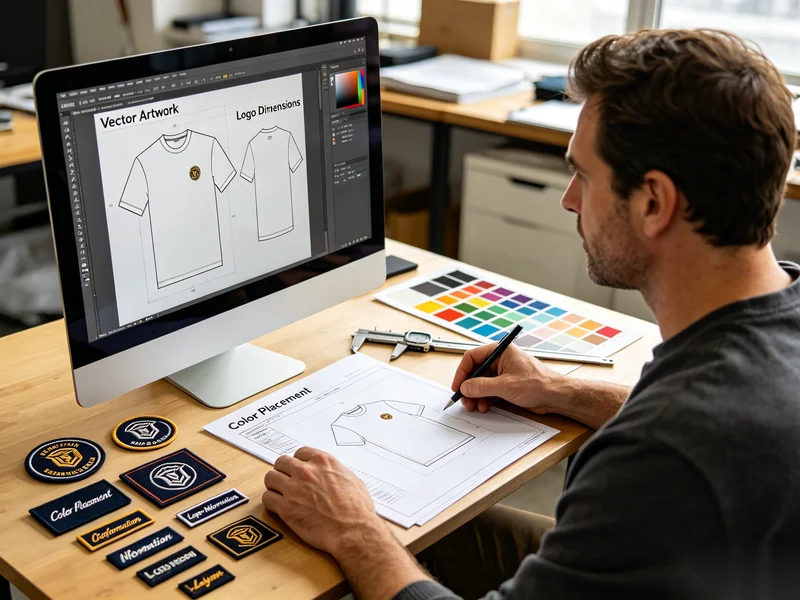
Your artwork is the foundation of every custom trim project. The more accurate and detailed it is, the smoother the development process will be.
Whenever possible, provide:
- Vector artwork (AI, EPS, or PDF)
- High-resolution PNG files if vector files aren’t available
- Exact logo dimensions
- Color placement
- Layer information
- Special finishing requirements
Avoid using screenshots, compressed images, or photographs as the only reference, as these often lack the detail needed for precise production.
Example:
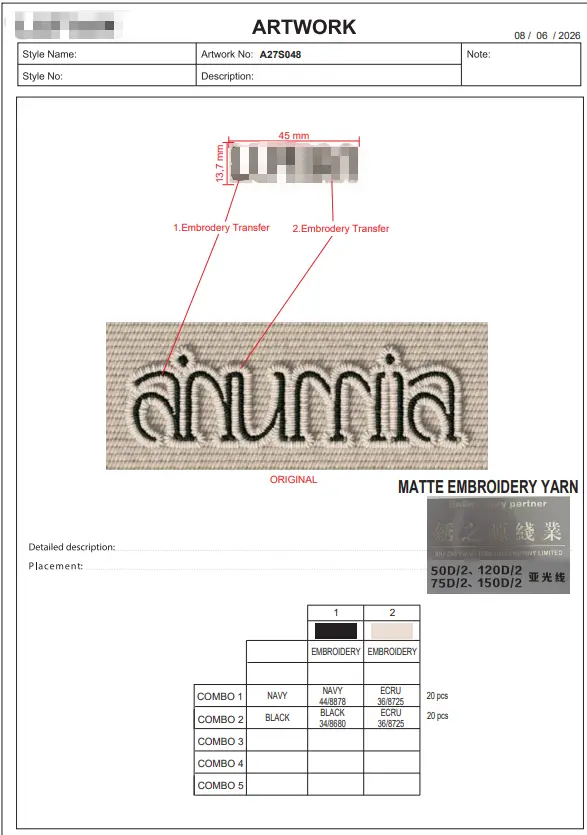
Instead of simply sending a logo image, include specifications such as:
- Width: 45 mm
- Height: 13.7 mm
- Black embroidery thread
- Ecru embroidery thread
Detailed artwork allows suppliers to create more accurate samples and reduces unnecessary revisions.
2. Specify the Product Type
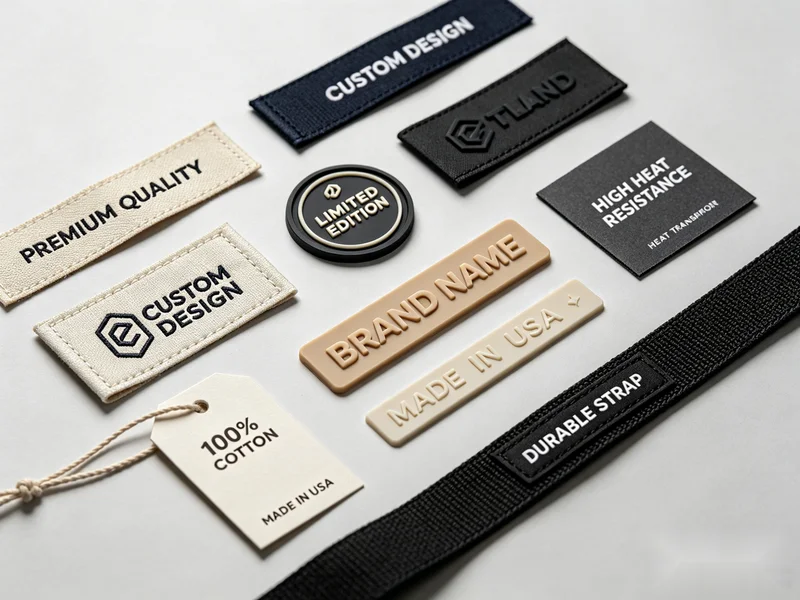
Clearly identify which type of trim you need, as different products require completely different manufacturing processes.
Common types of custom clothing apparel trims include:
- Woven Labels
- Printed Labels
- Embroidery Patches
- Embroidery Transfers
- Silicone Patches
- TPU Patches
- PVC Patches
- Heat Transfers
- Hangtags
- Webbing
For example, an embroidered transfer and a woven label may appear similar from a distance, but they differ significantly in materials, production methods, cost, and lead time.
3. Include Exact Dimensions
Always specify the final product size.
Include:
- Width
- Height
- Thickness (if applicable)
Example:
- 45 mm × 13.7 mm
- Thickness: 1.5 mm
Even small dimensional changes can affect production costs, tooling, and the overall appearance of the finished trim.
4. Define Material Requirements
Material selection directly influences durability, appearance, flexibility, and cost.
Labels
Choose from materials such as:
- Polyester
- Cotton
- Satin
- Damask
- Taffeta
Patches
Specify materials like:
- Silicone
- TPU
- PVC
- Twill Fabric
- Felt
- Microfiber Suede
Webbing
Common options include:
- Polyester
- Nylon
- Cotton
Selecting the right material ensures the trim performs well in its intended application.
5. Standardize Colors
Color inconsistency is one of the most common reasons for sample approval delays.
Whenever possible, provide:
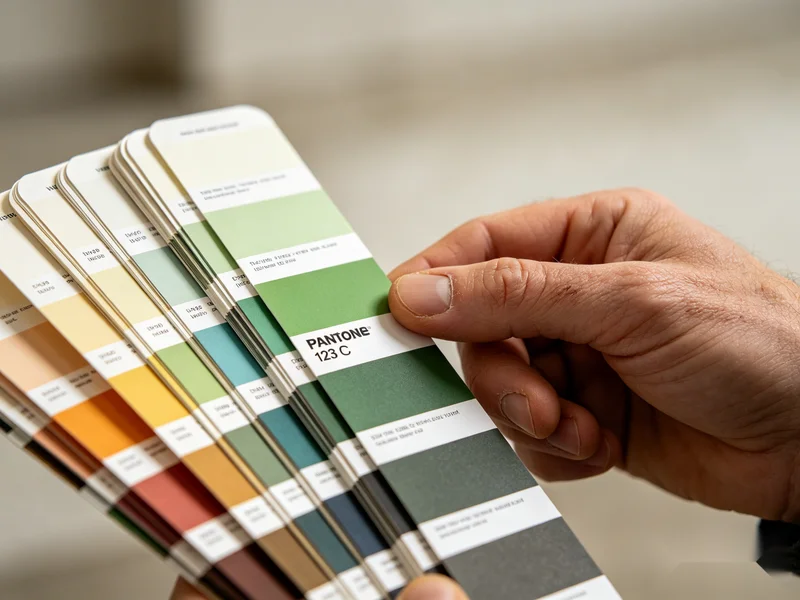
- Pantone® color numbers
- Physical color swatches
- Previously approved production samples
Examples:
- Pantone Black C
- Pantone 123 C
Avoid vague descriptions such as:
- “Dark Blue”
- “Light Beige”
These can easily be interpreted differently by different manufacturers.
6. Specify Thread, Yarn, or Material Details
For embroidery products, include information such as:
- Thread type
- Yarn count
- Finish
Examples:
- Matte embroidery thread
- 120D/2
- 150D/2
For woven labels, specify the weaving style:
- High-Density Woven
- Damask Woven
- Taffeta Woven
These details influence texture, durability, and the overall visual quality of the finished product.
7. Specify the Backing or Attachment Method
The attachment method is just as important as the trim itself.
Common options include:
- Sew-on
- Heat Seal
- Heat Transfer
- Iron-on
- Adhesive Backing
- Hook-and-Loop (Velcro®) Backing
Without this information, suppliers may quote or manufacture the wrong construction.
8. State the Required Quantity
Always distinguish between sampling and bulk production quantities.
For example:
- Sample: 10 pieces
- Production: 10,000 pieces
Manufacturing costs, tooling charges, and lead times often vary significantly depending on order volume.
9. Include Testing and Certification Requirements
If your trims must meet specific quality or compliance standards, list these requirements before sampling begins.
Common testing requirements include:
- OEKO-TEX® Standard 100
- GRS (Global Recycled Standard)
- FSC® Certification
- Wash Resistance Testing
- Color Fastness Testing
- Reflectivity Testing
- NIR (Near Infrared) Compliance
These specifications are particularly important for sportswear, workwear, military products, children’s apparel, and sustainable fashion collections.
10. Provide an Approved Reference Sample
Whenever possible, send a physical reference sample.
Useful references include:
- Previous production samples
- Approved prototypes
- Competitor products
- Existing garments
A physical sample often communicates details that drawings and written instructions cannot fully capture, including texture, flexibility, thickness, and overall quality expectations.
Why a Complete Specification Sheet Matters
A well-prepared specification sheet benefits both brands and manufacturers.
It helps to:
- Reduce sampling revisions
- Eliminate communication errors
- Improve quotation accuracy
- Shorten development timelines
- Ensure consistent production quality
- Reduce unnecessary development costs
Investing a little more time during the specification stage often saves weeks during sampling and production.
Recommended Checklist Before Sending Your Inquiry
Before requesting a quotation or sample, confirm that your specification includes:
- ✓ Vector artwork or high-resolution design files
- ✓ Product type
- ✓ Dimensions and thickness
- ✓ Material specifications
- ✓ Pantone® color references
- ✓ Thread or yarn requirements
- ✓ Backing or attachment method
- ✓ Order quantity
- ✓ Testing or certification requirements
- ✓ Approved reference sample (if available)
Completing this checklist helps suppliers provide faster quotations, more accurate samples, and smoother production.
Final Thoughts
Creating a detailed specification sheet for custom clothing apparel trims is one of the simplest ways to improve product quality and streamline development. Clear communication at the beginning of a project reduces sampling cycles, prevents costly mistakes, and ensures your finished trims accurately reflect your brand’s design vision.
At QingHan, we have specialized in custom apparel trims for over 28 years, supporting global fashion, sportswear, outdoor, and lifestyle brands with professional development services. From artwork review and engineering recommendations to sampling and mass production, our team works closely with customers to ensure every trim is optimized for quality, manufacturability, and cost-effectiveness.
If you’re preparing a new trim project, we’re happy to review your artwork and help you create a complete specification sheet before sampling begins—saving valuable time while delivering better results.
About Author
——————————————————————————————————————————————

Vicky
Sales Manager
Hi, I’m Vicky,.With extensive industry experience and a well-rounded skill set, I excel in both team collaboration and customer service, always maintaining professionalism and efficiency to ensure the best client experience.
——————————————————————————————————————————————