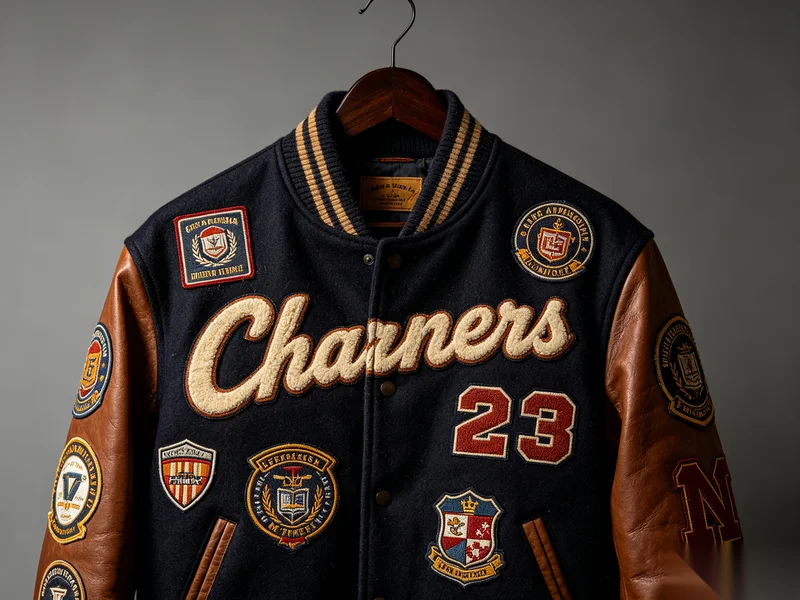
Iron-on patches are a convenient and stylish way to customize clothing, bags, and accessories—but not all patches are created equal. Whether you’re looking at a patch you’ve bought online or found in a craft drawer, you might be wondering: How do you know if a patch is iron on?
Knowing the difference between iron-on and sew-on patches is essential before attempting to apply one. Using heat on the wrong type can damage both the patch and your garment. In this article, we’ll cover the telltale signs of iron-on patch identification, practical tests, manufacturer tips, and real-world advice to help you avoid common mistakes.
What Is an Iron-On Patch?
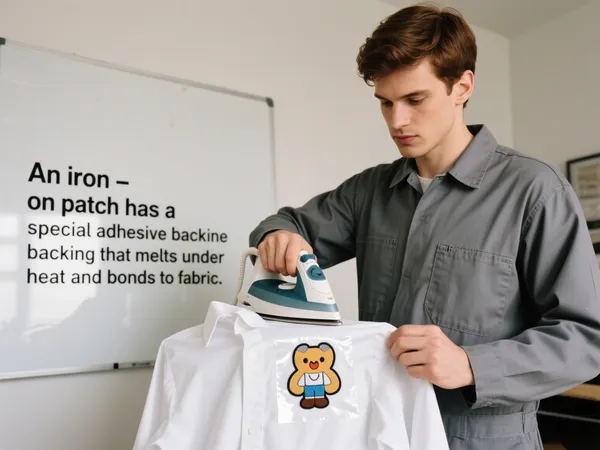
An iron-on patch has a heat-activated adhesive backing that melts when pressed with an iron, bonding securely to fabric. Unlike sew-on patches, which require needle and thread, iron-ons can be applied within minutes using a standard household iron or even a heat press.
This makes them popular for:
- DIY fashion projects (jackets, jeans, hats, backpacks)
- Uniform repairs (school, work, or military)
- Event merchandise or souvenirs
- Quick customization without sewing skills
But without packaging or instructions, how can you confidently identify whether a patch is iron-on or not? Let’s break it down step by step.
1. How Do You Check the Back of the Patch?
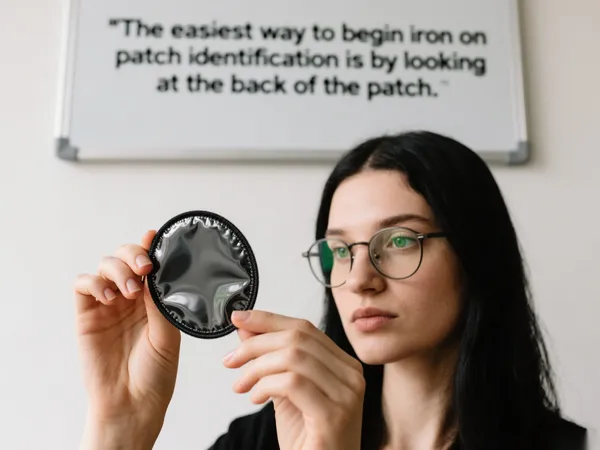
The most reliable way to begin iron on patch identification is by looking at its reverse side:
- Shiny or Glossy Backing – A smooth, reflective layer indicates heat-activated glue.
- Plastic-like or Rubbery Texture – Run your finger over it; you may feel stiffness or a thin plastic coating.
- Protective Paper Sheet – Some patches include a peel-away paper backing that shields the adhesive until use.
👉 If the back looks like plain fabric with visible stitching and no coating, it’s almost certainly a sew-on patch.ew-on patch.

2. Can You Perform a Simple Heat Test?
Yes—but with caution. A careful heat test is a practical way to confirm if a patch is iron-on:
- Set your iron to medium heat (avoid steam).
- Place the patch, adhesive side down, on a scrap piece of fabric.
- Cover with a thin cotton cloth or parchment paper.
- Press for 10–15 seconds.
- Let it cool, then check if it sticks.
⚠️ Warning: Do not test valuable or one-of-a-kind patches this way, as excess heat may damage them.
3. What Manufacturer Clues Should You Look For?
If you bought your patch online or in-store, read the product details. Key phrases include:
- “Iron-on backing”
- “Heat seal patch”
- “No sewing required”
If the description says “sew-on only” or doesn’t mention heat application, it likely isn’t an iron-on. Some high-quality patches are hybrid designs, combining both adhesive and stitch lines for extra durability.
4. How Do You Compare to Known Iron-On Patches?
If you have a confirmed iron-on patch, place it next to the one you’re unsure about. Compare:
- Glue color – Iron-on adhesives are often off-white or slightly yellow.
- Stiffness – Iron-on patches feel firmer due to the glue layer.
- Thickness – The adhesive backing adds weight and structure.
This side-by-side test is especially useful for beginners.
5. Ask the Seller or Manufacturer
Still can’t figure it out? If your patch came from an online seller, don’t hesitate to contact them. Reputable patch manufacturers often have customer service or FAQs that describe the patch type and application method.
You can ask specifically:
- “Is this patch iron-on or sew-on?”
- “Does it have heat-activated adhesive?”
- “What’s the best way to apply this patch?”
Most reputable manufacturers or shops will clarify this quickly.

6. What Are the Signs After Accidental Ironing?
If you’ve already ironed the patch without knowing, you may see:
- Edges curling or burning → not meant to be ironed.
- Patch sticks but peels off easily → weak glue, needs reinforcement.
- Patch melts or discolors → definitely not iron-on.
In such cases, reinforce with hand stitching or machine sewing for durability.
7. Why Is It Important to Identify Before Applying?
Correctly identifying how to tell if a patch is iron on prevents:
- Damage to garments – Heat can scorch non-iron patches.
- Wasted patches – Glue may fail if applied incorrectly.
- Frustration – Time and effort saved when you know the patch type in advance.
For long-term use, even iron-on patches benefit from an extra stitch around the edges. This prevents peeling after multiple washes.
8. Pro Tips for Iron-On Patch Application
If you confirm your patch is iron-on, here are tips to get the best results:
- Preheat the fabric before placing the patch.
- Apply even pressure—don’t move the iron back and forth.
- Cool down completely before testing adhesion.
- Wash gently—turn clothes inside out, use cold water, and avoid high-heat dryers.
These steps will keep your patch looking sharp for years.
Conclusion: Identify Before You Apply
When asking, “How to tell if a patch is iron on?”, the answer lies in careful observation and simple tests. By examining the backing, performing a cautious heat test, checking manufacturer details, and learning from comparison, you can confidently identify iron-on patches.
With proper identification, you’ll avoid costly mistakes, protect your garments, and enjoy long-lasting results. Whether you’re adding flair to denim jackets, fixing uniforms, or customizing accessories, knowing how to handle your patches is the first step to embroidery success.
About Author
——————————————————————————————————————————————

Apollo
Senior E-commerce Manager
Apollo is an experienced e-commerce manager specializing in patches, apparel accessories, and digital marketing, helping global textile brands grow with proven online strategies.
——————————————————————————————————————————————