Denim is timeless. From rugged workwear to fashion-forward street style, jeans and denim jackets are wardrobe essentials around the world. But what happens when your favorite pair of jeans gets worn out—or you want to add a bit of flair? The solution is simple: denim iron on patches.
These patches aren’t just for repairs; they’re also a creative and stylish way to personalize denim apparel. In this complete guide, you’ll learn how to use iron on patches for jeans, where they work best, and why they’re essential for both fashion and function.
What Are Denim Iron On Patches?
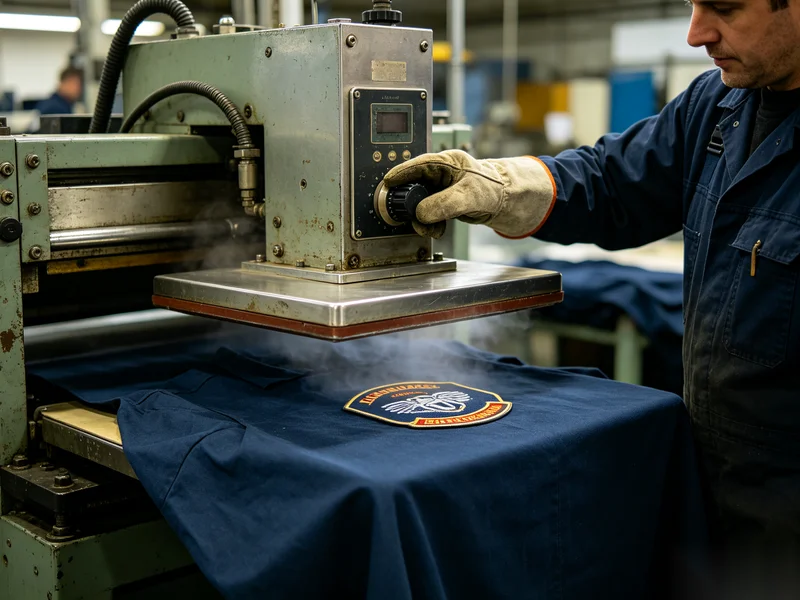
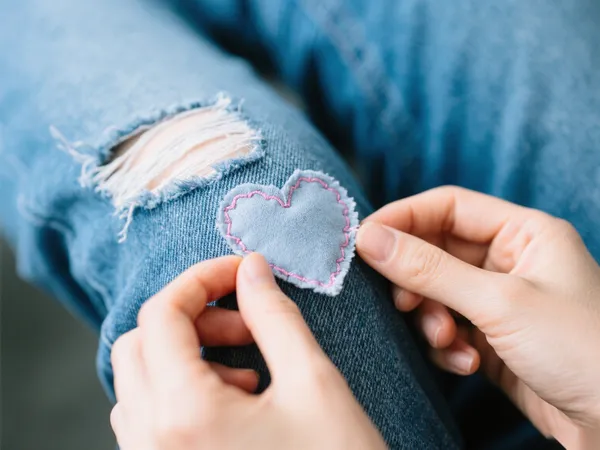
Denim iron on patches are fabric patches—usually made from denim or cotton blends—with a heat-activated adhesive backing. When applied with a household iron or heat press, the glue melts and bonds to your garment, creating a durable and seamless patch.
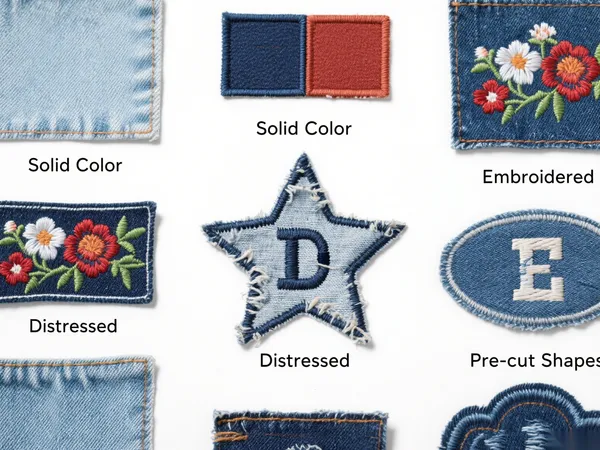
They come in different styles to suit both practical repairs and fashion projects:
- Solid colors – Ideal for invisible jean repairs.
- Embroidered patches – Decorative designs to add personality.
- Distressed/raw edge patches – Perfect for a vintage or rugged look.
- Pre-cut shapes – Hearts, stars, letters, or logos for customization.
Whether you’re fixing a hole in your favorite jeans or upgrading a denim jacket, these patches offer a versatile solution.
Benefits of Using Iron On Patches for Jeans
Why choose iron on jean patches instead of traditional sewing? Here are the top advantages:
✅ Easy Application – No sewing machine or stitching skills required. Just heat, press, and go.
✅ Seamless Finish – Adhesive blends into denim for a clean look without visible threads.
✅ Multi-Purpose – Works for both jean repair and fashion customization.
✅ Time-Saving – Takes only minutes, making it perfect for quick fixes at home or on the go.
✅ Affordable & Accessible – Available at craft stores, fabric shops, or online.
How to Use Iron On Patches for Jeans (Step-by-Step)
To get the best results, follow these detailed steps for applying denim iron on patches:
Step 1: Prep Your Garment
- Wash and dry jeans to remove oils, dirt, or fabric treatments.
- Iron the area flat to eliminate wrinkles.
- Trim frayed fabric or loose threads around the tear.
Step 2: Position the Patch
- Place the patch with the adhesive side down over the area.
- Use pins or chalk to mark the spot for accurate placement.
Step 3: Heat Your Iron
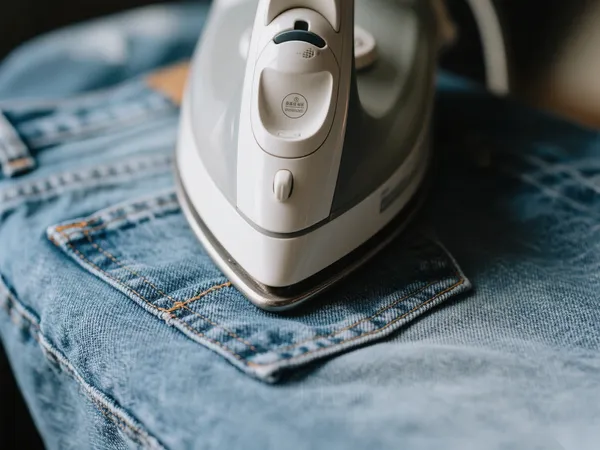
- Set to Cotton/High Heat without steam.
- Allow the iron to preheat for 3–5 minutes.
Step 4: Apply the Patch
- Place a thin cloth or pressing cloth over the patch to protect fabric.
- Press firmly with the iron for 30–45 seconds without moving it.
- Flip the jeans and press from the reverse side for another 20–30 seconds.
Step 5: Let It Cool
- Allow to cool fully—the adhesive bonds as it hardens.
🔧 Pro Tip: For high-stress zones like knees or inner thighs, reinforce by sewing around the edges after ironing. This ensures maximum durability.

Best Places to Use Iron On Patches for Jeans
Iron on patches can technically be applied anywhere, but some spots are especially effective:
- Knees: Reinforce areas that wear out the fastest.
- Back pockets: Hide holes or add unique flair.
- Thighs and seat area: Repair or strengthen heavy-wear zones.
- Cuffs/hems: Cover frays or create stylish finishes.
- Jacket backs and sleeves: Showcase large decorative patches or logos.
Tips for Long-Lasting Results
To ensure your jean repair patches last wash after wash:
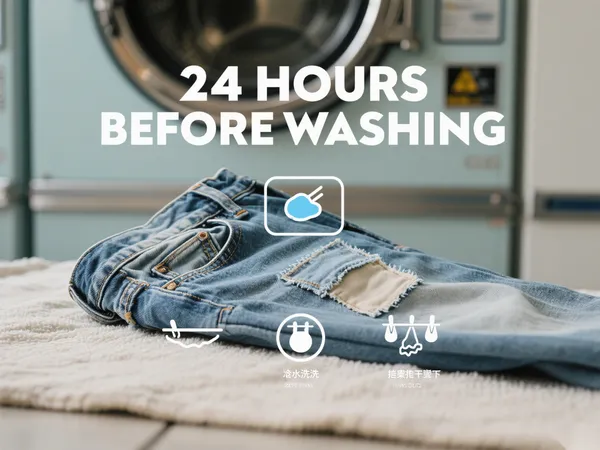
- Wait 24 hours before washing after application.
- Wash jeans inside out on cold and air-dry when possible.
- Avoid tumble dryers and high heat, which can weaken adhesives.
- Re-iron gently if edges start to lift after multiple washes.
- For heavy-duty work jeans, combine iron-on + stitching for ultimate strength.
Creative & Fashionable Uses for Denim Patches
Iron on patches are not limited to repairs—they’re also a form of self-expression. You can:
- Create a collage effect by layering patches on a vintage jacket.
- Spell out words, initials, or slogans with letter patches.
- Add retro, floral, skull, or pop-culture designs for a bold look.
- Combine patches with hand embroidery, studs, or fabric paint for DIY fashion.
From punk and grunge to boho and streetwear, patches transform denim into a statement piece.
Common Mistakes to Avoid
Even when you know how to use iron on patches for jeans, mistakes happen. Here are a few to avoid:
- Using steam: Moisture prevents proper adhesion.
- Not applying enough heat/pressure: Causes patches to peel early.
- Skipping reverse ironing: Weakens the bond.
- Washing too soon: Adhesive needs time to cure.
- Placing patches on stretchy denim: Works best on firm, non-stretch fabric.
Final Thoughts
Denim iron on patches are the perfect mix of practicality and creativity. They extend the life of your favorite jeans while also letting you personalize your wardrobe. Whether you’re repairing a hole, covering up wear, or adding flair, these patches are a fast, affordable, and stylish solution.
So next time your jeans start to fray—or you’re itching for a DIY fashion project—grab some patches and give your denim a fresh new life, one design at a time.
About Author
——————————————————————————————————————————————

Apollo
Senior E-commerce Manager
Apollo is an experienced e-commerce manager specializing in patches, apparel accessories, and digital marketing, helping global textile brands grow with proven online strategies.
——————————————————————————————————————————————