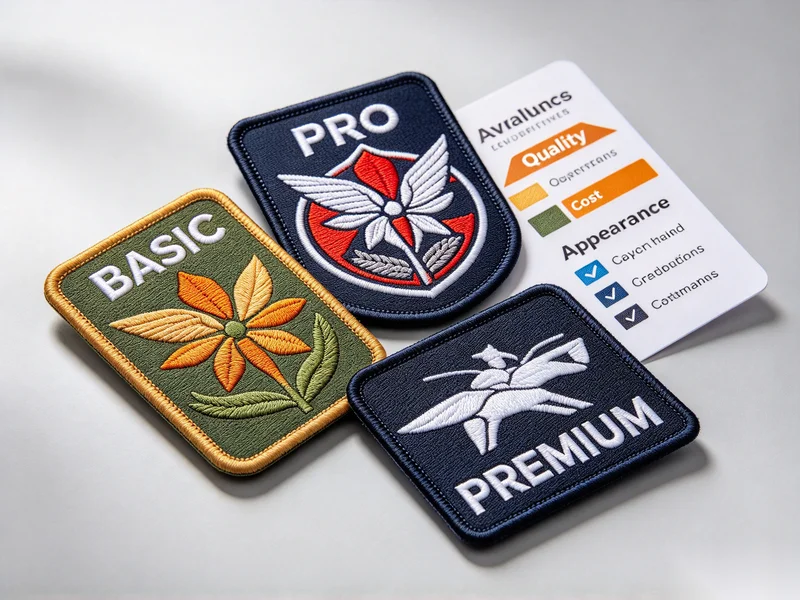
For parents and scouts alike, understanding boy scout patch placement can often feel confusing. Between merit badges, council patches, and troop numbers, it’s easy to mix things up. But proper patch placement isn’t just about looking sharp — it also reflects your scout’s accomplishments and progression through the scouting journey. In this guide, we’ll help you navigate where each patch belongs, how to attach them correctly, and some helpful tips to keep your scout uniform looking its best.

Why Patch Placement Matters
The Boy Scouts of America (BSA) has detailed uniform standards that every scout is expected to follow. Patches are more than decoration — they’re a visual record of hard work, leadership, and participation. When patches are incorrectly placed, they may not be officially recognized, and the uniform can appear disorganized.
Ensuring correct scout patch placement is a sign of respect for the organization and for the time and effort scouts invest in earning them. A properly maintained uniform not only boosts confidence but also instills discipline, pride, and a sense of belonging within the troop.
Understanding the Boy Scout Uniform Layout
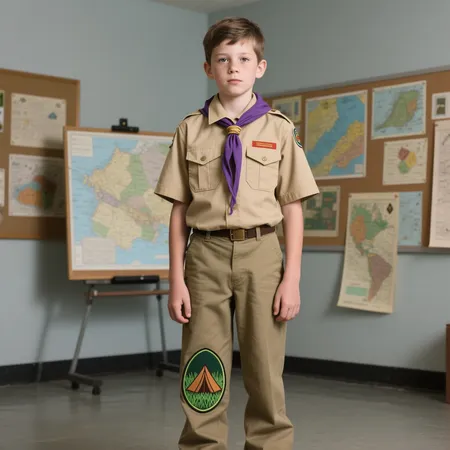
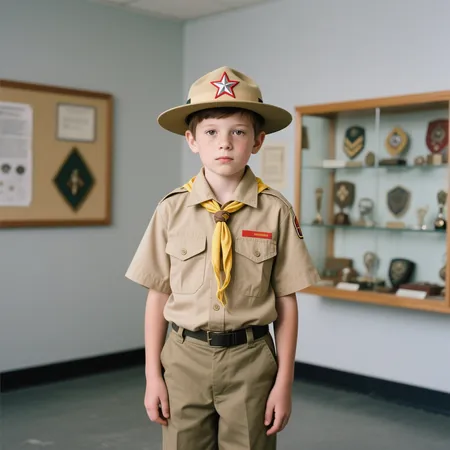
Before sewing or ironing on any patches, it’s essential to understand the layout of the Class A scout shirt — the tan, button-up shirt most commonly used for meetings, ceremonies, and official scouting events.
1. Left Sleeve
- Council Shoulder Patch (CSP): Placed at the very top, snug under the shoulder seam.
- Troop Numbers: Directly below the CSP, representing your troop’s identity.
- Badge of Office: For leadership roles like Patrol Leader, Senior Patrol Leader, or Quartermaster, placed beneath troop numbers.
- Trained Patch: Small rectangular badge placed just under the badge of office if training has been completed.
2. Right Sleeve
- American Flag Patch: Pre-sewn on most uniforms, positioned at the very top of the right sleeve.
- Patrol Emblem: Round patch placed about midway down the sleeve, showing your scout’s patrol.
- Camporee or Event Patches: Optional, but only one at a time, positioned below the patrol emblem.
3. Left Pocket
- Rank Badges: Centered directly on the pocket, representing the scout’s current rank — Tenderfoot through Eagle.
- Arrow of Light Award: For scouts who earned it in Cub Scouts, placed just below the left pocket.
4. Right Pocket
- Temporary Patches: Event or campout patches worn centered on the pocket, usually hanging by a button loop. Only one should be displayed at a time for consistency.

Tips for Sewing and Attaching Patches
While some patches come with iron-on backing, sewing remains the preferred method for long-lasting wear. Scouts are active — climbing, camping, hiking — and adhesives may weaken over time. Here are some professional patch application tips:
- Use clear thread or a color that matches the border of the patch.
- Stitch securely around the edges to prevent peeling or curling.
- Always double-check placement with a uniform diagram before sewing.
- For convenience, consider badge adhesive kits or professional sewing services if sewing isn’t an option.
Pro tip: Teach older scouts to sew their own patches. Not only does this save time for parents, but it also builds independence and ownership of their achievements.
Common Mistakes in Patch Placement
Even experienced families sometimes make errors when learning where to sew scout patches. Some of the most common include:
- Crooked troop numbers that disrupt the alignment.
- Stacking multiple temporary patches on the right pocket instead of rotating them.
- Incorrect sleeve placement — for example, putting the patrol emblem too high or too low.
- Using hot glue or unsafe adhesives, which can damage both the patch and the shirt.
Avoiding these mistakes ensures your scout looks polished and follows official standards.
Printable Patch Guides and Resources
To remove the guesswork, always reference an official scout uniform patch guide. Most local councils provide downloadable PDF diagrams that clearly mark placement. These resources are invaluable when preparing for boards of review, courts of honor, jamborees, and regional competitions.
Having a printed guide at home makes it easy to double-check before attaching patches — saving time and avoiding mistakes.hen preparing for boards of review, courts of honor, or regional events.
Encouraging Scouts to Take Ownership
Scouting is about responsibility and growth. Teaching scouts to manage their own patch placement fosters independence, pride, and attention to detail. When a scout carefully attaches their rank or leadership badge, they gain a deeper appreciation for the work behind the award.
Some families even turn patch sewing into a tradition — a moment to reflect on the achievement represented by each new badge.
Caring for Scout Patches and Uniforms
Once patches are placed, proper care ensures they stay neat for years:
- Wash uniforms inside out to reduce wear on patches.
- Avoid high heat drying, which can weaken adhesives.
- Check patches regularly for loose stitches and repair quickly to prevent loss.
By maintaining the uniform, scouts not only preserve their achievements but also demonstrate respect for their troop and the scouting tradition.
Final Thoughts
Understanding boy scout patch placement may seem daunting at first, but with the right guidance it becomes second nature. By following BSA standards, using an official patch placement guide, and learning the best sewing methods, you can ensure your scout presents themselves with pride and confidence.
In the end, a well-placed patch is more than a piece of fabric — it’s a symbol of adventure, growth, and accomplishment. A properly maintained scout uniform isn’t just about looking good; it’s a badge of honor in itself.
About Author
——————————————————————————————————————————————

Apollo
Senior E-commerce Manager
Apollo is an experienced e-commerce manager specializing in patches, apparel accessories, and digital marketing, helping global textile brands grow with proven online strategies.
——————————————————————————————————————————————