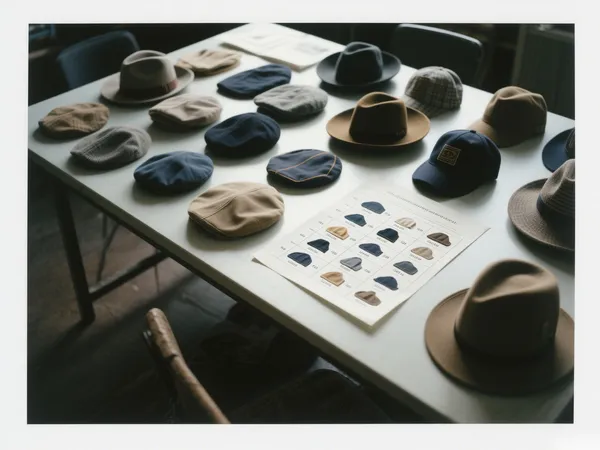
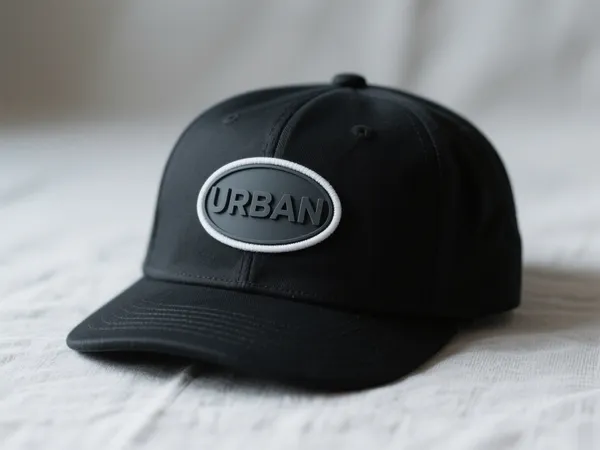
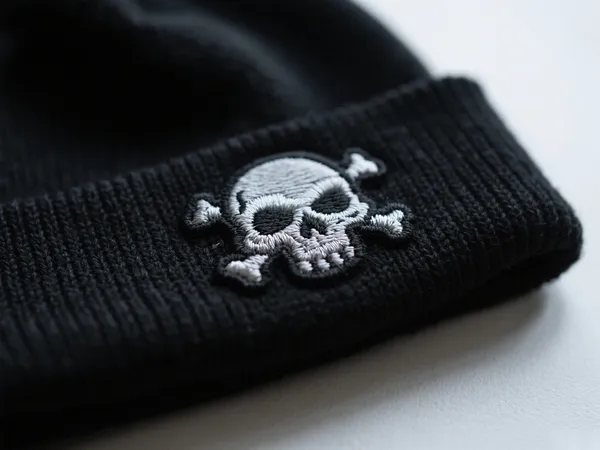
Khi nói đến việc tùy chỉnh mũ nón, việc thêm miếng vá là một trong những cách hiệu quả nhất để thể hiện thương hiệu, đội nhóm hoặc phong cách cá nhân. Nhưng trước khi bắt đầu khâu hoặc ép nhiệt thiết kế, một câu hỏi quan trọng được đặt ra: Kích thước miếng vá lý tưởng cho mũ là bao nhiêu? Cho dù bạn đang tạo ra một chiếc mũ lưỡi trai thời trang, một chiếc mũ lưỡi trai có cấu trúc hay một chiếc mũ len cổ điển, hãy chọn đúng kích thước miếng vá cho mũ đảm bảo cả sự thoải mái và tính thẩm mỹ.
Hướng dẫn này phân tích những cách sử dụng phổ biến nhất kích thước miếng vá mũ, cách chọn kích thước tốt nhất cho loại mũ của bạn và các mẹo thiết kế miếng vá mũ tùy chỉnh nổi bật.

Tại sao kích thước miếng vá lại quan trọng trên mũ
Mũ có diện tích bề mặt hạn chế, đặc biệt là ở phần trước hoặc chóp mũ. Miếng vá quá nhỏ có thể bị lạc, trong khi miếng vá quá lớn có thể cong vênh hoặc trông không cân xứng. Chọn đúng kích cỡ sẽ giúp:
- Khả năng hiển thị logo hoặc văn bản
- Sự thoải mái cho người mặc
- Tính đối xứng và cân bằng thiết kế
- Vẻ ngoài chuyên nghiệp cho thương hiệu hoặc đồng phục
Đặc biệt khi bạn sản xuất mũ số lượng lớn cho các đội, sự kiện hoặc mục đích kinh doanh, kích thước cũng quan trọng như thiết kế.

Kích thước miếng vá tiêu chuẩn cho mũ
Mặc dù không có một kích cỡ phù hợp với tất cả, các chuyên gia trong ngành thường tuân theo những điều sau kích thước miếng vá tiêu chuẩn cho mũ:
🔹 Miếng vá hình chữ nhật
- rộng 3,5″ x cao 2″ – Kích thước phổ biến nhất cho mũ lưỡi trai và mũ lưỡi trai
- 3″ x 1,5″ – Thích hợp cho các logo nhỏ hơn hoặc kiểu dáng tối giản sạch sẽ
🔹 Miếng vá hình tròn
- đường kính 2″–2,5″ – Lý tưởng cho các miếng vá logo ở giữa
- đường kính 3″ – Được sử dụng trên các tấm lớn hơn một chút hoặc kiểu dáng phẳng
🔹 Khiên hoặc Hình dạng Tùy chỉnh
- Được thiết kế để vừa với hộp giới hạn 3,5″ x 2,5″ để có tỷ lệ tốt nhất
- Các hình dạng cắt khuôn tùy chỉnh thường yêu cầu kích thước nhỏ hơn một chút để phù hợp với đường cong
Những kích thước này phù hợp để sử dụng ở mặt trước và có thể chứa các chi tiết thêu, dệt hoặc đồ họa in.

Kích thước miếng vá tốt nhất cho các kiểu mũ khác nhau
Mỗi kiểu mũ hỗ trợ vị trí và kích thước miếng vá khác nhau. Sau đây là so sánh giữa chúng:
| Kiểu mũ | Kích thước miếng vá lý tưởng | Ghi chú |
|---|---|---|
| Mũ lưỡi trai | 3,5″ x 2″, tròn 2,5″ | Mặt trước rộng, bề mặt phẳng |
| Snapback | 3″ x 1,5″, tròn 3″ | Hơi cong, sử dụng miếng vá mỏng hơn |
| Mũ của bố | 2,5″ x 1,5″, tròn 2″ | Vương miện không có cấu trúc, diện tích mảng nhỏ |
| Nắp 5 tấm | 3,5″ x 2″, cắt khuôn tùy chỉnh | Tuyệt vời cho logo và thương hiệu đậm |
| Mũ len | 2,5″ x 2″, hình chữ nhật nhỏ | Thường sử dụng nhãn dệt hoặc miếng dán silicon |
Hiểu được hình dạng và chất liệu của mũ sẽ giúp bạn xác định được miếng vá của mình sẽ linh hoạt và dễ nhìn đến mức nào.

Mẹo thiết kế miếng vá mũ tùy chỉnh
Nếu bạn đang tạo miếng vá mũ tùy chỉnh, sau đây là cách để có được kích thước và kiểu dáng phù hợp:
- Sử dụng mẫu mô phỏng – Hình dung vị trí miếng vá bằng mô hình mũ kỹ thuật số hoặc phần mềm thêu.
- Tính đến độ cong – Mũ có độ cong! Hãy chọn những chất liệu miếng vá linh hoạt như vải dệt hoặc vải có thiết kế ôm sát.
- Giữ văn bản lớn và dễ đọc – Phông chữ nhỏ có thể bị mờ khi thêu ở kích thước nhỏ hơn.
- Giữ trong vùng an toàn – Chừa lại lề xung quanh thiết kế để tránh các yếu tố bị cắt hoặc khâu quá sát mép.
- Kiểm tra trên mũ mẫu – Nếu sản xuất số lượng lớn, hãy đặt hàng mẫu trước để đảm bảo độ vừa vặn, thoải mái và vẻ ngoài.
Cân nhắc về vật liệu và độ dày của miếng vá
Vật liệu cũng có thể ảnh hưởng đến sự lựa chọn của bạn kích thước miếng vá mũ:
- Miếng vá thêu dày hơn và có thể cần kích thước nhỏ hơn một chút để tránh bị uốn cong cứng.
- Woven patches mỏng hơn, cho phép linh hoạt hơn về cả hình dạng và chi tiết.
- Miếng dán PVC hoặc silicone nên giữ kích thước nhỏ gọn (2″–2,5″) để đảm bảo sự thoải mái trên các bề mặt cong.
- Miếng dán truyền nhiệt có thể xử lý chi tiết tốt và đầy đủ màu sắc, nhưng phù hợp nhất với mũ có chiều rộng dưới 3,5 inch.
Vị trí đặt miếng vá trên mũ
Vị trí phổ biến nhất là trên vương miện phía trướcnhưng mũ cho phép sự linh hoạt sáng tạo:
- Bảng bên trái hoặc bên phải (thích hợp cho các logo nhỏ hơn)
- Trở lại phía trên phần đóng (thích hợp cho thẻ khẩu hiệu)
- Mặt bên của vương miện (thích hợp cho số đội hoặc chữ cái đầu)
- Vành hoặc mỏ (khác thường nhưng hợp thời trang đối với các thương hiệu thời trang đường phố)
Vị trí và kích thước miếng vá phải hài hòa để tạo nên vẻ ngoài thống nhất.
Kết luận: Sự kết hợp hoàn hảo giữa chức năng và phong cách
Khi nói đến kích thước miếng vá cho mũ Thiết kế, độ chính xác đồng nghĩa với tính chuyên nghiệp. Từ mũ lưỡi trai thông thường đến hàng hiệu cao cấp, kích thước miếng vá phù hợp sẽ đảm bảo thiết kế của bạn trông gọn gàng, vừa vặn và nổi bật. Hãy bắt đầu bằng cách xác định loại mũ, hiểu rõ chất liệu miếng vá và sử dụng trong phạm vi kích thước đã được kiểm chứng.
Cho dù bạn đang làm một vài sản phẩm tùy chỉnh hay tung ra một dòng mũ đầy đủ, hãy lựa chọn kích thước miếng vá tốt nhất cho mũ là chi tiết phân biệt giữa trung bình và đặc biệt.


