Miếng dán ủi là một cách tuyệt vời để thêm dấu ấn cá nhân lên quần áo, túi xách hoặc phụ kiện của bạn. Cho dù bạn muốn sửa vết rách, thể hiện phong cách hay tùy chỉnh quà tặng, ủi miếng dán là một giải pháp dễ dàng và tiết kiệm. Tuy nhiên, đôi khi việc thực hiện đúng quy trình có thể khá khó khăn, đặc biệt là khi bạn không chắc chắn về các bước hoặc kỹ thuật phù hợp.
Trong hướng dẫn cuối cùng này, chúng tôi sẽ hướng dẫn bạn mọi thứ bạn cần biết về cách ủi miếng vá hiệu quả. Từ việc hiểu các tài liệu đến chi tiết hướng dẫn dán miếng ủi, chúng tôi sẽ hỗ trợ bạn.
Những gì bạn cần để dán miếng dán ủi
Trước khi bắt đầu, hãy đảm bảo bạn đã chuẩn bị sẵn những vật dụng sau:
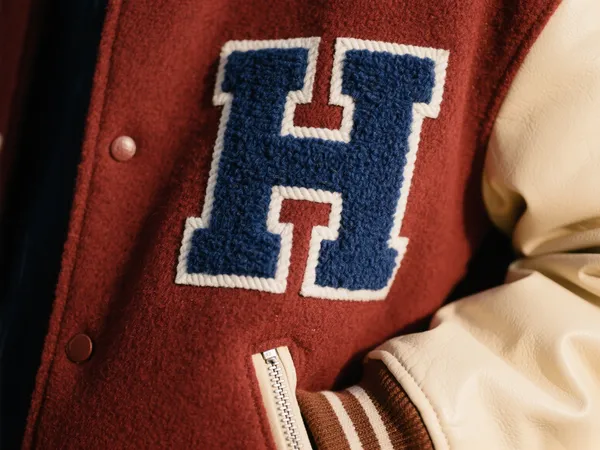
- Miếng dán ủi: Chọn miếng vá phù hợp với nhu cầu của bạn. Bạn có thể tìm thấy nhiều mẫu mã đa dạng, bao gồm miếng vá vải, miếng vá logo và miếng vá trang trí cho quần áo, ba lô và mũ.
- Sắt: Một chiếc bàn là gia dụng thông thường cũng có thể dùng được, nhưng hãy đảm bảo bàn là có chế độ hơi nước để phân phối nhiệt tối ưu.
- Bàn ủi: Điều quan trọng là phải có một bề mặt phẳng và chắc chắn. Bàn ủi là lựa chọn tốt nhất, nhưng bạn cũng có thể sử dụng một bề mặt phẳng như bàn gỗ nếu cần.
- Mảnh vải hoặc giấy dầu: Điều này sẽ giúp bảo vệ miếng vá và vải của bạn khỏi nhiệt trực tiếp.
Hướng dẫn từng bước về cách ủi miếng vá
Bây giờ bạn đã chuẩn bị đầy đủ tài liệu, chúng ta hãy cùng tìm hiểu quy trình nộp đơn miếng dán ủi.
1. Chuẩn bị miếng vá và vải
Đảm bảo vải bạn dán miếng dán sạch sẽ và không có nếp nhăn. Bất kỳ bụi bẩn hoặc nếp nhăn nào cũng có thể ảnh hưởng đến quá trình dán keo.
- Giặt sơ vải của bạn: Nếu vải của bạn đã được giặt trước đó, hãy đảm bảo vải đã khô hoàn toàn. Vải mới cũng nên được giặt để loại bỏ bất kỳ hóa chất nào còn sót lại trong quá trình sản xuất.
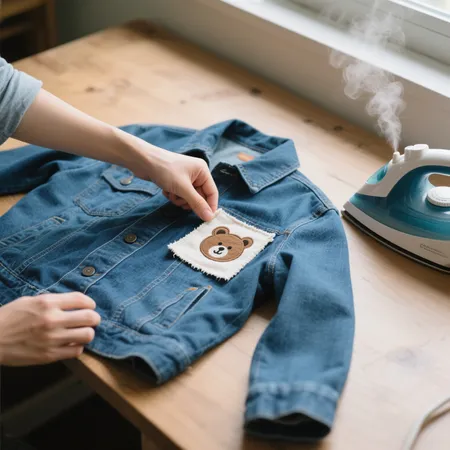
- Vị trí miếng vá: Đặt miếng vá lên vải ở vị trí mong muốn. Điều quan trọng là phải đảm bảo miếng vá được căn chỉnh và căn giữa vì sẽ khó chỉnh lại vị trí sau khi ủi.
2. Làm nóng bàn là
Cài đặt bàn ủi ở mức nhiệt độ phù hợp với loại vải bạn đang sử dụng. Hầu hết các loại vải cần nhiệt độ từ trung bình đến cao. Tránh sử dụng hơi nước vì độ ẩm có thể ảnh hưởng đến độ bám dính của keo.
- Mẹo: Nếu bàn ủi của bạn có chế độ phun hơi nước, hãy đảm bảo đã tắt chế độ này. Độ ẩm quá mức có thể khiến miếng dán không bám dính tốt.
3. Bảo vệ miếng vá và vải
Đặt một miếng vải mỏng hoặc giấy dầu lên miếng vá. Nó đóng vai trò như một lớp ngăn cách giữa bàn ủi nóng và vải, đảm bảo bạn không làm cháy vải hoặc làm hỏng miếng vá.
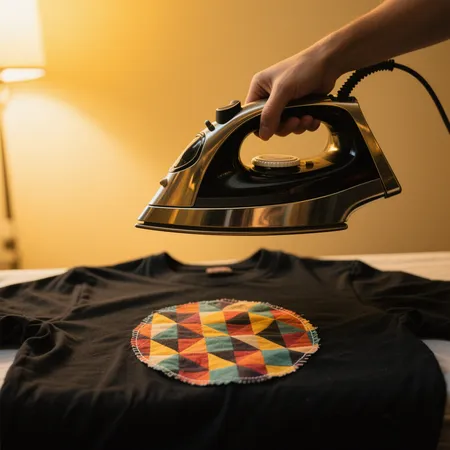
4. Chườm nóng lên miếng dán
Đặt bàn là nóng lên miếng vá và ấn mạnh, đều. Giữ bàn là tại chỗ trong khoảng 15 đến 30 giây. Thời gian sẽ thay đổi tùy thuộc vào độ dày của vải và kích thước của miếng vá.
- Đối với các bản vá nhỏ: 15 giây là đủ.
- Đối với các bản vá lớn hơn: Bạn có thể cần giữ bàn là trên miếng vá trong vòng 30 giây.
5. Kiểm tra độ bám dính
Sau khi làm nóng, hãy cẩn thận nhấc bàn ủi lên và kiểm tra các cạnh của miếng vá để đảm bảo nó đã được gắn chặt. Nếu các cạnh vẫn còn nhô lên, hãy đặt bàn ủi trở lại miếng vá trong vài giây nữa.
6. Để nguội
Để miếng dán và vải nguội hoàn toàn trước khi xử lý. Thời gian nguội này rất quan trọng để keo dán đông cứng.
- Mẹo quan trọng: Không nên di chuyển hoặc chỉnh sửa miếng dán ngay sau khi ủi. Hãy để yên để keo dán đông cứng hoàn toàn.

Khắc phục sự cố thường gặp với miếng dán ủi
Đôi khi, quá trình này không diễn ra suôn sẻ như mong đợi. Dưới đây là một số vấn đề thường gặp và cách khắc phục.
- Miếng dán không dính: Nếu miếng vá không dính, có thể là do vải không được làm nóng đúng cách hoặc bạn ấn không đủ lực. Hãy thử tăng nhiệt độ bàn là và ấn mạnh hơn.
- Vải bị cháy: Nếu vải bị cháy trong quá trình ủi, có thể bàn ủi quá nóng. Hãy giảm nhiệt độ và thử lại bằng một miếng vải bảo vệ.
- Các cạnh của miếng vá đang bong tróc: Nếu mép miếng dán bị bong ra sau khi dán, có thể là do nhiệt độ không đủ. Ủi lại thêm vài giây nữa để đảm bảo keo dính chặt.
Chăm sóc lâu dài cho miếng dán ủi của bạn
Để giữ cho miếng dán ủi của bạn luôn đẹp lâu nhất có thể, việc chăm sóc đúng cách là vô cùng quan trọng. Dưới đây là một số mẹo để bảo quản miếng dán sau khi dán:
- Washing: Lộn mặt trái của vải trước khi giặt. Điều này giúp bảo vệ miếng dán khỏi cọ xát vào các đồ khác trong quá trình giặt. Sử dụng nước lạnh và chế độ giặt nhẹ nhàng.
- Drying: Tránh sử dụng máy sấy nếu có thể, vì nhiệt độ cao có thể làm bong keo dán. Phơi khô vải bị vá hoặc sấy khô ở nhiệt độ thấp.
- Ironing:Nếu sau này bạn cần ủi vải, hãy phủ thêm một lớp vải lên miếng vá để bảo vệ miếng vá khỏi nhiệt trực tiếp.
Tại sao nên chọn miếng dán ủi?
Miếng dán ủi không chỉ dễ dán mà còn đa năng và bền bỉ. Dù bạn đang tùy chỉnh áo khoác, che lỗ thủng hay tạo ra những món đồ thời trang độc đáo, những miếng dán này đều mang đến một giải pháp sáng tạo và giá cả phải chăng. Quy trình dán nhanh chóng, và chỉ cần một chút luyện tập, bạn sẽ thành thạo kỹ thuật này và có thể tự tin dán miếng dán.
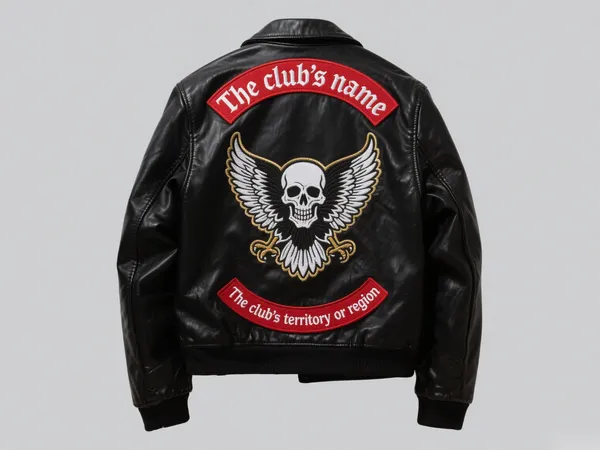
Ngoài ra, miếng dán ủi là một lựa chọn tuyệt vời cho các thương hiệu muốn thêm logo hoặc thiết kế lên sản phẩm. Bằng cách chọn đúng vật liệu và làm theo đúng hướng dẫn, các doanh nghiệp có thể tạo ra những miếng dán tùy chỉnh trông chuyên nghiệp và bền bỉ theo thời gian.
Suy nghĩ cuối cùng
Biết cách ủi miếng vá Việc may vá đúng cách có thể giúp bạn tiết kiệm thời gian và công sức, đồng thời mang lại kết quả chuyên nghiệp. Với vật liệu phù hợp, các bước thực hiện đúng và một chút kiên nhẫn, bạn sẽ có thể thêm các thiết kế, logo và dấu ấn cá nhân đầy phong cách lên bất kỳ loại vải nào. Hãy làm theo những hướng dẫn đơn giản này, và bạn sẽ có thể tận hưởng những dự án chắp vá mới của mình trong nhiều năm tới!
Bằng cách làm theo những điều này hướng dẫn dán miếng ủi Và chăm sóc miếng vá đúng cách, bạn có thể dễ dàng tạo ra những dự án DIY tuyệt đẹp và những món đồ cá nhân hóa. Cho dù bạn là người đam mê thời trang, thợ thủ công hay chủ doanh nghiệp đang tìm cách thêm miếng vá tùy chỉnh vào sản phẩm, hướng dẫn này sẽ giúp bạn đạt được kết quả hoàn hảo mọi lúc. Chúc bạn vá vui vẻ!