Việc tạo ra thứ gì đó thực sự độc đáo luôn mang lại phần thưởng—đặc biệt là khi sáng tạo đó đại diện cho bản sắc, thương hiệu hoặc phong cách cá nhân của bạn. Đó là nơi thiết kế miếng vá thêu của riêng bạn đến. Cho dù bạn là một nghệ sĩ, một chủ doanh nghiệp nhỏ hay là một phần của một câu lạc bộ hay tổ chức, thiết kế miếng vá thêu tùy chỉnh cho phép bạn biến ý tưởng của mình thành tác phẩm nghệ thuật hữu hình, có thể đeo được.
Hướng dẫn toàn diện này sẽ hướng dẫn bạn mọi thứ bạn cần biết về tạo bản vá cá nhân, từ những điều cơ bản về thiết kế đến lựa chọn vật liệu và tùy chọn ứng dụng. Nếu bạn đã sẵn sàng biến tầm nhìn của mình thành hiện thực, hãy đọc tiếp.
Tại sao nên thiết kế miếng vá thêu của riêng bạn?
Có điều gì đó đặc biệt khi tạo ra một miếng vá từ đầu. Nó vượt ra ngoài tính thẩm mỹ—mà là để đưa ra một tuyên bố.
1. Kiểm soát sáng tạo toàn diện
Thiết kế miếng vá của riêng bạn có nghĩa là bạn có thể quyết định mọi yếu tố—từ phối màu và phông chữ đến bố cục và kiểu nền. Bạn có thể phản ánh thương hiệu, giá trị hoặc cá tính của mình theo những cách mà thiết kế có sẵn không bao giờ làm được.
2. Bản sắc độc nhất vô nhị
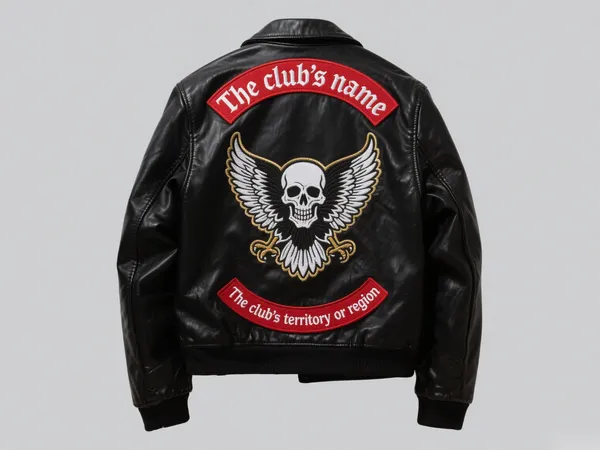
Cho dù bạn đang thiết kế cho một doanh nghiệp, trường học, câu lạc bộ hay sự kiện, một miếng vá tùy chỉnh sẽ tăng thêm tính chuyên nghiệp và độc đáo. Nó thể hiện sự suy nghĩ và chủ đích, đặc biệt là khi so sánh với các lựa chọn thay thế được sản xuất hàng loạt.
3. Tính linh hoạt trong nhiều trường hợp sử dụng
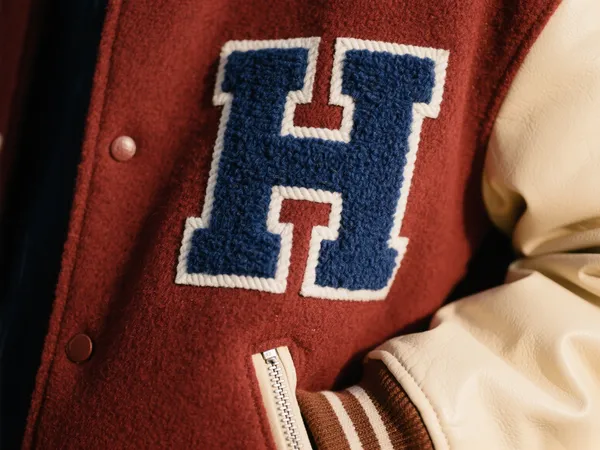
Miếng vá tùy chỉnh cực kỳ linh hoạt. Sử dụng chúng trên đồng phục, ba lô, áo khoác, mũ, v.v. Chúng phù hợp để làm quà tặng khuyến mại, đồ dùng của nhóm, sự kiện kỷ niệm hoặc thậm chí là tuyên bố thời trang.
Hướng dẫn từng bước: Cách thiết kế miếng vá thêu của riêng bạn
Bước 1: Xác định mục đích
Trước khi tìm hiểu các công cụ thiết kế, hãy cân nhắc mục đích của miếng vá. Có phải để xây dựng thương hiệu không? Nhận diện nhóm? Thể hiện cá nhân? Hiểu được mục đích giúp bạn chọn đúng màu sắc, hình dạng và văn bản.
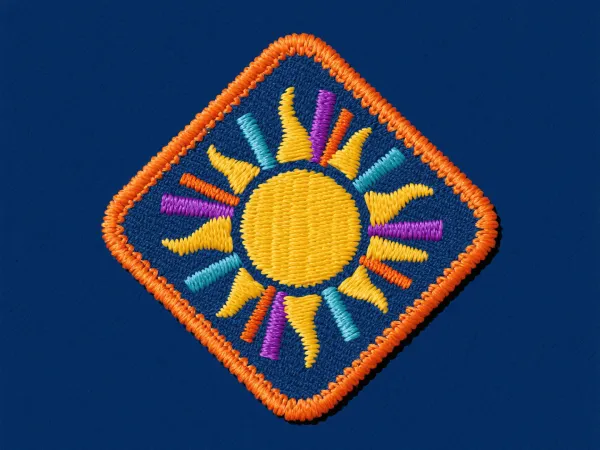
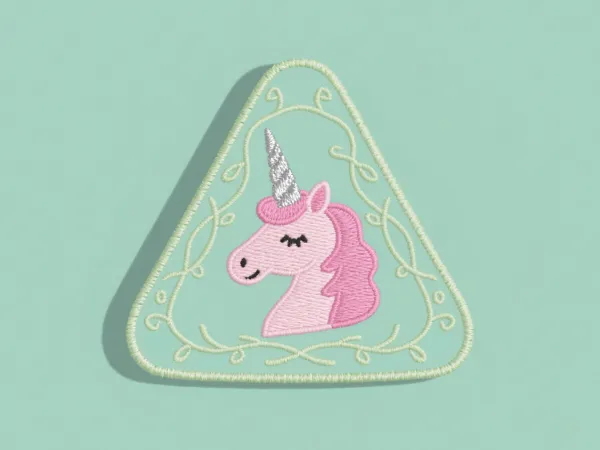
Bước 2: Chọn hình dạng và kích thước
Các hình dạng phổ biến bao gồm hình tròn, hình vuông, hình khiên và các đường viền cắt khuôn tùy chỉnh. Kích thước miếng vá của bạn phải phù hợp với khu vực ứng dụng của nó—miếng vá tay áo khác với miếng vá lưng về kích thước và yêu cầu về khả năng hiển thị.
Bước 3: Chọn bảng màu của bạn
Sử dụng các kết hợp màu có độ tương phản cao để đảm bảo độ rõ nét. Ví dụ, văn bản màu trắng trên nền tối hoặc đường viền đậm giúp văn bản hoặc ký hiệu nhỏ hơn nổi bật. Sử dụng 3–5 màu để đơn giản và dễ đọc.
Bước 4: Tập trung vào tính dễ đọc và đơn giản
Tránh các chi tiết nhỏ hoặc văn bản đẹp có thể bị mất trong quá trình thêu. Hãy nhớ rằng thêu có giới hạn của nó—các đường kẻ dày hơn và đồ họa đơn giản hơn mang lại kết quả tốt hơn.
Bước 5: Thêm văn bản một cách khôn ngoan
Nếu miếng vá của bạn có tên, khẩu hiệu hoặc địa điểm, hãy sử dụng phông chữ rõ ràng, không chân hoặc phông chữ viết tay dày được thiết kế để thêu. Giữ cho nó ngắn gọn—sự ngắn gọn sẽ cải thiện tác động.
Bước 6: Chọn phong cách thêu của bạn
Bạn có thể chọn thêu phẳng tiêu chuẩn hoặc thêu phồng 3D để có thêm chiều sâu. Một số miếng vá có nhiều chất liệu như nền vải chéo hoặc các cạnh vá để có vẻ ngoài hoàn thiện.
Hãy xem xét loại hỗ trợ của bạn
Cách dán miếng vá của bạn cũng quan trọng như cách nó trông như thế nào. Sau đây là những lựa chọn phổ biến nhất:
- ủi: Dễ dàng sử dụng bằng bàn là gia dụng—thích hợp cho những người thích tự làm.
- May-Trên:Vĩnh viễn và an toàn, lý tưởng cho việc giặt giũ thường xuyên hoặc sử dụng nặng.
- Velcro: Có thể tháo rời và thay đổi vị trí, lý tưởng cho các ứng dụng quân sự hoặc chiến thuật.
- Keo dính: Miếng dán thích hợp cho mục đích quảng cáo ngắn hạn.
Các công cụ bạn có thể sử dụng để thiết kế miếng vá tùy chỉnh
Ngay cả khi bạn không phải là nhà thiết kế, bạn vẫn có thể tạo ra một bản vá tuyệt vời. Sau đây là một số công cụ và dịch vụ có thể truy cập:
- Nền tảng thiết kế trực tuyến:Nhiều nhà sản xuất miếng vá cung cấp các công cụ trực tuyến cho phép bạn kéo và thả hình dạng, thêm văn bản và chọn màu.
- Phần mềm đồ họa:Đối với người dùng nâng cao, các công cụ như Adobe Illustrator hoặc Photoshop cho phép kiểm soát hoàn toàn.
- Mẫu miễn phí:Bắt đầu bằng một mẫu và tùy chỉnh cho phù hợp với nhu cầu của bạn.
Nếu bạn làm việc với một nhà cung cấp, họ thường cung cấp hỗ trợ thiết kế miễn phí để đảm bảo tầm nhìn của bạn được hiện thực hóa thành tác phẩm thêu thành công.
Khi nào nên cân nhắc đến sự trợ giúp chuyên nghiệp
Nếu thiết kế của bạn bao gồm đồ họa phức tạp, gradient hoặc phông chữ phức tạp, bạn nên tham khảo ý kiến của chuyên gia về miếng vá. Họ sẽ biết cách chuyển đổi khái niệm của bạn thành tệp thêu khả thi (thường được gọi là tệp "số hóa") đáp ứng các nhu cầu kỹ thuật của khâu.
Mẹo dành cho người tạo bản vá lần đầu
- Yêu cầu mẫu hoặc bản thử nghiệm: Luôn yêu cầu bản mô phỏng kỹ thuật số hoặc mẫu vật lý trước khi sản xuất hàng loạt.
- Bắt đầu nhỏ:Nếu bạn không chắc chắn về kích thước hoặc kiểu dáng, hãy thử với đơn hàng nhỏ hơn trước.
- Nghĩ về dài hạn:Một miếng vá thêu được làm tốt có thể sử dụng trong nhiều năm, vì vậy hãy tận dụng nó.

Phần kết luận
Thiết kế miếng vá thêu của riêng bạn là một quá trình trao quyền và sáng tạo. Nó cho phép bạn thể hiện bản sắc, thể hiện sự khéo léo và nổi bật trong một thế giới đầy rẫy thương hiệu chung chung. Cho dù bạn đang làm miếng vá để giải trí, kinh doanh hay cộng đồng, sự hài lòng khi thấy thiết kế của bạn trở thành hiện thực là vô song.
Với kế hoạch, công cụ và sự chú ý đúng đắn đến từng chi tiết, thiết kế miếng vá thêu tùy chỉnh có thể trở thành biểu tượng lâu dài của sự sáng tạo và niềm tự hào. Vì vậy, hãy thực hiện bước đầu tiên—bắt đầu phác thảo, thử nghiệm và mang theo tạo bản vá cá nhân với cuộc sống ngày nay.