Dikiş yamaları Giysileri onarmak, ekipmanları kişiselleştirmek ve ceketlere, sırt çantalarına, şapkalara ve daha fazlasına kişisel bir hava katmak için en eski ve en etkili yöntemlerden biridir. İster bir yırtığı kapatın, ister bir moda ifadesi yaratın, ister özel bir logo ekleyin, yamalar nasıl dikilir düzgün bir şekilde dayanıklılığını ve temiz bir görünümünü garanti eder.
Bu kapsamlı rehber, bilmeniz gereken her şeyde size yol gösterecek el dikişi yamalarıDoğru malzemeleri, dikiş tekniklerini ve yama yerleşimini seçmek. Gardırobunuzun veya aksesuarlarınızın kontrolünü ele almaya hazırsanız, bu işte ustalaşmak için okumaya devam edin.
Ütülemek veya yapıştırmak yerine neden yamaları dikmeliyiz?
Ütüyle yapıştırılan ve yapışkanlı yamalar kullanışlı olsa da, dikiş en güvenli ve uzun ömürlü uygulama yöntemini sunar. İşte nedeni:
- Dayanıklılık: Dikili yamalar yıkamaya, yoğun kullanıma ve çeşitli hava koşullarına karşı daha dayanıklıdır.
- Esneklik: Deri, kot ve kanvas gibi daha geniş bir yelpazedeki malzemelere dikiş yapabilirsiniz.
- Özelleştirme: El dikişi, yaratıcı kenarlıklar eklemenize veya benzersiz bir görünüm için iplik renklerini karıştırmanıza olanak tanır.
- Onarım Yeteneği: Dikiş yamaları yıpranmış veya hasar görmüş kumaşları güçlendirerek giysilerinizin veya donanımınızın ömrünü uzatabilir.
Zamanın testinden geçen profesyonel görünümlü sonuçlar isteyen herkes için dikiş doğru yoldur.
Yama Dikmeye Başlamak İçin İhtiyacınız Olanlar
İşleme başlamadan önce doğru araçları toplayın:
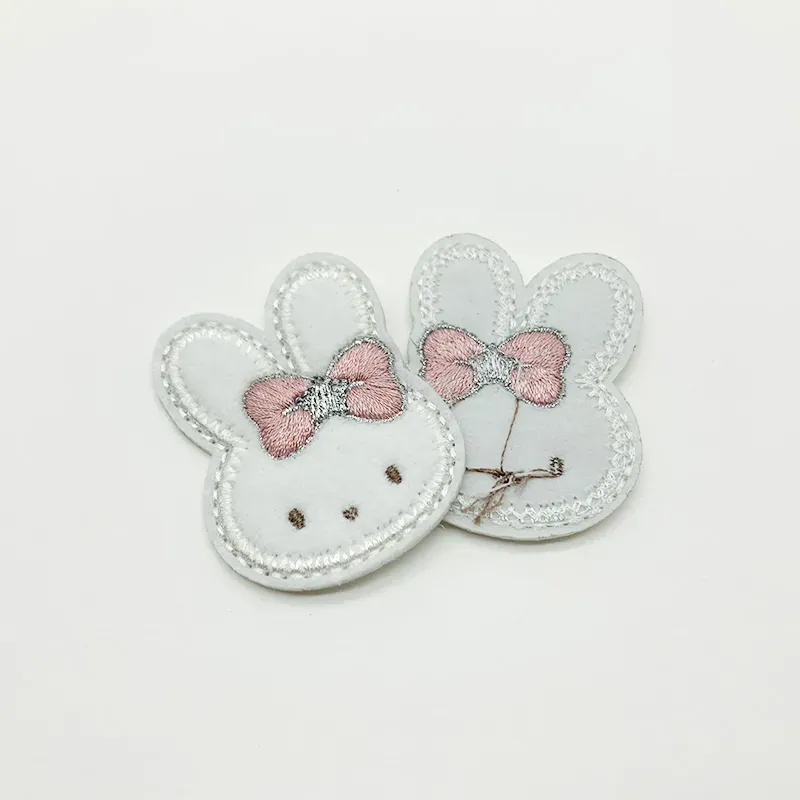
- Patch:Amacınıza göre işlemeli, dokuma, deri veya PVC yamalardan birini seçin.
- İğne: Diktiğiniz kumaşa uygun, güçlü ve keskin bir iğne kullanın. Kot veya deri iğneleri daha kalın kumaşlar için en iyi sonucu verir.
- İplik: Polyester veya dayanıklı iplik, yamanın sabitlenmesi için gereken sağlamlığı sağlar.
- Scissors: İplik ve kumaş kenarlarını düzeltmek için.
- Pins veya Kumaş Tutkalı:Yamayı geçici olarak yerinde tutmak için.
- Yüksük (isteğe bağlı): Özellikle kalın katmanların arasından geçerken parmaklarınızı korumak için.
Bu temel malzemelerle yamalarınızı güvenle elle dikmeye başlayabilirsiniz.

Yama Nasıl Dikilir: Adım Adım Talimatlar
Adım 1: Yama Yerleşimini Seçin
Hem işlevselliği hem de stili göz önünde bulundurun. Bir deliği mi kapatıyorsunuz, bir logo mu sergiliyorsunuz yoksa şıklık mı katıyorsunuz? Tipik yerleşimler şunlardır:
- Kollar
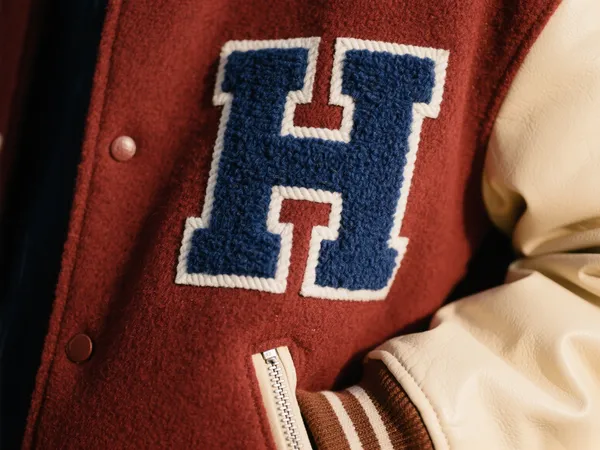
- Ceketlerin göğüs veya arkası
- Pantolon dizleri
- Şapkalar veya kepler
- Çantalar ve sırt çantaları
Dikmeden önce iğne veya az miktarda kumaş tutkalı kullanarak yamayı tam istediğiniz yere yerleştirin.
Adım 2: İğnenizi İpliğe Geçirin
Yaklaşık 45-60 cm uzunluğunda bir iplik kesin. Ekstra sağlamlık için ikiye katlayın ve ucuna bir düğüm atın. Daha temiz bir görünüm için yamanızın kenarına uygun bir iplik rengi seçin veya kontrast bir etki için kalın bir iplik kullanın.
Adım 3: Dikmeye Başlayın
Düğümü gizlemek için giysinin iç kısmından başlayın. Aşağıdaki el dikiş tekniklerinden birini kullanın:
- Düz Dikiş: Basit ve etkili. İğneyi yama kenarı boyunca içeri ve dışarı doğru sokun.
- Koşu Dikişi: Düz dikişe benzer ancak daha dekoratif bir görünüm için eşit aralıklarla yerleştirilmiştir.
- Battaniye Dikişi: Daha güvenli bir kenar sağlar ve genellikle kalın yamalar veya deri için kullanılır.
Yamanın etrafında yavaşça ve eşit bir şekilde çalışın, ipliği sıkılaştırın ancak kumaşı buruşturacak kadar da sıkılaştırmayın.
4. Adım: Bağlayın ve Bitirin
Tüm çevresini diktikten sonra, ipliği kumaşın iç tarafına bir düğümle sabitleyin. Daha fazla güvenlik için, dikiş hattının üzerinden ikinci kez geçin. Fazla ipliği kesin ve yamanız kullanıma hazır!

Kusursuz Yama Dikişi İçin İpuçları
- Artık kumaş üzerinde pratik yapın En sevdiğiniz eşyalara yama takmadan önce.
- Bir nakış kasnağı kullanın Eğer kumaşınız yumuşaksa veya toplanmaya meyilliyse.
- İpliğinizi çift düğümleyin çözülmesini önlemek için.
- Daha büyük veya daha ağır yamalar için, merkezi güçlendirmek birkaç iç dikişle.
İster yeni başlayan olun ister deneyimli bir zanaatkar, bu küçük ayarlamalar patchwork'ünüzün son görünümünde ve dayanıklılığında büyük fark yaratabilir.
El Dikişli Yamaların Yaratıcı Kullanımları
El dikişi yamalar sadece tamir amaçlı değil, aynı zamanda yaratıcılık için de güçlü bir araçtır. İşte bazı popüler fikirler:
- Üniformaları veya takım ceketlerini özelleştirin işlemeli isim veya logo yamaları ile.
- Kot ceketleri süsleyin temalı yamalar (gruplar, çizgi filmler, politik açıklamalar) ile.
- Eski kıyafetleri geri dönüştürün Kot pantolonlara, gömleklere veya tote çantalara trend yamalar ekleyerek.
- Kendin Yap hediyeler yaratın Kişiye özel şapkalar, atkılar veya el dikişli tasarımlara sahip önlükler gibi.
Yamaları elle dikmek, her bir parçaya kişisel bir dokunuş katarken aynı zamanda işçiliğinizi de sergiler.
Son Düşünceler
Öğrenme yamalar nasıl dikilir Hem pratik çözümler hem de kişiselleştirilmiş stil için sonsuz olanaklar sunar. Yıpranmış bir kot pantolonu güçlendirmekten motosiklet ceketinize şıklık katmaya kadar, el dikişi yamalarınızın uzun ömürlü olmasını ve en iyi şekilde görünmesini sağlar.
İster işlevsellik ister şıklık için yama yapıyor olun, elle dikmeye zaman ayırmak size kontrol, yaratıcılık ve özgüven kazandırır. Öyleyse aletlerinizi toplayın, bir yama seçin ve dikmeye başlayın; gardırobunuz (ve belki de cüzdanınız) size teşekkür edecek.