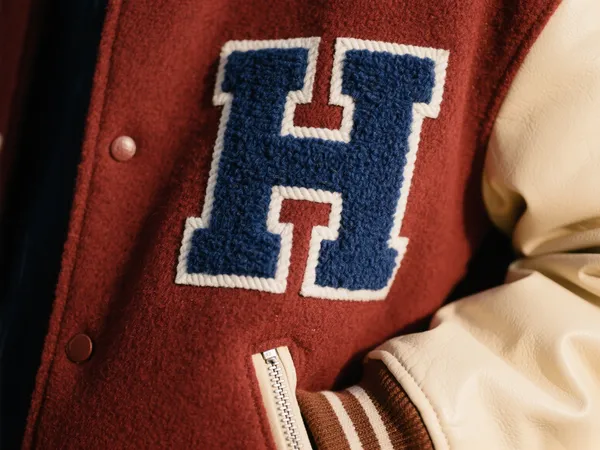
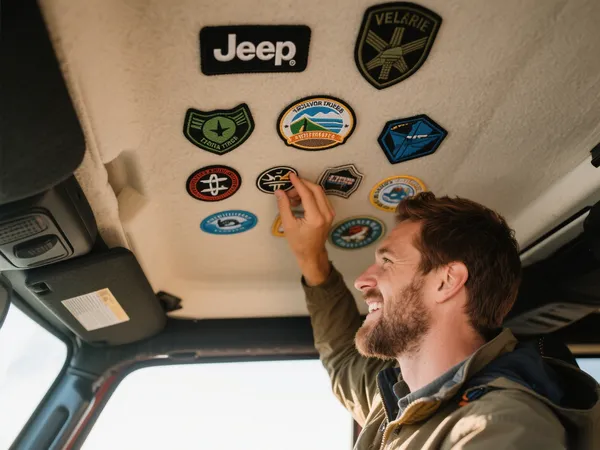
Приклеиваемые нашивки — это фантастический способ выразить свою индивидуальность, починить одежду или улучшить свой стиль. Независимо от того, являетесь ли вы любителем моды своими руками или просто пытаетесь заделать дырку на джинсах, узнайте, как правильно использовать латка для утюга является ключом к получению долгосрочных результатов.
В этом руководстве мы расскажем вам, как прикреплять нашивки утюгом, какие инструменты вам понадобятся и как избежать распространенных ошибок, чтобы ваши нашивки выглядели великолепно и оставались надежными.
Что такое патч-утюг?
А латка для утюга не является особым видом утюга, а скорее использованием бытового утюга для прикрепления заплатки с клеевой основой к ткани. Клей на обратной стороне заплатки расплавляется и приклеивается к одежде при нагревании. Этот метод быстрый, простой и не требует шитья.
В производстве также используются профессиональные термопрессы, но для большинства людей вполне подойдет и домашний утюг, если следовать правильным инструкциям.
Что вам понадобится
Перед тем как накладывать заплатку, соберите следующие предметы:
- Одежда (лучше всего подойдет хлопок или полиэстер)
- Твой iron-on patch
- Обычный бытовой утюг (без пара)
- Ткань для проглаживания или тонкое полотенце
- Твердая, термостойкая поверхность (например, гладильная доска)
По желанию: пергаментная бумага, если на вашей нашивке тонкая вышивка или металлизированная нить.
Как пришить аппликацию: пошаговые инструкции
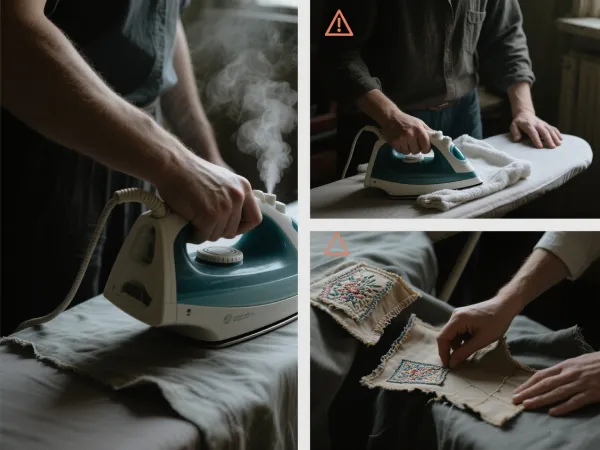
Шаг 1: Разогрейте утюг
Установите утюг на режим «хлопок» или «высокая температура». Убедитесь, что Функция подачи пара отключена., так как влага ослабляет клей.
Шаг 2: Разместите заплатку
Положите одежду на ровную, твердую поверхность. Разгладьте все складки. Решите, где вы хотите разместить заплатку, и убедитесь, что она ровная.
Если на вашей заплатке бумажная подложка, снимите ее перед наклеиванием.
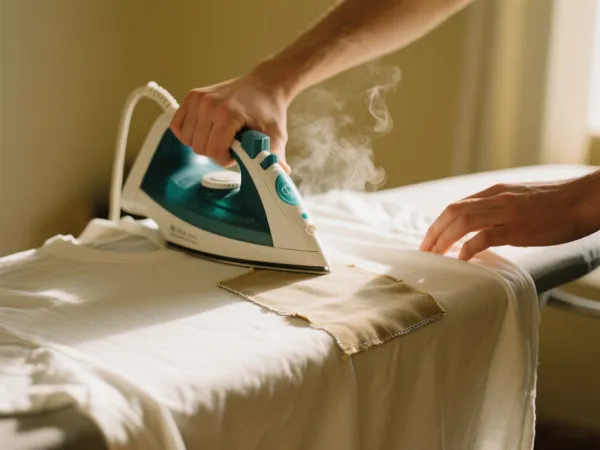
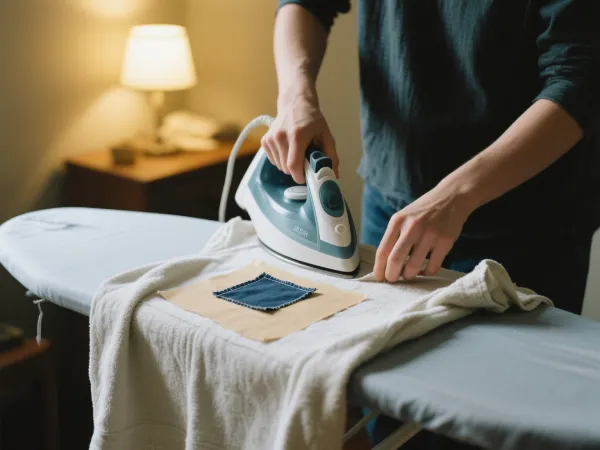
Шаг 3: Накройте тканью.
Положите ткань для прессования (например, тонкое полотенце или наволочку) поверх заплатки. Это защитит ее от прямого контакта с горячим утюгом, предотвращая ожоги или расплавленные нитки.
Шаг 4: Примените тепло
Плотно прижмите утюг к заплатке примерно на 15–30 секунд, равномерно надавливая. Не перемещайте утюг вперед и назад — это может сместить заплатку или помять ткань.
Шаг 5: Переверните и запечатайте
Выверните изделие наизнанку и прогладьте заднюю часть области нашивки еще раз. 10–15 секунд для полной герметизации клея.
Шаг 6: Дайте остыть.
Дайте заплатке остыть в течение нескольких минут. Это даст клею время схватиться и затвердеть. Избегайте тянуть или дергать за края в это время.
Советы для достижения долгосрочных результатов
- Перед тем как накладывать заплатку, постирайте одежду. для удаления остатков таких средств, как кондиционеры для белья или замасливатели.
- Не используйте на водонепроницаемых или термочувствительных материалах. такие как нейлон или вискоза.
- Избегайте сушки в сушильной машине.—высокие температуры могут со временем размягчить клей. Сушка на воздухе безопаснее.
- Подождите 24–48 часов. перед стиркой изделия после нанесения.
Как узнать, сработало ли это
После охлаждения заплатка должна лежать ровно, без свободных углов. Аккуратно потяните края — если они приподнимутся, снова приложите тепло с помощью прижимной ткани.
Если заплатка не держится после нескольких попыток, рассмотрите возможность ее укрепления путем пришивания по краям.
Распространенные ошибки при использовании утюга для заплаток
Использование режима Steam
Пар препятствует склеиванию клея. Всегда выключайте функцию подачи пара на утюге.
Пропуск гладильной ткани
Прямое воздействие тепла может повредить деликатные ткани или привести к расплавлению синтетических нитей.
Недостаточно долго нагревается
Слишком мало тепла означает, что клей не полностью активируется. Если вы не уверены, лучше повторно подавать тепло короткими импульсами, чем рисковать сжечь ткань.
Можно ли повторно пришить заплатку?
Да! Если заплатка начинает отклеиваться, вы можете прогладить ее снова, используя тот же метод. Просто убедитесь, что область чистая и сухая, и не перегревайте ткань.
Когда следует заняться шитьем?
Приклеиваемые нашивки удобны, но некоторые применения, например, плотные джинсовые куртки или верхняя одежда, могут выиграть от шитья. Шитье можно использовать в сочетании с глажкой для максимальной прочности, особенно для заплаток на участках с высоким трением, таких как колени, локти или лямки рюкзака.
Заключительные мысли
Используя латка для утюга наклеивание термонаклеек — это быстрый и эффективный способ персонализировать ваш гардероб или отремонтировать одежду. При правильной технике ваши нашивки могут оставаться яркими и надежными при многократном ношении и стирке.
Если вы учитесь как пришить заплатку Чтобы преобразить модную куртку или скрыть дырку на любимых джинсах, это руководство даст вам все необходимое для успеха.