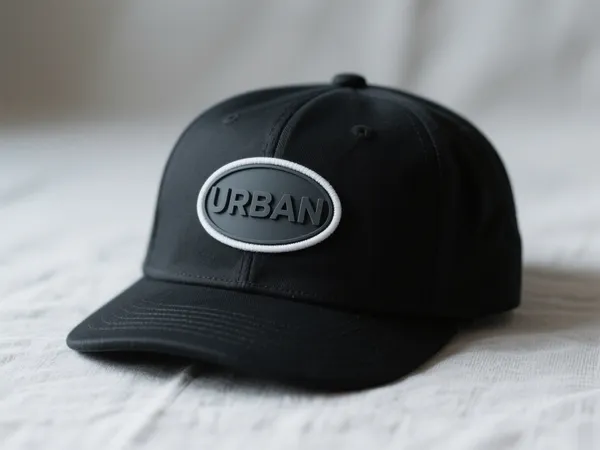
Quer atualizar seu boné simples ou adicionar um toque pessoal aos produtos da sua marca? Aplique ferro em remendos de chapéu são uma das maneiras mais fáceis e eficazes de personalizar chapéus. Seja para criar um projeto "faça você mesmo", promover seu logotipo ou montar uma linha de produtos personalizada, esses patches oferecem um método simples e sem costura para destacar seus chapéus.
Nesta postagem do blog, vamos nos aprofundar nos benefícios de remendos de chapéu personalizados, como aplicar corretamente adesivos termocolantes em chapéus e as melhores práticas para deixá-los lindos e duráveis.
Por que escolher remendos termocolantes para chapéus?
Os adesivos termocolantes são projetados com um suporte adesivo ativado por calor que adere ao tecido quando o calor é aplicado — normalmente com um ferro de passar roupa doméstico ou prensa térmica. Veja por que eles combinam perfeitamente com chapéus:
✅ Não requer costura
Perfeito para quem quer um acabamento com aparência profissional sem agulha e linha.
✅ Aplicação rápida e fácil
Você pode anexar um patch a um chapéu em apenas alguns minutos — ideal para quem faz por conta própria, artesãos ou pequenos empresários.
✅ Personalização acessível
Transforme bonés básicos em peças de moda personalizadas ou produtos de marca a um custo baixo.
✅ Versatilidade
Os adesivos termocolantes funcionam na maioria dos materiais de chapéus, incluindo algodão, jeans e lona.

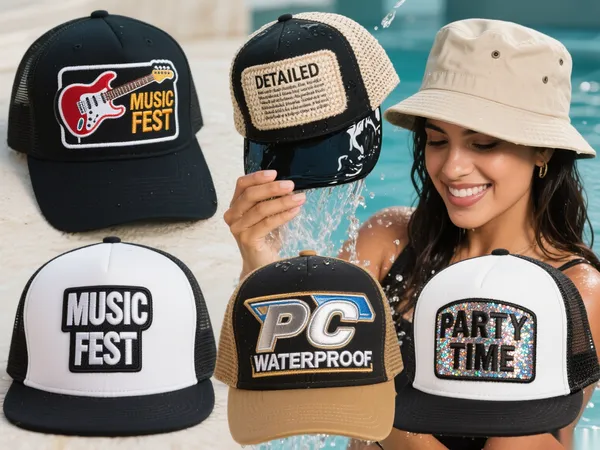
Usos populares para patches de chapéu personalizados
Patches de chapéu personalizados para passar a ferro são usados em uma ampla gama de aplicações pessoais, comerciais e promocionais:
- 🧢 Marcas de moda e streetwear – Crie bonés exclusivos e de edição limitada
- 🎁 Presentes e Projetos Pessoais – Ótimo para aniversários, feriados ou eventos
- 🚀 Startups e Pequenas Empresas – Promova seu logotipo em produtos acessíveis
- 🏫 Clubes e Escolas – Crie chapéus de equipe para grupos esportivos ou estudantis
- 🧵 Artesãos e artesãos – Adicione estilo aos chapéus vintage ou de segunda mão
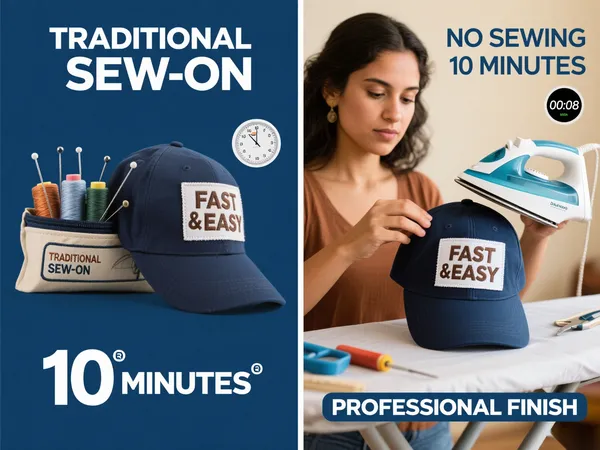
Como passar remendos em um chapéu (passo a passo)
Aplicar um aplique termocolante em um chapéu exige um pouco mais de cuidado do que em peças planas devido à superfície curva, mas ainda é muito fácil de fazer. Veja como:
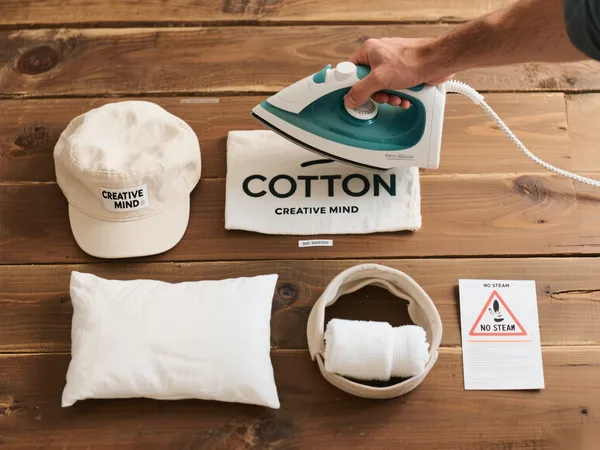
🔧 O que você vai precisar:
- Seu remendo termocolante
- Um chapéu limpo e seco (de preferência de algodão ou lona)
- Um ferro de passar roupa doméstico ou uma prensa térmica
- Um pano fino para prensar (como uma fronha ou papel vegetal)
- Uma superfície curva e dura (como uma toalha enrolada ou um chapéu)
🧵 Instruções passo a passo:
- Position the Patch
Decida onde você quer o remendo — normalmente na parte frontal da cabeça ou na lateral. Use alfinetes ou fita adesiva para fixá-lo, se necessário. - Aqueça o ferro
Ajuste o seu ferro na configuração “Algodão” ou em temperatura alta. Desligue o vapor. - Aplique pressão com um pano
Coloque o pano de prensagem sobre o remendo para proteger o bordado e o tecido. - Pressione firmemente
Segure o ferro na área do remendo por 15–20 segundos com pressão firme. Para áreas curvas, faça o possível para manter o contato em toda a área. - Verifique as bordas
Levante o pano e verifique se todas as bordas estão seladas. Caso contrário, repita em intervalos de 5 a 10 segundos. - Deixe esfriar
Deixe o remendo esfriar completamente antes de usar ou ajustar o chapéu.
💡 Dica profissional: se a parte da frente do seu chapéu for muito estruturada ou grossa, uma prensa térmica pode proporcionar resultados mais uniformes do que um ferro de passar em casa.
Melhores tipos de remendos para chapéus de ferro
Ao escolher ou criar patches para chapéus, considere as seguintes opções:
🧵 Patches Bordados
Clássico e texturizado, perfeito para logotipos, slogans ou emblemas.
🧊 Patches Tecidos
Ótimo para textos pequenos ou imagens detalhadas com acabamento mais plano.
🌧️ Remendos de PVC ou borracha (suporte de transferência térmica)
Moderno e à prova d'água, ideal para uso ao ar livre ou em eventos esportivos.
✨ Patches especiais
Experimente linhas brilhantes, refletivas ou metálicas para obter efeitos únicos.
Quanto tempo duram os remendos de chapéu termocolantes?
Quando aplicado e cuidado adequadamente, iron on patches podem durar anos. No entanto, chapéus sofrem mais desgaste (suor, sol, movimento), então lembre-se destas dicas:
- Evite lavar o chapéu em água quente
- Não secar na máquina - secar somente ao ar livre
- Evite dobrar ou descascar o remendo
- Guarde o chapéu em local fresco e seco
Para uso pesado, considere reforçando o patch com alguns pontos escondidos depois de passar.
Considerações finais
Quer você esteja personalizando uma peça de moda exclusiva ou lançando uma coleção de chapéus de marca, remendos de chapéu para passar a ferro são uma maneira criativa, fácil e acessível de fazer seus bonés se destacarem. Com apenas um pouco de calor e pressão, você pode transformar qualquer chapéu em uma declaração ousada de identidade, estilo ou propósito.