Whether you’re looking to create unique biker patches, military insignia, or branded merchandise, working with a professional 패치 디자이너 or designing your own custom patches can be an exciting process. This guide will walk you through everything you need to know about 맞춤형 패치 디자인, from conceptualizing your artwork to choosing the right manufacturing method.

1. What Does a Patch Designer Do?
에이 패치 디자이너 specializes in creating embroidered, woven, or printed patches. Their role includes:
- Translating Ideas into Artwork: Converting your vision into a digital design suitable for patch production.
- Choosing Colors & Materials: Recommending thread types, fabrics, and backing options.
- Ensuring Technical Feasibility: Adjusting designs to meet manufacturing constraints (e.g., stitch limits for embroidery).
Whether you hire a professional or design your own patch, understanding the process is key to getting high-quality results.
2. How to Design a Patch: Step-by-Step Guide
If you’re tackling how to design a patch yourself, follow these steps:

Step 1: Define Your Purpose
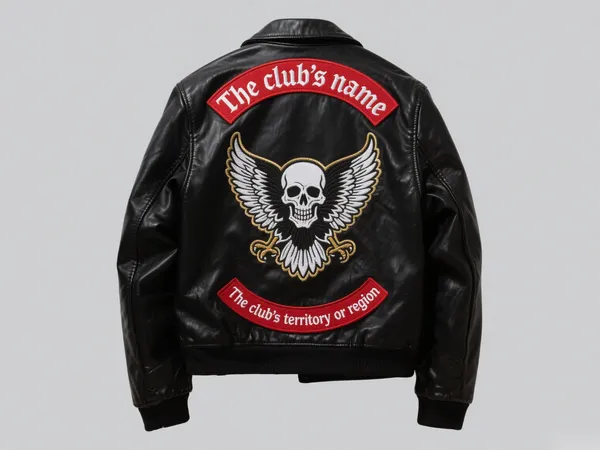
- Club/Team Patches: Often include logos, mottos, or membership details.
- Branding/Merchandise: Focus on company logos or promotional designs.
- 개인화된 패치: Can feature names, inside jokes, or artistic illustrations.
Step 2: Sketch Your Design
- Keep it simple—fine details may not translate well in embroidery.
- Use bold outlines and high-contrast colors for better visibility.
- Avoid gradients (they don’t embroider well).
Step 3: Choose Your Patch Style
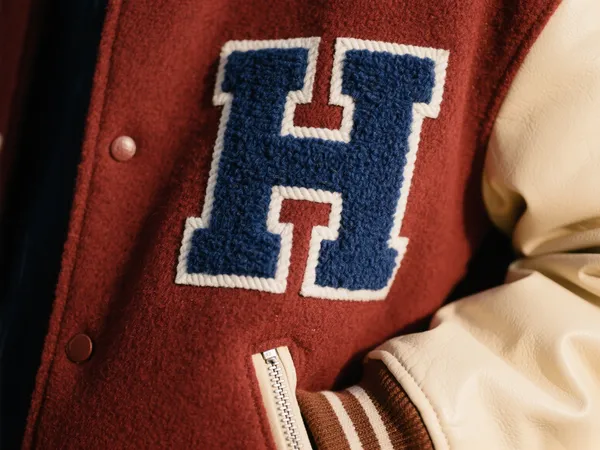
- Embroidered Patches: Classic, textured, and durable.
- 짠 패치: Smoother, better for intricate designs.
- 인쇄된 패치: Best for photorealistic images.
Step 4: Select Colors & Size
- Standard patches range from 1.5 to 6 inches.
- Limit colors to 6-8 for cost-effective embroidery.
Step 5: Use Design Software or Hire a Professional
- DIY Tools: Adobe Illustrator, Canva, or free embroidery design software.
- Professional Help: A 패치 디자이너 can refine your artwork for production.
3. Custom Patch Design: Tips for Best Results
To ensure your 맞춤형 패치 디자인 turns out perfectly:
✔ Use Vector Graphics (SVG, AI, EPS) for clean, scalable designs.
✔ Add a Border (Merrow edge or hot-cut) to prevent fraying.
✔ 백업 옵션 고려:
- Iron-on (easy for casual use)
- Sew-on (more secure for heavy wear)
- Velcro or adhesive (for removable patches)
4. Where to Find a Professional Patch Designer
If you’d rather leave the design to experts, here’s where to look:
- Freelance Platforms: Upwork, Fiverr, 99designs.
- Patch Manufacturers: Many offer in-house design services.
- Local Embroidery Shops: Some provide custom design assistance.

5. Common Patch Design Mistakes to Avoid
- Overly Complex Artwork → Results in blurry or cluttered patches.
- Too Many Colors → Increases production costs.
- Small Text → Becomes unreadable when stitched.
6. How to Order Your Custom Patches
Once your design is ready:
- Choose a Manufacturer: Look for reviews and samples.
- Request a Proof: Check colors, sizing, and stitch quality.
- 주문하기: Minimum quantities usually start at 50-100 patches.
결론
Designing a custom patch is a creative and rewarding process, whether you do it yourself or work with a professional 패치 디자이너. By following best practices for 맞춤형 패치 디자인 and understanding how to design a patch, you can create high-quality patches that perfectly represent your vision.
Ready to bring your patch idea to life? Start sketching your design today!