Looking to add personality or branding to your favorite hat? A iron on hat patch offers a fast, affordable, and stylish way to do it—without the need for sewing. Whether you’re a small business, a fashion DIYer, or part of a sports team or event, 맞춤 모자 패치 can help you create professional-looking caps with ease.
In this article, we’ll explore how iron-on patches work on hats, what materials are best, and practical tips for getting the best results.
Why Choose an Iron On Patch for Hats?
Applying patches to hats used to require stitching or embroidery. But with heat press patches for hats, customization is easier than ever. Here’s why it’s a go-to method:
✅ 재봉 필요 없음
Just a household iron or heat press will do—perfect for home crafters or small-scale production.
✅ 비용 효율적인 맞춤형
Create personalized hats for events, clubs, small brands, or giveaways without expensive embroidery machines.
✅ Professional Finish
Modern iron-on adhesives ensure a secure, clean, and long-lasting bond on most hat materials.
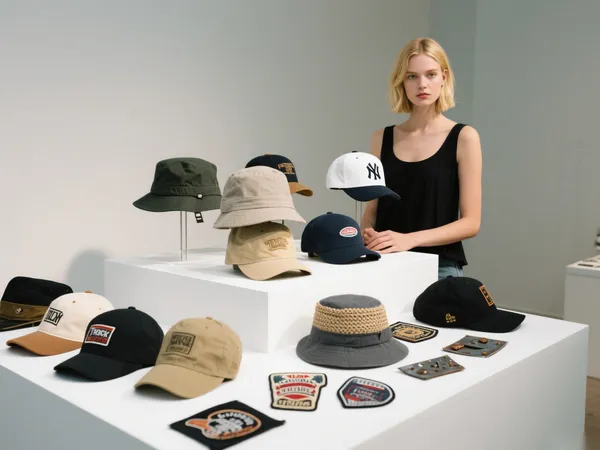
What Types of Hats Work Best with Iron-On Patches?
While many styles can work, certain hats are better suited for iron-on applications due to their material and shape:
🧢 야구 모자 (cotton, canvas, twill) – Ideal flat or semi-flat front panels
🧢 트러커 모자 – Cotton or polyester blend fronts work best; avoid mesh areas
🧢 버킷햇 – Great for larger patches or all-around branding
🧢 Dad Hats / Low Profile Caps – Use small patches that curve with the crown
🎩 Beanies or Knit Caps – Iron-on may not adhere well; use sew-on patches instead
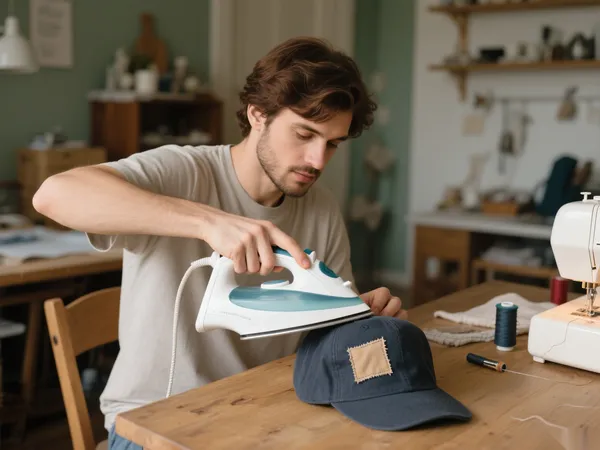
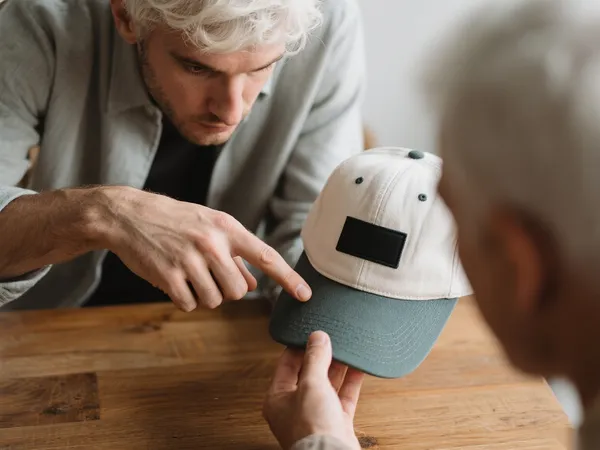
How to Apply an Iron On Patch to a Hat
Follow these steps to get a clean, durable bond when using an iron on hat patch:
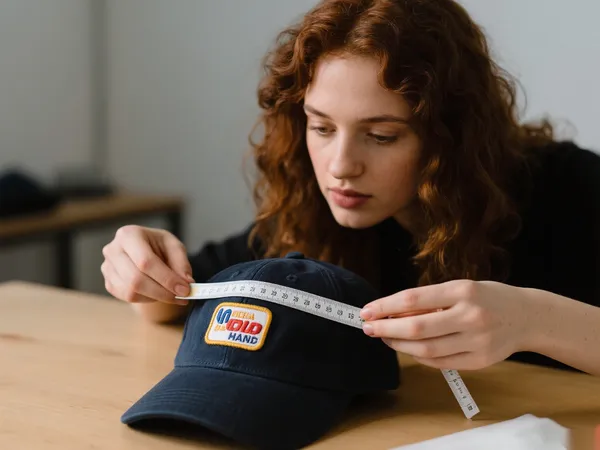
1단계: 적절한 표면 선택
The front panel of the hat (preferably flat) is best. Avoid curved seams or mesh zones.
Step 2: Preheat the Area
Warm the hat slightly with your iron for a few seconds to prep the fabric.
3단계: 패치 위치 지정
Place the patch with the adhesive side down. Use a ruler or masking tape to align it perfectly.
Step 4: Cover with Cloth
Place a thin towel or parchment paper over the patch to protect it from direct heat.
Step 5: Press with Firm Heat
Using a hot iron (no steam), press down on the patch firmly for 20–30 seconds. Apply even pressure.
6단계: 식히기
Allow the patch to fully cool before handling. This helps the adhesive set properly.
💡 선택 과목: For added security—especially on curved surfaces—add a few stitches around the patch edge.
Best Patch Types for Iron-On Hat Use
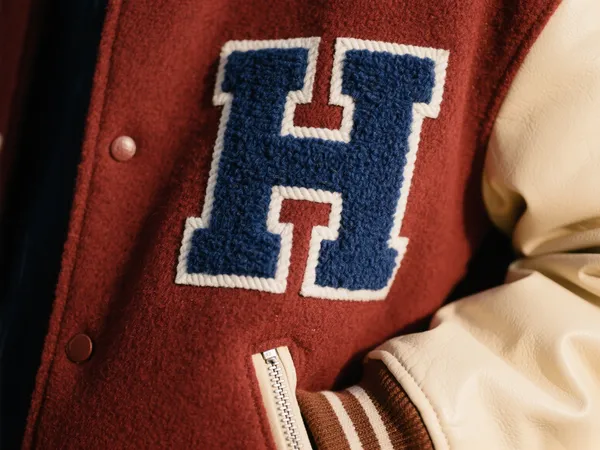
- Embroidered Patches – Traditional and textured. Bold appearance for logos or emblems.
- 짠 패치 – Cleaner detail for small fonts or intricate art.
- 승화 패치 – Full-color printed designs, perfect for photo-style graphics or complex logos.
- PVC Patches (Heat-activated) – Durable and waterproof, but require a heat press.
- Chenille Patches – Fluffy, varsity-style material great for a retro look.
Custom Hat Patch Design Ideas
- 🏆 Team Logos (baseball, esports, skate crews)
- 🎨 Artistic Designs (illustration, typography, memes)
- 💼 비즈니스 브랜딩 (logo caps, promo giveaways)
- 💬 Quotes or Mottos
- 🐾 Clubs & Communities (hiking, pets, fishing, music)
Where to Order Custom Iron-On Hat Patches
다음을 제공하는 공급업체를 찾으세요.
- Heat-activated backing options
- Free mockups or templates
- Low minimum order quantities (MOQs)
- Hat + patch bundles
Make sure the patch size fits the hat’s available space—standard is 2–3.5 inches across for most front panels.
Conclusion: Custom Hats Made Easy with Iron-On Patches
Whether you’re building a brand, outfitting a team, or just making a one-of-a-kind cap, an iron on hat patch gives you the flexibility to turn any hat into a statement piece. With minimal tools and effort, you can create long-lasting, professional customizations that stand out.
Ready to level up your headwear game? Get creative—and press on.