다림질 패치는 옷, 가방, 액세서리를 개성 있게 꾸미는 재미있고 간편한 방법입니다. 데님 재킷을 장식하거나 청바지의 찢어진 부분을 고칠 때, 패치를 어떻게 다림질하나요? 패치가 잘 붙고 오래 지속되려면 올바르게 부착하는 것이 중요합니다. 이 가이드에서는 다림질 패치를 부착하는 간단한 단계를 안내하고, 몇 가지 문제 해결 팁을 제공하며, 세탁과 마모에도 패치가 잘 붙도록 하는 방법을 설명합니다.

다림질 패치란 무엇인가요?
우리가 뛰어들기 전에 다림질 패치를 붙이는 방법먼저 패치가 무엇인지 알아보겠습니다. 다림질 패치는 뒷면에 열에 반응하는 접착제가 있습니다. 열과 압력을 가하면(보통 다리미로) 접착제가 살짝 녹아 패치를 천에 붙입니다. 이러한 패치는 자수, 인쇄, 직물, 고무 소재 등 다양한 스타일로 출시됩니다.
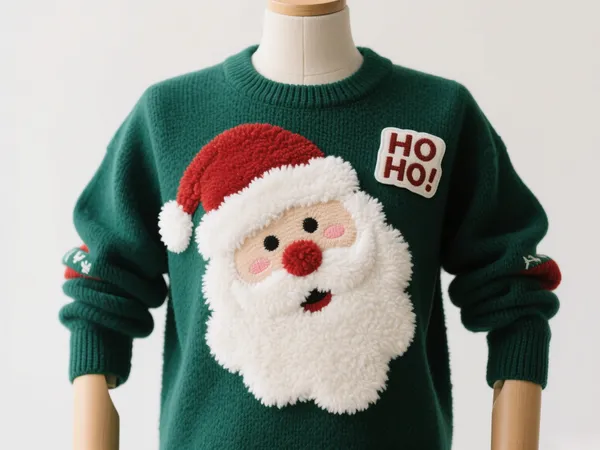
다림질 패치는 DIY 패션 프로젝트, 팀 유니폼, 스카우트 배지, 심지어 장식적인 방식으로 옷을 수선하는 데에도 인기가 있습니다.
필요한 것
과정을 시작하려면 다음 항목을 모으세요.
- 다림질 패치
- 깨끗한 천이나 옷
- 가정용 다리미(증기 없음)
- 얇은 천이나 양피지
- 평평하고 열에 안전한 표면(다림판이나 나무 테이블 등)
나일론이나 가죽처럼 섬세한 소재는 고온에서 타거나 녹을 수 있으므로 사용하지 마세요. 면이나 데님 소재가 가장 좋습니다.
단계별 지침: 패치 다림질 방법
이것을 따르세요 다림질 패치 사용 설명서 최상의 결과를 얻으려면:
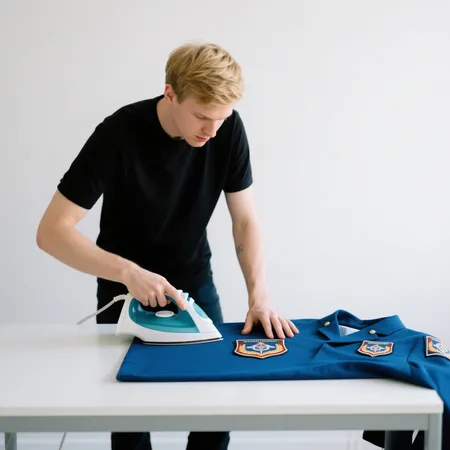
1. 표면 준비
옷이나 천을 다리미판이나 테이블 위에 평평하게 놓으세요. 주름을 펴고 패치를 붙일 부분이 깨끗하고 건조한지 확인하세요.
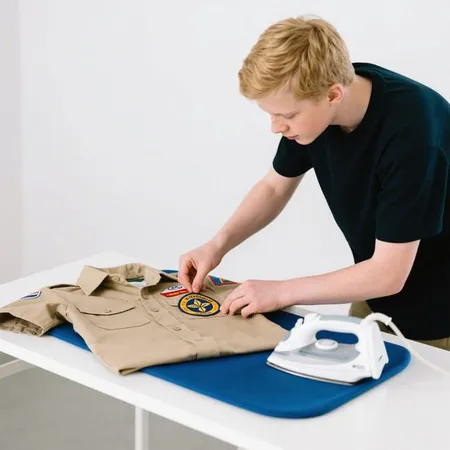
2. 패치를 놓으세요
패치를 원하는 위치에 놓으세요. 패치가 일직선이 되고 중앙에 오도록 충분히 시간을 두고 부착하세요. 다림질 후 패치를 움직이면 접착제나 원단이 손상될 수 있으니 주의하세요.
3. 천이나 양피지로 덮으세요
패치와 다리미를 보호하려면 패치 위에 얇은 면 천(베개 커버처럼 생긴 것)이나 양피지를 덮으세요. 이 층은 패치가 타거나 녹는 것을 방지하는 보호막 역할을 합니다.
4. 다리미를 가열하다
다리미의 온도를 높은 온도(일반적으로 "면" 또는 약 300°F(150°C))로 설정합니다. 증기를 사용하지 마십시오 습기로 인해 제대로 접착되지 않을 수 있습니다.
5. 열과 압력을 가하다
천을 사이에 두고 패치 위에 다리미를 단단히 눌러 약 20~30초다리미를 움직이지 않고 단단하고 고르게 압력을 가하세요.
6. 가장자리를 확인하세요
천을 들어 올려 패치 가장자리가 잘 접착되었는지 주의 깊게 확인하세요. 가장자리가 들뜨거나 느슨하게 느껴지면 10~15초 더 반복하세요.
7. 식혀라
완전히 부착되면 패치와 원단을 몇 분간 식힌 후 움직이거나 착용하세요. 이렇게 하면 접착제가 굳는 데 도움이 됩니다.
오래 지속되는 사후 관리 팁
다림질 패치를 오랫동안 안전하게 유지하려면 다음 관리 지침을 따르세요.
- 옷을 뒤집어서 뒤집으세요 세탁할 때.
- 찬물로 세탁하세요 부드러운 주기로.
- 회전식 건조는 피하세요—가능하면 자연 건조하세요.
- 표백이나 드라이클리닝을 하지 마세요화학 물질은 접착제를 약화시킬 수 있습니다.
여러 번 세탁한 후 패치가 벗겨지기 시작하면 다시 다림질하거나 가장자리를 꿰매어 보강할 수 있습니다.
피해야 할 일반적인 실수
패치를 다림질하는 것은 간단하지만, 이 과정을 망칠 수 있는 몇 가지 함정이 있습니다.
- 증기 사용: 습기로 인해 접착제가 결합되지 않을 수 있습니다.
- 압력이 충분하지 않음: 압력을 가볍게 가하면 패치가 떨어질 수 있습니다.
- 고르지 않거나 주름진 원단에 다림질을 하면 접착력이 떨어지고 주름이 생길 수 있습니다.
- 섬세하거나 열에 민감한 원단에 사용하는 경우: 화상이나 원단 손상이 발생할 수 있습니다.

다리미 없이 패치를 다림질할 수 있나요?
네, 하지만 권장하지는 않습니다. 고데기나 열 프레스를 사용하는 분들도 계시지만, 가정용 다리미는 균일한 접착력에 필요한 조절력과 표면적을 제공합니다. 다리미가 없다면 패치를 꿰매 붙이는 것이 가장 좋은 방법입니다.
마지막 생각
학습 패치를 어떻게 다림질하나요? 옷장에 개성을 더하고 옷을 창의적으로 수선할 수 있는 편리한 기술입니다. 토트백을 맞춤 제작하거나 재킷에 개성을 더할 때, 다림질 패치를 사용하면 쉽고 재미있게 작업할 수 있습니다. 다음 단계를 꼼꼼히 따라 하면 매일 입어도 오래 지속되는 멋진 결과를 얻을 수 있습니다.
이해함으로써 다림질 패치를 붙이는 방법 올바른 기법을 따르면 재봉틀 없이도 전문가다운 스타일을 연출할 수 있습니다. 옷에 새로운 활력을 불어넣고 나만의 스타일을 표현하는 가장 간단한 방법 중 하나입니다.