Customizing a TPU patch may seem straightforward, but for fashion brands and manufacturers, it’s a process full of technical decisions and potential pitfalls. From choosing the right application method to preventing color mismatches and ensuring wash durability, every step is crucial to delivering a high-quality result. In this article, we’ll walk you through the full process of customizing TPU badges—also referred to as soft PVC patches—and offer practical solutions to help you avoid common issues.
📝 Step 1: Define Requirements to Avoid Redesigns
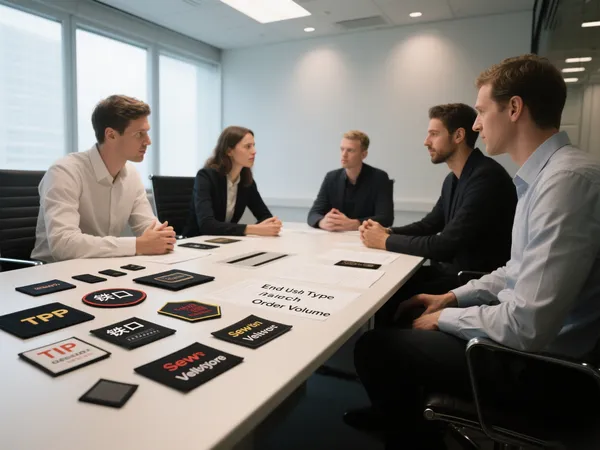
Before the design process begins, a clear understanding of your brand’s needs is essential. Key considerations include:
- End Use: Will the TPU patch be applied to garments, backpacks, or given as a promotional item? This influences the material and production method.
- Patch Type:
- Iron-on TPU patches (with adhesive backing): ideal for flat surfaces and tight-fit clothing like activewear.
- Sew-on patches: better suited for thick garments, hats, or bags where stronger durability is required.
- Velcro patches: offer removability for tactical or promotional use.
- Order Volume: Small runs (100–500 pcs) vs. bulk orders (5,000–10,000 pcs+) determine if mold costs can be discounted or waived.
Common question from brands:
“Should I choose adhesive or sew-on?”
- Use adhesive-backed patches for smooth surfaces and comfort-focused clothing.
- Choose sew-on versions for greater durability or textured fabrics.
🎨 Step 2: File Format and Artwork Requirements
Clear communication with your designer or manufacturer ensures the final TPU patch matches your vision. Required formats include:
- Vector files only: AI or EPS files prevent blurry edges and poor mold lines.
- Color references: Always provide Pantone color codes to avoid inconsistencies between screen previews (RGB/CMYK) and actual results.
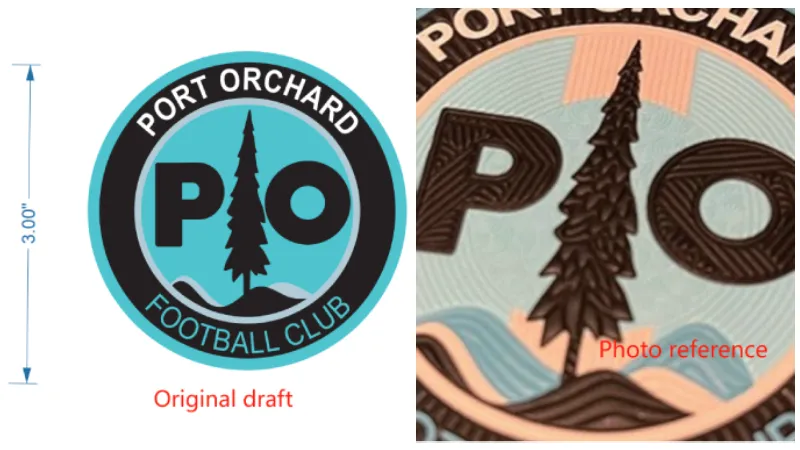
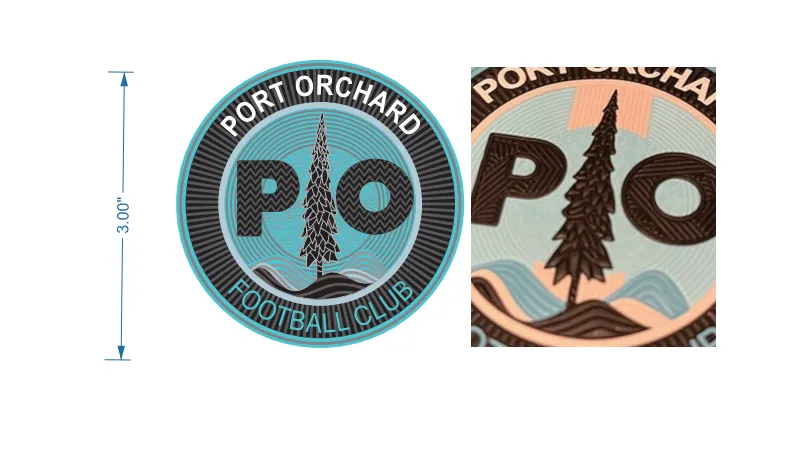
In one of our real projects, the client only shared a flat reference image but wanted 3D textures on the badge. Our design team successfully interpreted the image and created a custom textured version with impressive depth and realism.
⚙️ Step 3: Mold Creation – The Foundation of Quality
This step is critical to achieving a successful TPU patch:
- 3D Mold Drawing (1–2 working days)
The design is broken down into layered sections. Details include:- Thickness: Standard is 1.5–3mm. Thin patches deform easily, while thick ones may lose flexibility.
Common question:
“Is the mold fee refundable?”
We don’t charge separately for molds. Instead, our sample fee acts as a development deposit. For larger orders, this cost is often offset or waived entirely.
🎨 Step 4: Color Matching and Material Effects
To reduce color mismatches or texture issues:
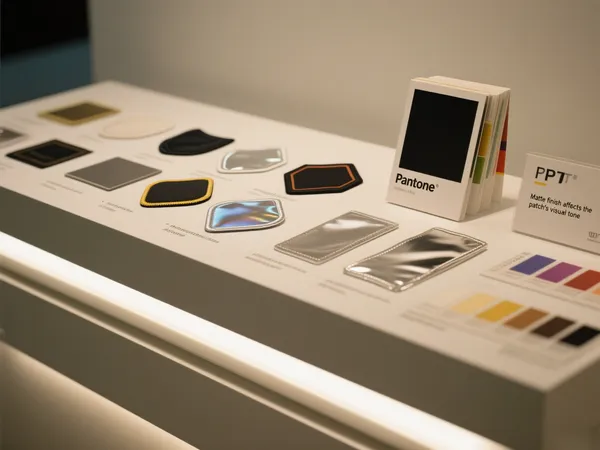
- Corrispondenza dei colori Pantone is essential. We also accept physical color swatches for reference.
- Surface finishes:
- Matte or glossy finishes affect the patch’s visual tone.
- Transparent TPU is great for layered logos but requires careful control of transparency.
- Metallic TPU looks premium but is not suitable for high-wash or intricate cut-out designs.
🧪 Step 5: Sample Testing for Durability and Fit
Before mass production, thorough testing ensures functionality and reliability.
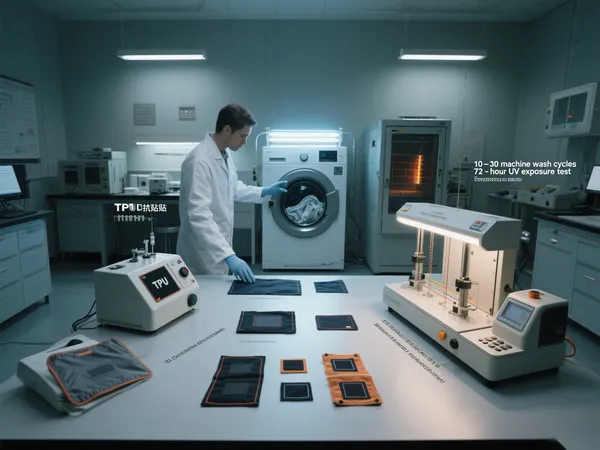
For adhesive TPU patches:
- Wash tests: 10–30 machine wash cycles
- UV exposure: 72-hour test for anti-fading
- Temperature/humidity simulation: For warehousing impact
For sew-on TPU patches:
- Thread strength testing: Standard ≥15N/stitch
- Post-wash integrity: Evaluate shrinkage, fading, or delamination
Brand complaint prevention tip:
If your TPU patch detaches after a few washes, causes might include:
- Incorrect heat press settings
- Waterproof fabric coating affecting adhesion
🏭 Step 6: Mass Production and Quality Control
Production should always follow strict standards:
- Sample confirmation: UN Approved Sample must be signed off before bulk production begins.
- AQL Quality Standards:
- Regular orders: AQL1.5
- High-end brands: AQL0.65 for near-zero defect rates
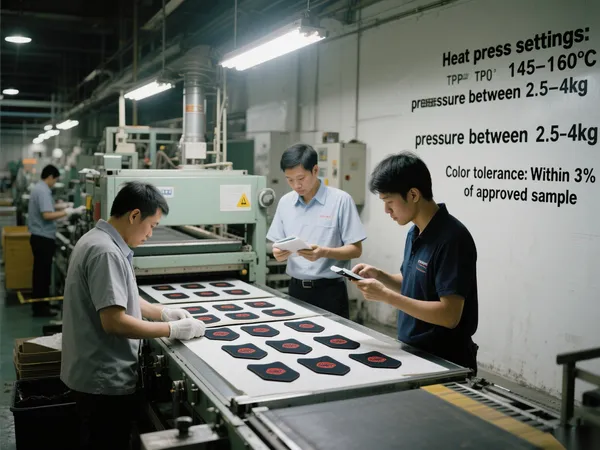
Production controls include:
- Heat press settings: 145–160°C, pressure between 2.5–4kg
- Color tolerance: Within 3% of approved sample
- Weight consistency: ±3% to avoid material underuse
📦 Step 7: Packaging & Post-Delivery Service
TPU patches are delicate and require appropriate packaging:
- Standard packaging: OPP bags with corrugated board inserts prevent scratches or deformation.
- Transparent positioning film: Attached to adhesive-backed patches for easier placement during heat transfer.
Post-delivery follow-up:
- Our team monitors shipment and customer application feedback.
- We provide heat press tutorials and usage recommendations tailored to your product.
- Brands are advised to conduct batch tests before applying to final garments. This ensures long-term durability and prevents last-minute issues.
🔚 Final Thoughts: Take TPU Patch Customization Seriously
From 3D mold development to heat resistance testing, custom TPU badges require more than just good design—they demand attention to every production detail. By following a systematic approach and partnering with a reliable supplier, brands can avoid delays, rework, and costly mistakes.
TPU patches may be small, but they play a huge role in expressing your brand identity and elevating product appeal. If you’re planning your next collection or promotional campaign, take patch customization seriously—it’s one of the most brand-visible elements in apparel design.
Looking for expert help with your TPU patch customization?
Qinghan offers full-service support from design to delivery. Reach out to request a sample or get personalized production advice today.