Patches are more than jusWhether you’re repairing a uniform, customizing a jacket, or attaching a scout badge, knowing how to sew on a patch properly ensures it stays secure for years. This guide covers the best methods for fabric types, essential tools, and pro tips to avoid common mistakes.
Why Hand-Sewing Patches Works Best
While iron-on or adhesive patches offer quick fixes, sewing remains the most durable method, especially for:
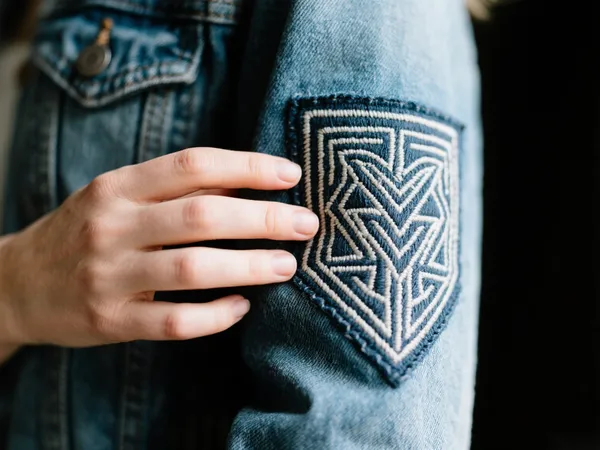
- High-stress items (military uniforms, workwear)
- Thick fabrics (denim, leather)
- Frequent washing
Tools You’ll Need
- Needle: Use a sharp embroidery needle (size 7–9) for thick fabrics or a thinner needle for delicate materials.
- Thread: Polyester or nylon thread resists fraying. Match the thread color to the patch’s border.
- Scissors: Small, sharp scissors for precise trimming.
- Pins or Fabric Glue: To temporarily hold the patch in place.
- Thimble (optional): Protects fingers when pushing through tough fabrics.
Step-by-Step: How to Sew a Patch by Hand
Step 1: Position the Patch
- Place the patch on the fabric and secure it with pins or a dab of fabric glue.
- For curved surfaces (like caps), use extra pins to prevent shifting.
Step 2: Thread the Needle
- Cut an 18–24-inch thread. Longer threads tangle more easily.
- Double the thread for strength, knotting the ends together.
Step 3: Start Stitching
- Whipstitch (Recommended for Beginners)
- Push the needle up through the fabric’s underside, near the patch edge.
- Stitch over the patch’s border, spacing stitches 1/8 inch apart.
- Keep stitches tight but not puckering the fabric.
- Backstitch (For Heavy-Duty Hold)
- Insert the needle through the fabric and patch, then bring it back 1 stitch length behind.
- Repeat for a reinforced seam, ideal for leather or backpack patches.
Step 4: Finish Securely
- After completing the border, make a small knot on the fabric’s underside.
- Apply a drop of clear nail polish or fray check to the knot to prevent unraveling.
Pro Tips for a Flawless Finish
- For Thick Fabrics (Like Denim): Use a thimble and pliers to pull the needle through stubborn layers.
- Prevent Wrinkles: Place lightweight fabric or interfacing underneath if sewing onto thin material.
- Washing Care: Turn the item inside out and use cold water to preserve stitches.
When to Use Alternative Methods
While sewing is ideal, consider these alternatives for specific cases:
- Iron-On Patches: Best for temporary fixes or heat-resistant fabrics (follow manufacturer’s instructions).
- Fabric Glue: Quick solution for non-washable items (e.g., decorative patches on bags).
FAQs About Sewing Patches
How do you sew a patch without visible stitches?
Use a ladder stitch (invisible stitch): Thread the needle through the patch’s inner edge and fabric fold, creating hidden loops.
Can you sew patches with a sewing machine?
Yes! Use a zigzag stitch set to 2–3mm width. Stabilize the fabric with interfacing to prevent bunching.
How to sew a patch onto leather?
- Use an awl to pre-punch holes.
- Opt for waxed thread and a leather needle.
Final Thoughts
Mastering how to sew on a patch ensures your patches withstand wear and tear. For custom patches needing professional durability, choose embroidered or woven patches with reinforced edges.
Need patches made for your project? Explore our
or contact us for bulk orders.