Why Iron-On Patches Are the Easiest Way to Customize Your Clothes
Iron-on patches offer a quick, no-sew solution for personalizing jackets, bags, hats, and more. Whether you’re covering a hole, adding flair to denim, or branding uniforms, learning how to iron on a patch correctly ensures it stays secure and looks professional.
In this guide, you’ll discover:
✔ The right tools & materials for successful application
✔ Step-by-step iron on patch instructions
✔ Common mistakes to avoid
✔ How to make patches last longer

What You’ll Need to Iron On a Patch
Before starting, gather these essentials:
- Iron (standard household iron, no steam)
- Ironing board or hard, heat-resistant surface
- Pressing cloth (thin cotton fabric or parchment paper)
- Patch (ensure it has heat-activated adhesive)
- Tweezers (for precise placement)
Optional:
- Fabric glue (for extra reinforcement)
- Needle and thread (for high-stress areas)
Step-by-Step: How to Iron On a Patch Perfectly
Step 1: Prep Your Fabric
- Wash and dry the garment (skip fabric softener, as it reduces adhesion).
- Turn the item inside out and lay it flat on the ironing board.
- If patching a hole, place cardboard inside to prevent glue bleed-through.
Step 2: Position the Patch
- Use tweezers to place the patch exactly where you want it.
- For precise alignment, secure it with sewing pins or a dab of fabric glue.
Step 3: Heat the Iron
- Set the iron to the cotton or high-heat setting (no steam).
- Let it fully preheat (usually 2-3 minutes).
Step 4: Apply Heat
- Cover the patch with a pressing cloth to protect the design.
- Press down firmly for 30–45 seconds (use circular motions for even heat).
- Flip the garment and repeat on the backside for a stronger bond.
Step 5: Cool & Test
- Let the patch cool completely (10–15 minutes).
- Gently tug at the edges to check adhesion.
- If loose, reheat and press again.
Step 6: Reinforce (Optional)
- For extra durability, stitch around the edges or add fabric glue.
Common Mistakes When Ironing On Patches
❌ Using Steam – Moisture weakens the adhesive.
❌ Insufficient Heat – Won’t activate the glue fully.
❌ Skipping the Pressing Cloth – Can melt or discolor the patch.
❌ Moving the Iron Too Much – Causes uneven adhesion.
How to Make Iron-On Patches Last Longer
✔ Wash Inside Out – Prevents friction damage.
✔ Cold Water Only – Hot water loosens adhesive.
✔ Air Dry – High heat in dryers can re-melt glue.
✔ Avoid Bleach – Weakens both fabric and patch.
Best Fabrics for Iron-On Patches
| Fabric | Works Well? | Notes |
|---|---|---|
| Cotton | ✅ Yes | Ideal for strong adhesion |
| Denim | ✅ Yes | Thick fabric may need longer heat |
| Polyester | ⚠️ Sometimes | Use lower heat to avoid melting |
| Nylon | ❌ No | High heat can damage fabric |
| Leather | ❌ No | Use fabric glue instead |
When to Sew Instead of Iron On
- High-stress areas (knees, elbows)
- Stretchy fabrics (activewear)
- Delicate materials (silk, velvet)

FAQs About Iron-On Patches
Q: Can you iron on patches without an iron?
A: Yes! Use a hair straightener (cover with cloth) or a heat press.
Q: Why is my patch falling off after ironing?
A: Likely due to insufficient heat, steam, or wrong fabric. Reheat or stitch it.
Q: How many washes do iron-on patches last?
A: Typically 20–50 washes before needing reinforcement.
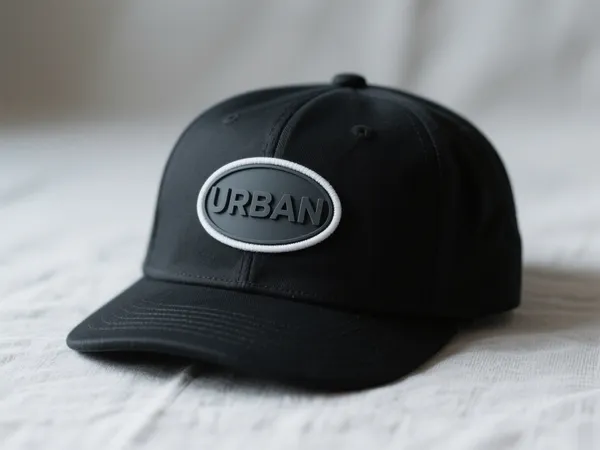
Q: Can you iron on patches to hats?
A: Yes, but use a rounded surface (like a glass bowl) inside the hat.
Creative Ways to Use Iron-On Patches
- Revive old jeans with floral or punk patches
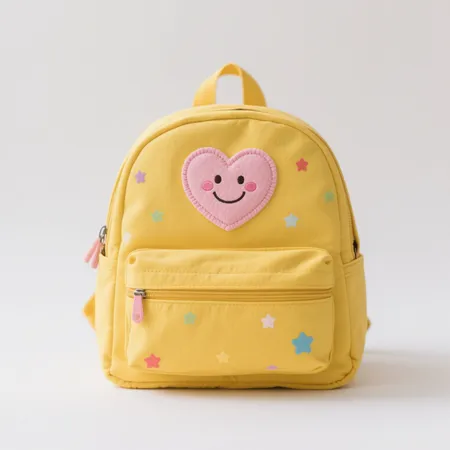
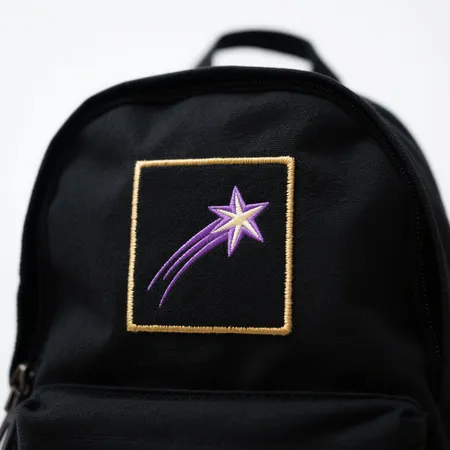
- Personalize backpacks for school or travel
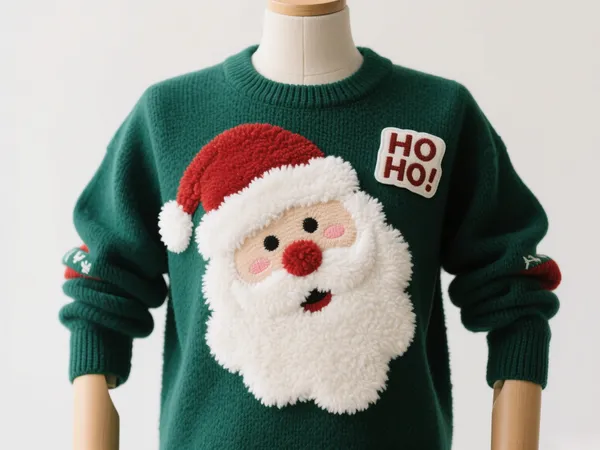
- Brand work uniforms with company logos
- Cover stains on kids’ clothes
Final Tips for Perfect Patches
- Always test on a hidden area first.
- For intricate designs, opt for custom iron-on patches.
- Store extras in a cool, dry place to preserve adhesive.
Now that you know how to iron on a patch, it’s time to upgrade your wardrobe! 🚀
Need custom patches? Get high-quality, long-lasting designs today!