Les patchs thermocollants sont une façon amusante, rapide et créative de personnaliser votre garde-robe, surtout les chapeaux. Que vous souhaitiez ajouter un logo personnel, l'emblème d'une équipe sportive ou un motif unique à votre casquette préférée, savoir appliquer correctement un patch thermocollant sur une casquette vous fera gagner du temps et de l'argent tout en obtenant un résultat professionnel. Dans ce guide, nous vous expliquerons tout ce que vous devez savoir sur l'application. patchs de fer sur les chapeaux, de la préparation au dépannage.
Pourquoi des patchs thermocollants pour chapeaux ?
Avant de plonger dans le processus étape par étape, il est utile de comprendre pourquoi patchs thermocollants sont devenus une méthode populaire de personnalisation des couvre-chefs.
- Aucune couture requise:Idéal pour les débutants ou ceux qui n'ont pas d'outils de couture.
- Application rapide:L'ensemble du processus prend moins de 10 minutes.
- Forte adhérence:Lorsqu'ils sont bien appliqués, les patchs restent fermement en place grâce à une utilisation régulière.
- Personnalisation infinie:Ajoutez facilement des logos, des noms, des slogans ou des graphiques.
Ce dont vous aurez besoin
Pour appliquer votre patch de chapeau personnalisé, vous aurez besoin de :
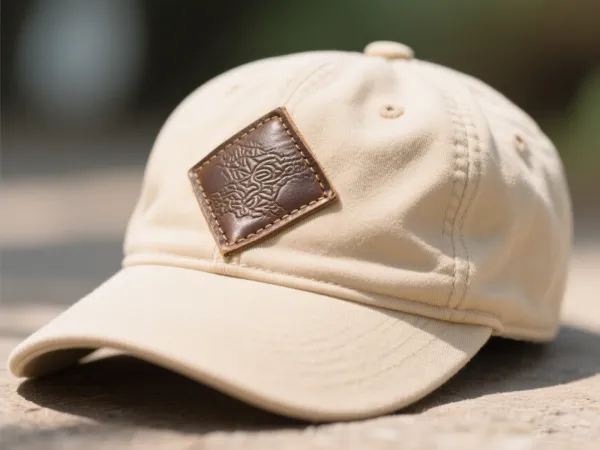
- Le chapeau (les casquettes de baseball, les snapbacks ou les casquettes de camionneur fonctionnent bien)
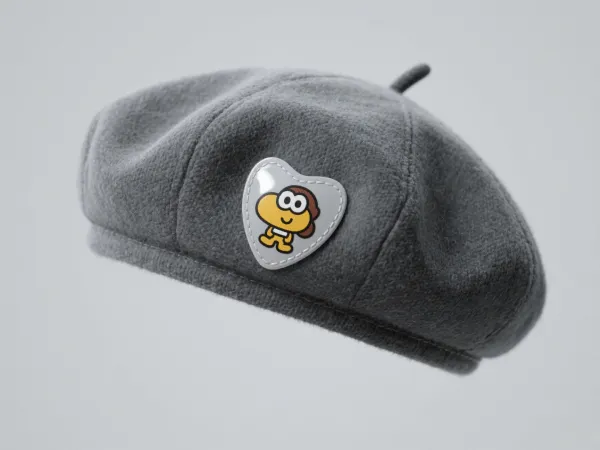
- Patch thermocollant (personnalisé ou préfabriqué)
- Fer à repasser domestique (sans vapeur)
- Tissu en coton fin ou papier sulfurisé
- Surface de repassage plate
- En option : presse à chaud pour des résultats professionnels
Étape par étape : Comment appliquer un patch thermocollant sur un chapeau
1. Choisissez le bon endroit
Aplatissez le chapeau autant que possible et décidez où placer votre patch. Les emplacements les plus courants sont le devant, le centre, le panneau latéral ou même le bord.
2. Préchauffer le fer
Réglez votre fer sur la position « coton » ou sur une température élevée. Assurez-vous que la vapeur est coupée, car l'humidité empêcherait une bonne adhérence.
3. Préparez le chapeau
Placez une serviette ou un coussin résistant à la chaleur à l'intérieur du chapeau pour obtenir une surface plane et ferme sur laquelle vous pourrez le repasser. Posez ensuite le chapeau sur une planche à repasser ou une surface dure.
4. Positionnez le patch
Placez votre patch, côté adhésif vers le bas, sur le chapeau. Recouvrez-le d'un tissu fin ou de papier sulfurisé pour protéger le patch et le chapeau de la chaleur directe.
5. Appliquer de la chaleur
Appuyez fermement le fer sur la zone à traiter pendant 15 à 20 secondes. Ne déplacez pas le fer. Si la zone est grande, vous devrez peut-être répéter l'opération par sections.
6. Laissez refroidir
Retirez le fer et le chiffon, puis laissez le patch refroidir complètement. Cela permettra à l'adhésif de prendre.
7. Vérifiez les bords
Vérifiez la solidité des bords. Si des coins se soulèvent, répétez l'opération de pressage pour ces sections.

Conseils pour des patchs durables sur les chapeaux
- Laver soigneusement: Lavage à la main ou cycle délicat en machine. Évitez l'eau chaude et le sèche-linge.
- Évitez les étirements excessifs:Une flexion ou une traction excessive sur le chapeau peut desserrer le patch.
- Envisagez la couture pour plus de sécurité:Pour les chapeaux fréquemment portés, un point rapide autour du patch après le repassage ajoute une durabilité supplémentaire.
Quand utiliser des patchs de chapeau personnalisés
Patchs thermocollants pour chapeaux sont parfaits pour :
- Sports teams
- Image de marque de l'entreprise
- Mode personnelle
- Collectes de fonds ou événements
- Clubs scolaires ou organisations de campus
With patchs de chapeau personnalisésVous pouvez exprimer votre identité, votre affiliation ou votre créativité facilement et à moindre coût. Commander des patchs en gros ouvre également des opportunités de revente, de cadeaux publicitaires ou de produits promotionnels.
Questions courantes
Pouvez-vous repasser des patchs sur des surfaces de chapeau incurvées ?
Oui, mais c'est plus difficile. Utilisez un insert incurvé (comme une serviette roulée) pour stabiliser le chapeau pendant le repassage.
Les patchs thermocollants tombent-ils des chapeaux ?
S'ils sont appliqués correctement, avec une chaleur et une pression adéquates, ils devraient tenir longtemps. Cependant, l'usure et les lavages quotidiens peuvent provoquer un décollement ; coudre le bord du patch peut éviter ce problème.
Les patchs thermocollants sont-ils réutilisables ?
En général, non. Une fois l'adhésif utilisé, retirer et réappliquer le patch compromet généralement sa tenue.
Réflexions finales
Coller un écusson sur une casquette est l'une des façons les plus simples et élégantes de personnaliser votre équipement. Que vous souhaitiez créer une pièce unique ou promouvoir une équipe sportive locale, apprenez-en plus sur comment repasser un patch sur un chapeau Ouvre de nouvelles possibilités créatives. Avec quelques outils et un peu de temps, votre chapeau personnalisé n'est qu'à un pas de la perfection.