Custom patches are a great way to add personality, branding, or flair to garments, bags, hats, and gear—but not everyone has the time or tools for sewing. That’s where adhesive backing for patches comes in. Whether you’re a beginner in DIY fashion or a brand looking for efficient production methods, patchs à peler et coller offer a mess-free, quick solution that works on a variety of surfaces.
In this article, we’ll explore what adhesive backing is, how it compares to other patch attachment methods, where it works best, and tips for long-lasting results.

What Is Adhesive Backing for Patches?
Adhesive backing for patches refers to a layer of pressure-sensitive glue or thermoplastic adhesive applied to the back of a patch. These patches are sometimes called:
- Peel and Stick Patches
- Self-Adhesive Embroidered Patches
- Sticker Patches
They come ready to use—simply peel off the protective paper layer and press the patch onto a clean surface. Some are temporary, while others are designed for more durable use with heat-activated glue.

Types of Adhesive Patches
🔹 Standard Peel and Stick
Just like a sticker—great for temporary use, craft projects, or placement testing before final application.
🔹 Heat-Activated Adhesive
Combines the convenience of adhesive with the durability of iron-on. Once heated with an iron or press, the patch bonds more securely.
🔹 Double-Sided Adhesive Sheets
Often used with non-adhesive patches, these sheets can be cut to shape and placed between the fabric and the patch.

Benefits of Adhesive Backing for Patches
✅ Aucune couture requise
Perfect for people who don’t sew or don’t want to pierce the material (like waterproof jackets or synthetic bags).
✅ Fast and Mess-Free
Simply peel, stick, and go. Ideal for quick turnarounds, events, or trial placements.
✅ Application polyvalente
Works on a variety of surfaces—clothing, paperboard, plastic, leather, and more.
✅ Great for Temporary Use
Want to change patch designs frequently? Adhesive options make it easy without damage.

Limitations to Consider
- Not suitable for high-wash garments unless reinforced.
- Less durable than sew-on or iron-on options au fil du temps.
- Can leave residue if removed improperly.
- May not stick well to textured or dirty surfaces.
👉 Pro Tip: Use adhesive-backed patches as placement guides before final sewing or ironing.
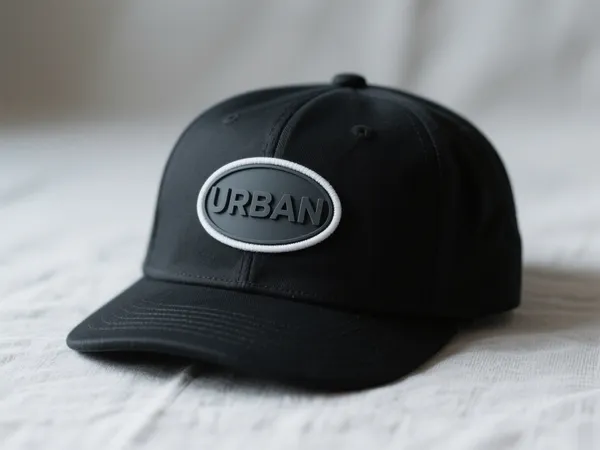
Best Use Cases for Adhesive-Backed Patches
- Trade shows and events – Temporary logos or branding on team shirts.
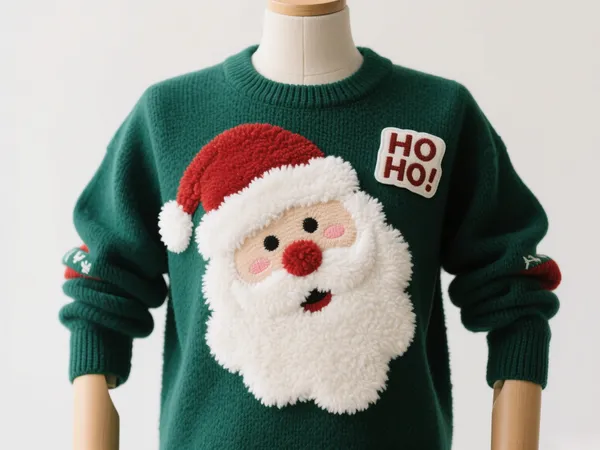
- Kids’ clothing – Fun DIY customization without sewing.
- Corporate gifts – Stick-on branding for tote bags or product packaging.
- Test layouts – Check design placement before applying permanently.
- Collectionneurs et amateurs – Use on pinboards, notebooks, or scrapbooks.
Conseils pour une application longue durée
- Nettoyer la surface thoroughly—dirt, oils, and lint reduce sticking power.
- Apply even pressure across the patch for a secure bond.
- Avoid stretching the fabric after application.
- Heat-seal if possible to extend the patch’s lifespan.
- Évitez les lavages fréquents or choose removable applications.

Adhesive vs. Other Backings: A Quick Comparison
| Type de support | Application Method | Durabilité | Réutilisabilité | Outils nécessaires |
|---|---|---|---|---|
| Adhesive (Peel) | Stick by hand | Low to Medium | No | Aucun |
| thermocollant | Heat (iron/press) | High | No | Iron/Press |
| à coudre | Needle and thread | Very High | Yes | Sewing Kit |
| Velcro | Stick/sew both sides | High | Yes | Facultatif |
Conclusion: Stick to Simplicity with Adhesive Patches
Adhesive backing for patches is a game-changer for anyone who wants to customize without commitment. While they may not always match the longevity of sew-on or iron-on alternatives, patchs à peler et coller are a great entry point for fast decoration, prototyping, or short-term use.
Whether you’re decorating gear for an event, testing placement, or giving a fresh look to your accessories, self-adhesive patches offer flexibility, convenience, and creativity—one stick at a time.