If you’re looking to add personality to your clothes, bags, or accessories without the hassle of sewing, parches bordados para planchar are a fantastic solution. They offer a quick and creative way to showcase your interests, promote a brand, or simply enhance your personal style. Whether you’re a patch collector, a fashion DIYer, or part of a team or organization looking for easy customization, iron on patches are both practical and stylish.
In this comprehensive guide, we’ll explore what makes parches bordados para planchar unique, how to apply them properly, and why parches termoadhesivos personalizados are gaining popularity across fashion, business, and community circles.
¿Qué son los parches bordados con plancha?
Parches bordados para planchar are fabric emblems that come with a heat-activated adhesive backing. Unlike traditional sew-on patches, they require no needle or thread—just a hot iron and a few minutes of your time.
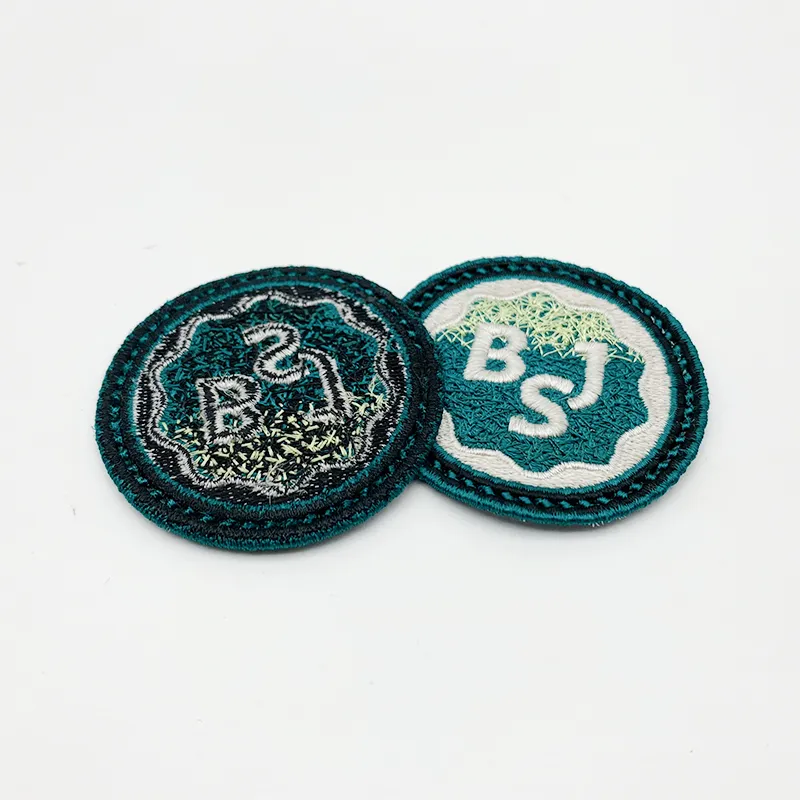
These patches often feature high-quality embroidery, giving them a textured, professional appearance. Designs can range from logos and slogans to intricate artwork, making them ideal for uniforms, jackets, caps, backpacks, and more.
Benefits of Iron On Patches
There are several reasons why iron on patches are a top choice for both personal and commercial use:
- Fácil aplicación: No sewing skills required.
- Ahorro de tiempo: Perfect for quick updates to apparel or accessories.
- Fuerte adhesión: With the right technique, they can last through multiple washes.
- Personalizable: You can create parches termoadhesivos personalizados tailored to your specific design needs.
These qualities make them especially popular for school uniforms, sports teams, scouting groups, fashion brands, and promotional events.

How to Apply Iron On Patches Correctly
Applying your patch the right way ensures that it stays securely attached and looks great. Here’s a step-by-step breakdown for how to apply iron on patches:
Step 1: Prepare the Surface
Choose a clean, dry, and heat-safe fabric surface. Cotton or denim works best. Avoid using on stretchy or waterproof materials.
Step 2: Heat the Iron
Set your iron to medium-high heat (usually around 350°F or 175°C). Make sure the steam function is turned off.
Paso 3: Coloque el parche
Place your patch in the desired location, adhesive side down. You can use a ruler or measuring tape to ensure it’s centered or aligned correctly.
Step 4: Cover with a Cloth
Place a thin towel or piece of cotton fabric over the patch to protect it from direct heat.
Step 5: Press and Hold
Firmly press the iron onto the covered patch for about 15–30 seconds. Apply consistent pressure without moving the iron around.
Step 6: Let it Cool
Allow the patch to cool completely before handling. This helps the adhesive bond fully with the fabric.
For extra security, some users like to stitch a few edges after ironing, especially on frequently washed garments.

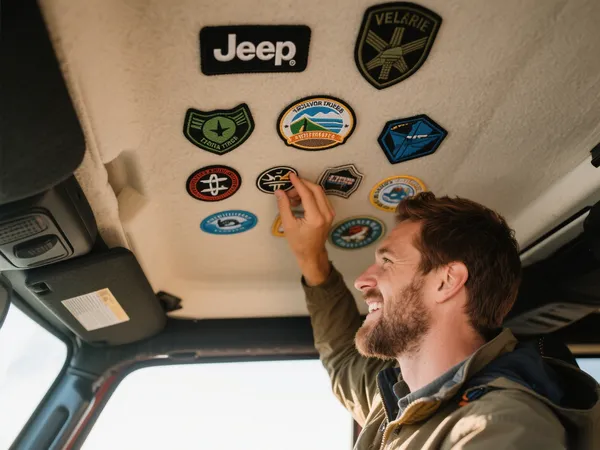
Common Uses for Iron On Embroidered Patches
There’s no limit to how you can use iron on patches. Here are a few popular applications:
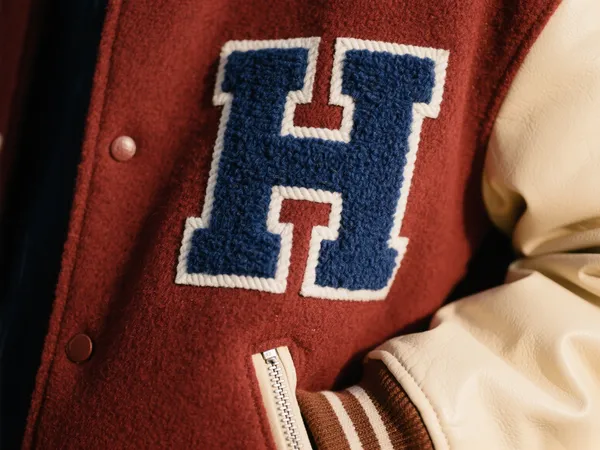
- Fashion personalization: Update jeans, jackets, and caps with unique embroidered designs.
- Team uniforms: Sports clubs, company staff, and community groups use parches termoadhesivos personalizados to display logos or names.
- Event branding: Great for giveaways, festivals, or promotional items.
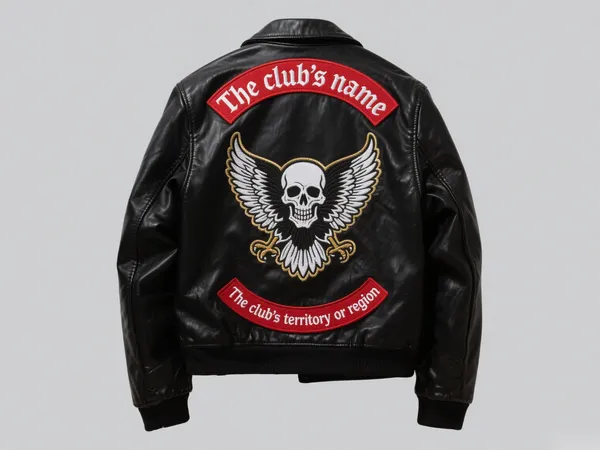
- Collectibles: Music fans, bikers, and gamers often collect themed patches as part of their hobby.
With their versatility and ease of use, iron on embroidered patches continue to grow in popularity for all kinds of creative projects.
Choosing the Right Custom Iron On Patch
When looking for the perfect patch, especially if you’re ordering in bulk or creating your own, keep these factors in mind:
- Material: Twill or cotton backgrounds with polyester thread are ideal for durability.
- Size: Choose a size that fits the application area without overwhelming it.
- Design detail: For logos or text, make sure your embroidery resolution supports clean edges and readable fonts.
- Border type: Merrowed edges give a classic finished look, while heat-cut edges are better for irregular shapes.
Custom iron on patches give you full creative control. Whether you want a logo, a character, or a detailed graphic, the right supplier can turn your idea into a wearable piece of art.

Caring for Clothing with Iron On Patches
Once you’ve applied your patches, it’s important to maintain them properly:
- Turn garments inside out Antes de lavar.
- Use cold water and avoid bleach.
- Secar al aire when possible to reduce adhesive wear from high dryer heat.
- Avoid direct ironing over the patch after application.
With these tips, your patch can stay looking sharp through countless wears and washes.
Reflexiones finales
Parches bordados para planchar offer a practical and stylish way to transform everyday garments into something uniquely yours. Whether you’re representing a band, showcasing your personality, or branding your team’s gear, these patches make customization quick and effective.
From understanding how to apply iron on patches properly to exploring the possibilities with parches termoadhesivos personalizados, you now have the tools to start your patch journey with confidence. Grab your iron, pick your patch, and make your style stick.