Adding a patch to clothing is more than just a fix—it’s a personal statement and a functional way to extend the life of your garments. Whether you’re repairing a hole or customizing a denim jacket, learning how to sew a patch is a valuable skill. In this blog, we’ll explore everything you need to know about sewing patches on clothes, from preparation to finishing touches.
Why Choose to Sew a Patch?
While iron-on or adhesive patches offer convenience, sewing provides unmatched durability and long-term performance. Here’s why coser un parche is often the preferred method:
- Stronger hold: Ideal for frequently washed or worn clothing
- Colocación personalizada: Perfect for hard-to-iron areas like seams or thick fabrics
- Aesthetic appeal: Offers a clean, finished look with personalized stitching options
If you want your patch to last, sewing is your best option.
Tipos de parches que puedes coser
Before you learn how to sew a patch, it’s helpful to know the types of patches available:
- parches bordados: Common for uniforms and jackets
- parches tejidos: Great for detailed logos or text
- Parches impresos: Lightweight and ideal for casual fashion
- DIY fabric patches: Cut from old garments or special fabric swatches
Each patch type brings its own flair and functionality, but they all can be sewn using the same techniques.

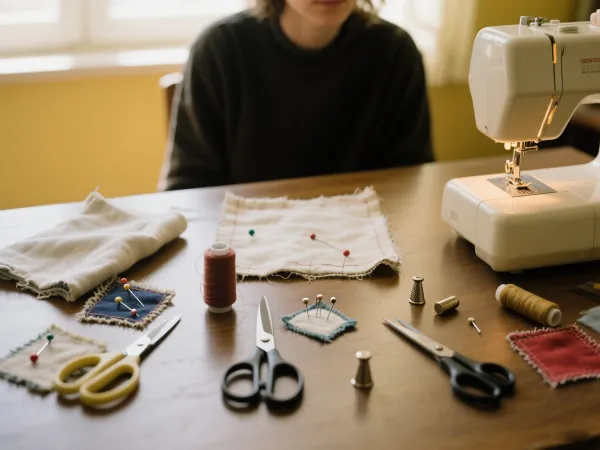
Tools and Materials You’ll Need
To sew a patch on clothing, gather the following tools:
- The patch itself
- Needle and thread (color-matched if desired)
- Scissors
- Pins or fabric glue (for holding patch in place)
- Thimble (optional, for pushing needle through thick fabric)
- Sewing machine (optional, for faster or stronger results)
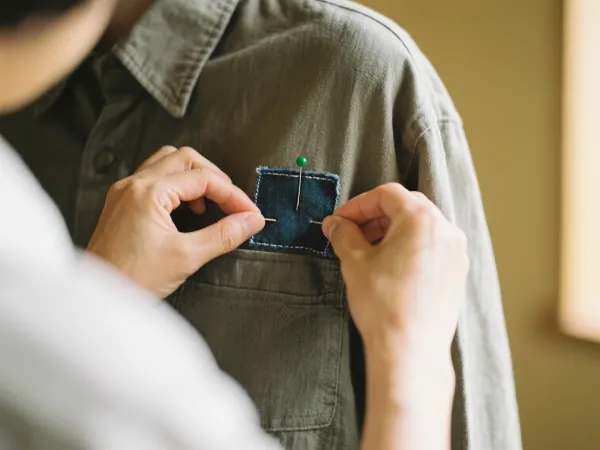
How to Sew a Patch by Hand
Paso 1: Coloque el parche
Place the patch on the area you want to cover or decorate. Use straight pins or a dab of fabric glue to secure it temporarily. Make sure it’s centered and straight—this is especially important for logos or badges.
Paso 2: Enhebrar la aguja
Cut a length of thread (around 18-24 inches), thread the needle, and knot one end. Double-threading (folding the thread in half) adds strength.
Step 3: Start from the Inside
Begin sewing from the inside of the fabric to hide the knot. Use a puntada recta o punto de manta for a clean edge. Keep stitches evenly spaced—about 1/8 to 1/4 inch apart.
Step 4: Stitch Around the Patch
Work your way around the patch, staying close to the edge. For curved patches, take your time to follow the shape accurately.
Step 5: Secure the Thread
When finished, tie a knot on the inside of the garment. Trim excess thread.
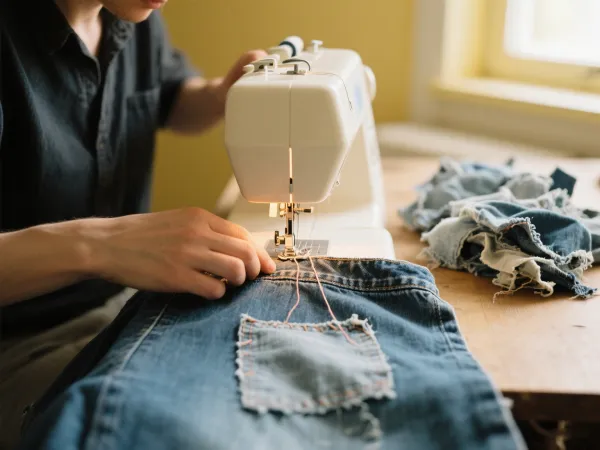
Uso de una máquina de coser para parches
For larger patches or thicker fabrics like denim, a sewing machine can save time and provide stronger results. Use a zigzag or straight stitch, and choose a needle suitable for your fabric type. Make sure to test on scrap fabric first.
Pro Tips for a Clean, Professional Look
- Match thread color to the patch or garment for subtle stitching.
- Reforzar las esquinas with double stitches to prevent lifting.
- Use interfacing on the inside of light fabrics to add structure.
- Iron the patch after sewing (if allowed) to smooth it out and help the stitches set.
Common Applications for Sewn Patches
Reparación de ropa
Cover holes, worn spots, or accidental tears with a patch to restore wearability and style.
Personalización
Add flair to jackets, jeans, or tote bags using custom patches that reflect your interests.
Uniformes
Sewing patches is the go-to method for securely applying name tags, badges, or logos on workwear and military garments.
Craft Projects
Patchwork quilts, kids’ clothing, and costume design often incorporate sewn patches for artistic or functional value.
Patch Placement Ideas
- Back of jackets for a bold statement
- Elbows and knees to reinforce high-wear areas
- Pockets or collars to add stylish accents
- Inside of clothing to conceal tears discreetly
Care Instructions After Sewing a Patch
To prolong the life of your patched item:
- Wash on gentle cycle and air-dry when possible
- Evite el secado a altas temperaturas to reduce thread stress
- Check stitches periodically and re-sew if needed
Proper care ensures your sewn patch stays in place for years to come.
Reflexiones finales
Aprendiendo a sew a patch is a timeless skill that blends creativity with practicality. Whether you’re rescuing a beloved hoodie or adding character to a vintage coat, sewing patches offers endless possibilities. It’s not just about fixing—it’s about transforming.
So grab your needle and thread, and turn that rip or blank space into something beautiful, functional, and entirely your own.