Agregar un parche a tu ropa o accesorios es más que solo una forma de arreglar agujeros: es una forma de autoexpresión, estilo e incluso de marca. Ya sea que estés remendando una chaqueta querida, personalizando tu mochila o colocando la insignia de un equipo, dominar la costura correcta de un parche puede marcar la diferencia en durabilidad y apariencia. En esta guía completa, te explicaremos los aspectos esenciales del uso de un parche. parche de costura, explorar diferentes métodos y brindar consejos útiles para que su trabajo sea limpio y profesional.

¿Por qué elegir un parche de costura en lugar de uno termoadhesivo?
Si bien los parches termoadhesivos ofrecen una aplicación rápida, sewing patches Han resistido la prueba del tiempo. Aquí tienes algunos beneficios clave:
- Mayor durabilidadLos parches cosidos tienden a durar más, especialmente después de varios lavados.
- Funciona en telas difíciles:Los materiales como el cuero o la lana pueden no reaccionar bien al calor, por lo que coser es la mejor opción.
- Colocación personalizada:La costura permite un mayor control sobre dónde y cómo se coloca el parche, especialmente en superficies curvas o irregulares.
La costura también es esencial cuando un parche es puramente decorativo o carece de respaldo adhesivo.
Tipos de parches que puedes coser
Existen varios tipos de parches diseñados para coser. Entre ellos se incluyen:
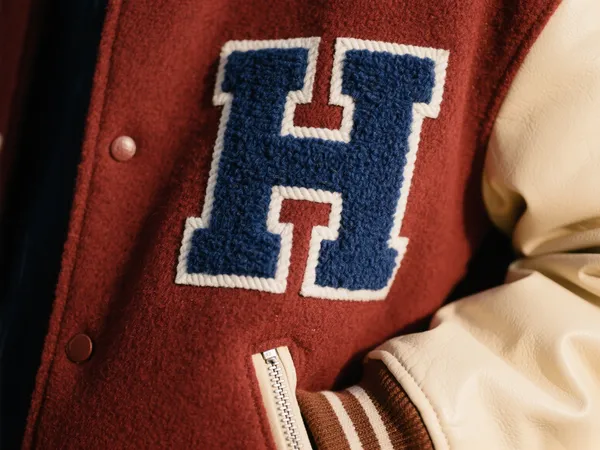
- parches bordados:Se utiliza a menudo en uniformes y chaquetas.
- parches tejidos:Conocido por sus intrincados detalles e hilos finos.
- Parches impresos:Generalmente para logotipos, arte o diseños detallados.
- Parches de cuero o PVC:Requiere hilo y agujas resistentes pero ofrece un estilo único.
Comprender el tipo de parche con el que está trabajando le ayudará a seleccionar las herramientas y técnicas adecuadas para coser.
Herramientas que necesitarás
Antes de comenzar, reúna lo siguiente:
- Aguja afilada (el tamaño depende de la tela y del grosor del parche)
- Hilo fuerte (combinación de colores o contraste)
- Dedal (especialmente para parches gruesos)
- Scissors
- Alfileres o pegamento para tela (para mantener el parche en su lugar)
- Descosedor (para cualquier error)
- Opcional: Máquina de coser Si está trabajando con un gran volumen o desea una costura ultra limpia
Cómo coser un parche a mano
Paso 1: Coloque el parche
Decide dónde quieres el parche. Colócalo uniformemente y centrado, si es necesario. Usa alfileres o un poco de pegamento para tela para fijarlo temporalmente.
Paso 2: Enhebrar la aguja
Corte unos 45 cm de hilo y anude el extremo. Se recomienda usar hilo doble para mayor resistencia.
Paso 3: Comienza a coser
Empieza desde el interior de la tela para ocultar el nudo. Usa un simple puntada recta o puntada de látigo Alrededor de los bordes. Mantenga las puntadas juntas (a una distancia de ⅛ a ¼ de pulgada) para mayor seguridad.
Paso 4: Terminar con cuidado
Una vez que hayas dado la vuelta completa, haz un pequeño nudo por dentro y corta el hilo sobrante. También puedes dar dos vueltas para mayor durabilidad.

Uso de una máquina de coser para parches
Si prefieres coser a máquina:
- Select a puntada en zigzag Para una sujeción segura y un acabado limpio.
- Elegir Tensión del hilo y tipo de aguja basado en parche y material de la prenda.
- Haga siempre primero una puntada de prueba en un retazo de tela.
La costura a máquina es ideal para realizar parches en grandes cantidades (por ejemplo, uniformes, mercadería) y proporciona un resultado pulido y profesional.

Errores comunes que se deben evitar
- Parche desalineado:Siempre fije con alfileres y vuelva a verificar la ubicación antes de coser.
- Costuras demasiado apretadas:Esto puede provocar que la tela se arrugue.
- Usando hilo débilPuede romperse bajo tensión o desgastarse rápidamente con el lavado.
- Sin pespuntes:Al principio y al final de la costura, la costura hacia atrás evita que se deshilache.
Tomarse su tiempo y revisar su trabajo durante cada paso puede ayudar a evitar estos problemas.
Usos creativos para parches de costura
Más allá de la reparación, los parches se utilizan ampliamente para la personalización y el estilo:
- Chaquetas vaqueras con parches vintage o de bandas de rock
- Military uniforms con identificadores de nombre y rango
- Membresías de clubes con logotipos bordados
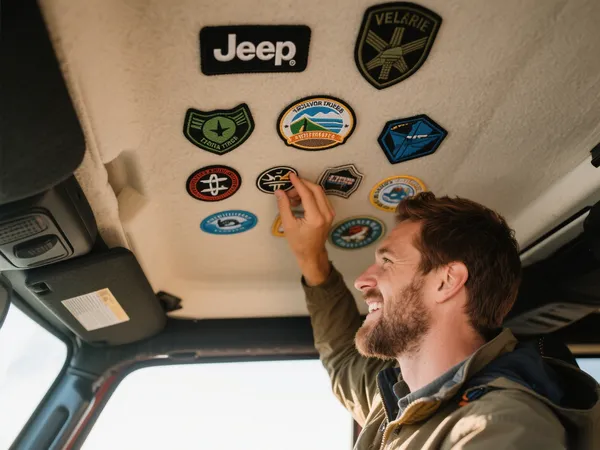
- Mochilas y sombreros con estilo o marca
- Ropa para niños con diseños divertidos y coloridos
Cuando se cosen correctamente, estos parches se vuelven funcionales y estéticos, añadiendo personalidad y profesionalidad a las prendas.

Consejos de mantenimiento y lavado
Una vez cosido el parche, el cuidado sigue siendo importante:
- Lave la ropa del revés para reducir la fricción.
- Utilice detergente suave y agua fría.
- Evite el secado a altas temperaturas: es mejor secarlo al aire.
- Revise los puntos ocasionalmente y refuércelos si es necesario.
Los parches bien cosidos pueden durar años sin deshilacharse ni desprenderse.
Conclusion
Aprender a coser un parche te brinda infinitas oportunidades para reparar, personalizar y estilizar tus pertenencias. Con las herramientas y técnicas adecuadas, coser un parche se convierte en una habilidad gratificante que garantiza longevidad y estilo.
Ya sea que estés remendando un desgarro, mostrando tu orgullo por el equipo o personalizando tu look, el proceso es sencillo, satisfactorio y duradero. Así que la próxima vez que pienses en añadir un parche, coge aguja e hilo: tienes todo lo necesario para que luzca genial y dure mucho tiempo.