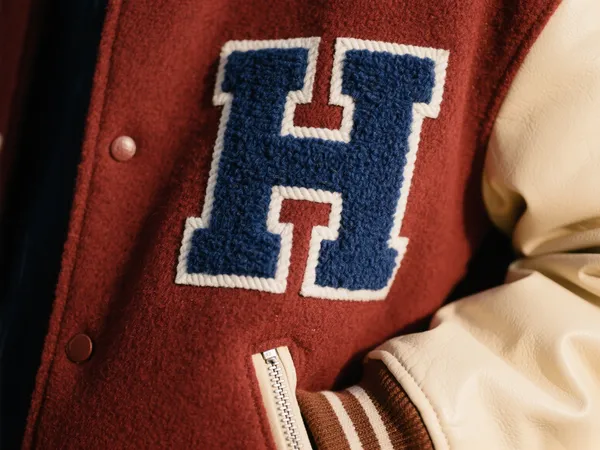
Whether you’re dealing with a ripped pair of jeans or looking to add a creative touch to your favorite denim, Aufbügler für Jeans offer a simple and stylish solution. These adhesive-backed patches can be applied in minutes and are available in countless designs, sizes, and materials. From mending a tear to customizing your denim with flair, iron on patches are a go-to option for DIY enthusiasts, fashion lovers, and anyone who wants to give new life to old jeans.
In this article, we’ll explore everything you need to know about how to use iron on patches for jeans, including tips for denim repair, fashion customization, and how to choose the right denim repair patches für Ihre Bedürfnisse.

Why Use Iron On Patches for Jeans?
Jeans are one of the most worn and beloved items in any wardrobe. But over time, even the highest-quality denim can wear thin or rip, especially in high-friction areas like knees or inner thighs. While tossing them out might seem like the only option, Aufbügler für Jeans offer an affordable and creative way to restore or repurpose your denim.
Here are a few reasons why iron on patches are a great choice:
- Kein Nähen erforderlich: Perfect for those without sewing skills or equipment.
- Schnelle Anwendung: Most patches take less than 10 minutes to apply.
- Endless designs: From classic denim textures to bold, embroidered artwork.
- Strength and durability: High-quality denim repair patches can reinforce worn-out areas for long-lasting wear.
Whether for practical mending or expressive styling, these patches are a smart way to extend the life and appeal of your jeans.

How to Use Iron On Patches: Step-by-Step Guide
If you’re new to patching jeans with an iron, don’t worry. Applying iron on patches is simple with the right tools and technique.
Schritt 1: Wählen Sie den richtigen Patch
Pick a patch that matches your jeans in color, thickness, and material if you’re aiming for a subtle repair. For a decorative look, go wild with embroidered or patterned designs. Denim repair patches made from cotton twill or matching denim fabric are ideal for structural fixes.
Schritt 2: Bereiten Sie den Bereich vor
Wash and dry your jeans to remove dirt and oils. Lay them flat on a hard surface. Trim any frayed edges around the tear, and make sure the area is smooth and dry.
Step 3: Heat the Iron
Set your iron to the “cotton” setting, usually between 350–375°F (about 175–190°C). Turn off the steam setting.
Step 4: Position the Patch
Place the patch over the tear, adhesive side down. If you’re patching from the inside (for subtlety), make sure it covers at least ½ inch beyond the hole on all sides.
Step 5: Cover and Press
Use a pressing cloth or piece of cotton fabric over the patch. Press down firmly with the iron for 20–30 seconds. Avoid sliding the iron—apply steady pressure instead.
Schritt 6: Abkühlen lassen
Allow the patch to cool completely before wearing or washing. This helps the adhesive set fully and ensures a strong bond.
Optional: For high-stress areas or heavy-duty jeans, you can add a few stitches around the edges for extra durability.

Creative Ways to Use Iron On Patches
Iron on patches for jeans aren’t just for repairs—they’re also a fun way to express your personality. Here are a few creative ideas:
- Vintage flair: Add retro patches to your jean jacket or pants for a 70s or 90s aesthetic.
- Minimalist mends: Choose subtle denim-textured patches for clean, nearly invisible repairs.
- Statement pieces: Use large, bold patches to cover the thigh or back pocket and create a centerpiece for your outfit.
- Themed collections: Collect and apply patches related to music, travel, or pop culture to showcase your interests.
With so many patch styles available—from floral embroidery to grunge punk icons—your jeans can become a canvas for your creativity.
How to Make Patches Last Longer
To get the most out of your patches, especially for heavily worn jeans, follow these care tips:
- Drehen Sie die Jeans auf links before washing to reduce friction.
- Use cold water and gentle cycles to protect the adhesive and embroidery.
- Vermeiden Sie das Trocknen im Wäschetrockner if possible; air dry instead.
- Do not iron directly on the patch after application—use a cloth if needed.
If a patch starts to peel over time, simply reapply heat with your iron to reactivate the adhesive.

Where to Find Quality Denim Repair Patches
When shopping for patches, make sure they’re specifically labeled for denim use. Denim repair patches should be thick enough to support the fabric and come with strong adhesive backings. You can find options in sewing supply stores, online shops, or even make your own using fusible web and scrap fabric.
Custom iron on patches are also available if you’re looking for a personalized design. Whether it’s a monogram, favorite quote, or original artwork, custom patches let you create one-of-a-kind jeans with minimal effort.

Abschließende Gedanken
Whether you’re fixing a hole, adding personality, or reviving a pair of vintage jeans, Aufbügler für Jeans are a smart, creative, and affordable option. From basic denim repairs to bold fashion statements, they offer versatility that works for both beginners and experienced DIYers.
By learning how to use iron on patches correctly and selecting the right denim repair patches for your project, you can transform worn-out jeans into custom pieces you’ll be proud to wear. So don’t toss out those torn jeans—patch them up and give them a fresh new life!


