
Embroidered patches are a fun and versatile way to add personality to your clothing, bags, hats, or even home decor. Whether you’re customizing uniforms, branding your business, or expressing your creative side, learning how to make embroidered patches opens the door to endless design possibilities.
In this guide, we’ll walk you through the entire process of making DIY embroidered patches, from selecting materials to finishing your design. Whether you’re using a home embroidery machine or hand-stitching, this tutorial is designed to help beginners create professional-looking patches at home.

Why Make Your Own Embroidered Patches?
Before we jump into the steps, here’s why creating your own benutzerdefinierte Stickflecken can be a rewarding project:
- Anpassung: Design exactly what you want—whether it’s a name, logo, symbol, or artwork.
- Cost-Effective: Making your own patches can be cheaper than ordering small custom batches.
- Creative Expression: Add flair and originality to any piece of fabric or accessory.
- Skill Development: Practicing embroidery sharpens your crafting skills and opens doors to more complex textile projects.
Materials You’ll Need
To begin your DIY embroidered patch-making journey, gather the following materials:
- Base Fabric: Twill, felt, or canvas are commonly used because they’re durable and easy to work with.
- Embroidery Thread: Choose colors that match your design.
- Embroidery Hoop (for hand embroidery): Helps keep your fabric taut.
- Stabilizer: Use a backing material to add strength and prevent distortion.
- Embroidery Machine or Needles (for hand embroidery): Depending on your technique.
- Scissors: For trimming threads and cutting fabric.
- Heat Seal Backing (optional): Allows your patch to be ironed onto garments.
- Adhesive Spray or Fabric Glue (optional): Helps hold your layers together temporarily during the process.

Step-by-Step: How to Make Embroidered Patches
Step 1: Design Your Patch
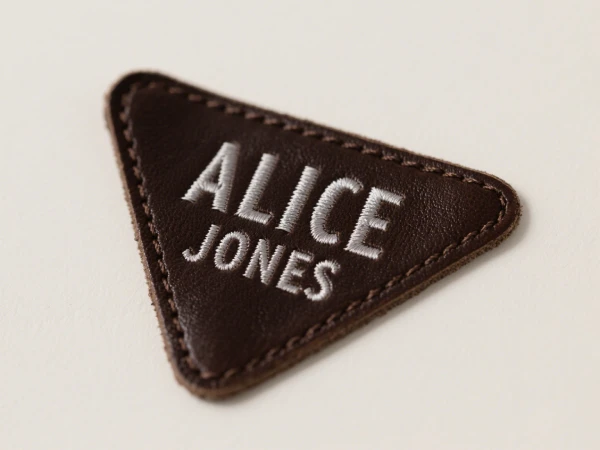
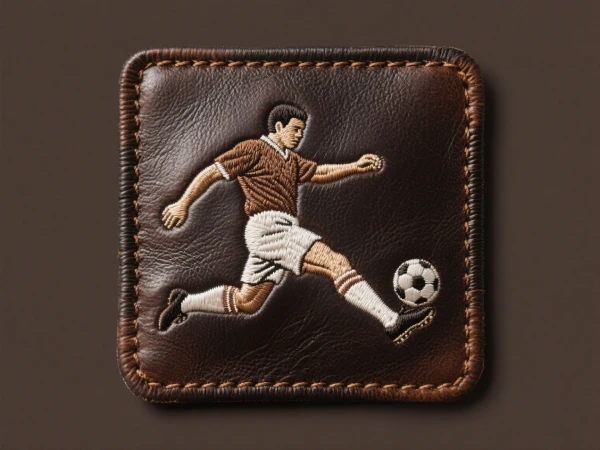
Start by drawing or digitally creating the artwork for your patch. This could be your initials, a simple icon, or a complex custom graphic. Embroidery software is ideal for machine work, but you can also trace a design onto your fabric for hand embroidery.
Make sure to:
- Keep the design size within 2–5 inches for practicality.
- Use bold, simple lines if you’re a beginner.
- Choose colors that contrast well with your base fabric.
Step 2: Prepare Your Fabric and Stabilizer
Cut your base fabric slightly larger than your design. Fuse a stabilizer to the back of the fabric using an iron if needed. This gives structure and prevents puckering during stitching.
If you’re using a hoop, secure the fabric tightly so it doesn’t shift.
Step 3: Stitch the Design
You can stitch your design by hand or with a machine:
- Hand Embroidery: Use basic stitches like satin stitch, backstitch, or chain stitch. Work slowly and evenly for the best results.
- Machine Embroidery: Load your design into your embroidery machine, select your thread colors, and follow the machine’s steps.
Take care to neatly trim thread tails and avoid tangling.
Step 4: Finish the Patch Edges
To give your patch a professional look, finish the edges in one of these ways:
- Satin Stitch Edge (Machine): Many embroidery machines automatically add a clean, thick satin border.
- Hand Whip Stitch: Use a whip stitch to bind the edges if working manually.
- Hot Knife or Fabric Sealant: For synthetic fabrics, you can carefully melt the edges to prevent fraying.
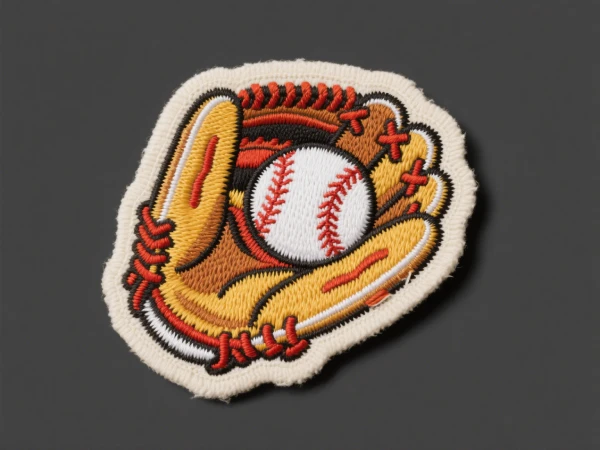
Alternatively, you can sew your patch onto felt and cut around it with pinking shears for a neat finish.
Step 5: Add a Backing
If you want to make your patch easy to apply later:
- Aufbügelbare Rückseite: Apply heat-activated adhesive to the back so the patch can be pressed onto garments.
- Hook-and-Loop (Velcro): Great for removable patches like tactical or uniform insignia.
- Aufnähen: Leave it as-is and stitch directly to clothing when ready.

Tips for Making High-Quality Custom Embroidery Patches
- Start Simple: Begin with small, uncomplicated designs to build your skill and confidence.
- Use High-Quality Thread and Fabric: This ensures your patches last longer and look better.
- Test on Scrap Fabric First: Always practice your design on a spare piece of fabric.
- Clean Up Your Threads: Trimming loose ends makes a big difference in final appearance.
Common Questions About DIY Embroidered Patches
Q: Can I wash garments with homemade patches?
Yes, but be sure to use colorfast thread and pre-shrink your fabric. Use gentle washing cycles to avoid damage.
Q: Is it better to sew or iron on patches?
Sewing is more permanent, especially for frequently washed garments. Iron-on backings are more convenient but may loosen over time.
Q: How long does it take to make a patch?
Depending on complexity, a hand-stitched patch might take 1–3 hours, while a machine-made one could take 15–30 minutes.
Abschließende Gedanken
Jetzt, da Sie wissen how to make embroidered patches, you can start creating one-of-a-kind designs for yourself, your team, or even as gifts. Whether you’re aiming for humorous, meaningful, or purely decorative patches, this DIY skill is both enjoyable and practical.
Start with simple projects and let your creativity evolve. With each patch you make, you’ll gain more control over the design and technique. So gather your materials, fire up your embroidery hoop or machine, and begin crafting your next masterpiece!