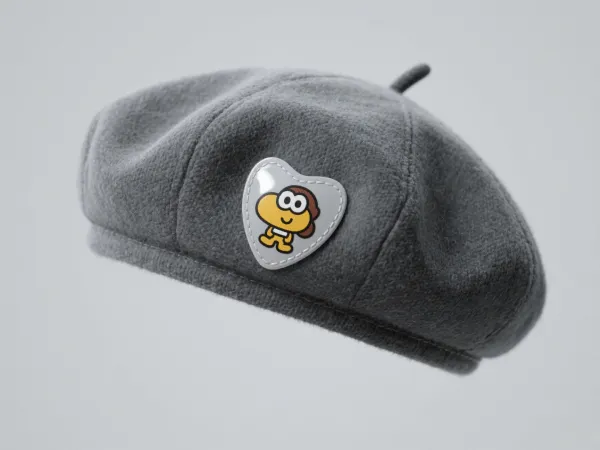
Aufbügelflicken sind eine lustige, schnelle und kreative Möglichkeit, Ihre Garderobe – insbesondere Hüte – zu personalisieren. Ob Sie Ihrer Lieblingskappe ein persönliches Logo, ein Sportteam-Emblem oder ein einzigartiges Design verleihen möchten – das Wissen, wie man einen Aufnäher richtig auf eine Mütze bügelt, spart Zeit und Geld und sorgt gleichzeitig für ein professionelles Ergebnis. In diesem Leitfaden erklären wir Ihnen alles, was Sie über das Anbringen wissen müssen. Flicken auf Hüte bügeln, von der Vorbereitung bis zur Fehlerbehebung.
Warum aufbügelbare Hutflicken?
Bevor wir uns in den Schritt-für-Schritt-Prozess vertiefen, sollten wir verstehen, warum Aufbügler sind zu einer beliebten Methode zur individuellen Gestaltung von Kopfbedeckungen geworden.
- Kein Nähen erforderlich: Ideal für Anfänger oder Personen ohne Nähwerkzeug.
- Schnelle Anwendung: Der gesamte Vorgang dauert weniger als 10 Minuten.
- Starke Haftung: Bei richtiger Anwendung bleiben die Pflaster auch bei regelmäßiger Anwendung fest haften.
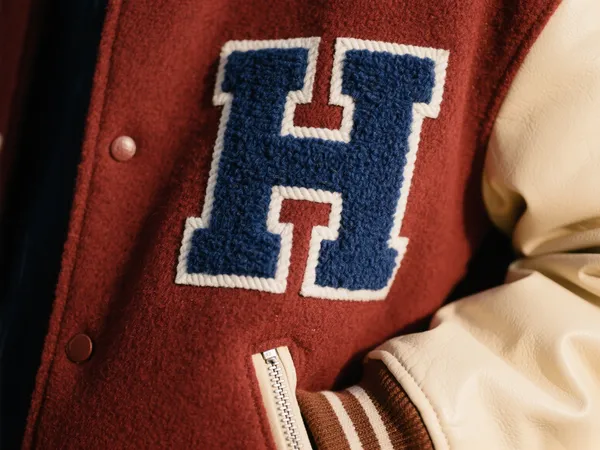
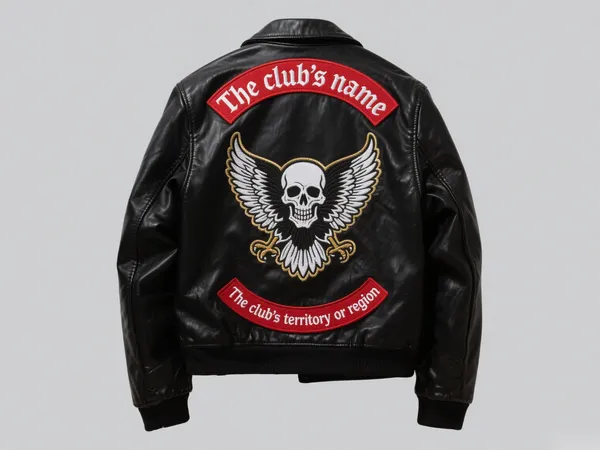
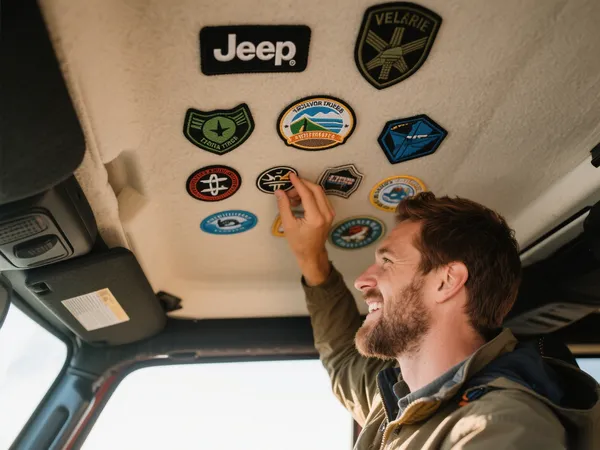
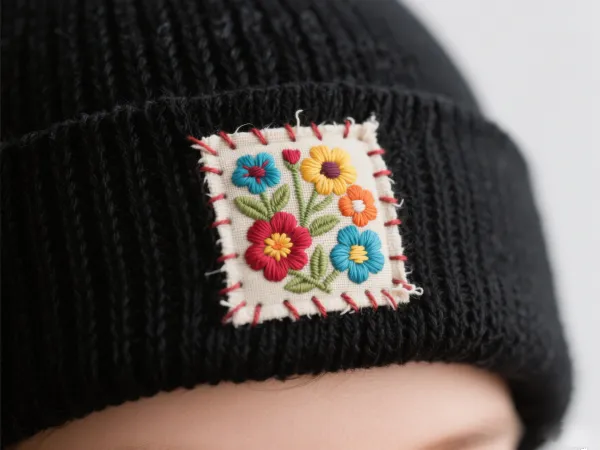
- Endlose Anpassungsmöglichkeiten: Fügen Sie ganz einfach Logos, Namen, Slogans oder Grafiken hinzu.
Was du brauchen wirst
Um Ihre benutzerdefinierter Hutaufnäherbenötigen Sie:
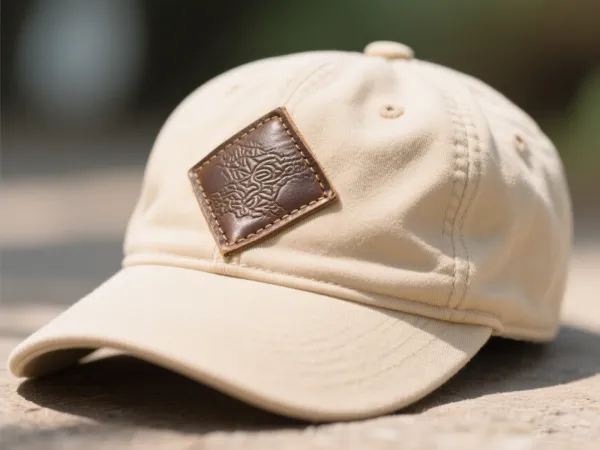
- Die Mütze (Baseballkappen, Snapbacks oder Trucker-Mützen eignen sich gut)
- Aufbügler (individuell oder vorgefertigt)
- Haushaltsbügeleisen (ohne Dampf)
- Dünnes Baumwolltuch oder Pergamentpapier
- Flache Bügelfläche
- Optional: Heißpresse für professionelle Ergebnisse
Schritt für Schritt: So bügeln Sie einen Aufnäher auf eine Mütze
1. Wählen Sie den richtigen Ort
Drücken Sie den Hut so flach wie möglich und entscheiden Sie, wo Ihr Aufnäher platziert werden soll. Gängige Stellen sind die vordere Mitte, die Seitenwand oder sogar die Krempe.
2. Bügeleisen vorheizen
Stellen Sie Ihr Bügeleisen auf die Stufe „Baumwolle“ oder hohe Hitze ein. Stellen Sie sicher, dass der Dampf ausgeschaltet ist, da Feuchtigkeit die Haftung beeinträchtigt.
3. Bereiten Sie den Hut vor
Legen Sie ein Handtuch oder eine hitzebeständige Unterlage in die Mütze, um eine feste, flache Unterlage zum Bügeln zu schaffen. Legen Sie die Mütze auf ein Bügelbrett oder eine harte Oberfläche.
4. Positionieren Sie den Patch
Legen Sie den Flicken mit der Klebeseite nach unten auf die Mütze. Decken Sie ihn mit einem dünnen Tuch oder Pergamentpapier ab, um sowohl den Flicken als auch die Mütze vor direkter Hitze zu schützen.
5. Wärme anwenden
Drücken Sie das Bügeleisen 15–20 Sekunden lang fest auf den Flicken. Bewegen Sie das Bügeleisen nicht. Bei großen Flicken müssen Sie den Vorgang möglicherweise abschnittsweise wiederholen.
6. Abkühlen lassen
Entfernen Sie Bügeleisen und Tuch und lassen Sie den Flicken vollständig abkühlen. So kann der Klebstoff aushärten.
7. Überprüfen Sie die Kanten
Testen Sie die Kanten, um sicherzustellen, dass sie fest sitzen. Sollten sich Ecken lösen, wiederholen Sie den Pressvorgang für diese Abschnitte.

Tipps für langlebige Flicken auf Hüten
- Sorgfältig waschen: Handwäsche oder Schonwaschgang in der Waschmaschine. Vermeiden Sie heißes Wasser und Trocknen im Wäschetrockner.
- Überdehnung vermeiden: Übermäßiges Biegen oder Ziehen an der Mütze kann den Flicken lösen.
- Erwägen Sie Nähte für zusätzliche Sicherheit: Bei häufig getragenen Hüten sorgt ein kurzer Stich um den Flicken nach dem Bügeln für zusätzliche Haltbarkeit.
Wann Sie benutzerdefinierte Hutaufnäher verwenden sollten
Aufbügler für Hüte sind perfekt für:
- Sports teams
- Corporate branding
- Persönliche Mode
- Spendenaktionen oder Veranstaltungen
- Schulclubs oder Campus-Organisationen
With benutzerdefinierte HutaufnäherMit Patches können Sie Ihre Identität, Zugehörigkeit oder Kreativität einfach und kostengünstig zum Ausdruck bringen. Die Bestellung von Patches in großen Mengen eröffnet auch Möglichkeiten zum Weiterverkauf, als Werbegeschenk oder als Werbeartikel.
Häufig gestellte Fragen
Kann man Flicken auf gewölbte Hutoberflächen bügeln?
Ja, aber es ist schwieriger. Verwenden Sie eine gewölbte Einlage (z. B. ein aufgerolltes Handtuch), um die Mütze beim Bügeln zu stabilisieren.
Fallen Bügelflicken von Hüten ab?
Bei korrekter Anbringung mit ausreichend Hitze und Druck sollten sie lange halten. Tägliches Tragen und Waschen kann jedoch dazu führen, dass sich die Flicken ablösen. Nähen um den Rand des Flickens kann dies verhindern.
Sind Bügelflicken wiederverwendbar?
Im Allgemeinen nicht. Sobald der Klebstoff verbraucht ist, beeinträchtigt das Entfernen und erneute Aufkleben des Pflasters in der Regel dessen Halt.
Abschließende Gedanken
Das Aufbügeln eines Patches auf eine Mütze ist eine der einfachsten und stilvollsten Möglichkeiten, Ihre Ausrüstung zu personalisieren. Egal, ob Sie ein einzigartiges Modestatement kreieren oder ein lokales Sportteam branden möchten, lernen Sie wie man einen Aufnäher auf eine Mütze bügelt eröffnet neue kreative Möglichkeiten. Mit nur wenigen Werkzeugen und etwas Zeit ist Ihr individueller Hut nur einen Patch von der Perfektion entfernt.