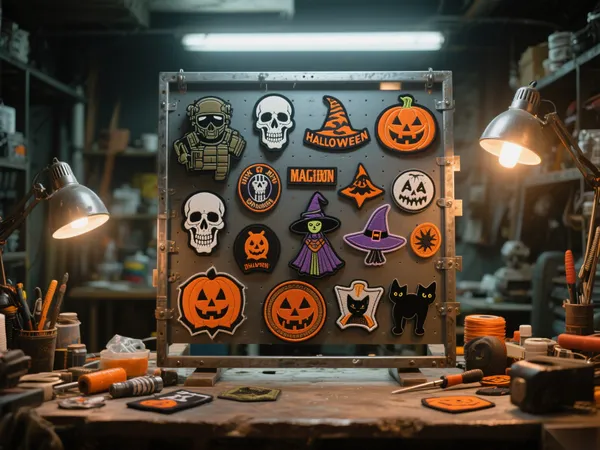
Whether you’re designing your own custom headwear or launching a merch line, getting the standard hat patch size right is key to achieving a professional, balanced look. A patch that’s too large will overpower the hat, while one that’s too small may get lost in the design. So how do you find the perfect fit?
In this blog, we’ll break down recommended patch dimensions for various hat styles, explore different patch shapes, and provide design tips to help you choose the beste Patchgröße für Hüte—whether you’re creating embroidered patches, woven patches, or printed labels.

What Is the Standard Hat Patch Size?
While there is no strict “one size fits all,” most custom hat makers and embroidery professionals agree on these standard patch size ranges:
- 🧢 Front Panel Patch:
Width: 3″ to 4″ (7.6 cm to 10.2 cm)
Height: 1.5″ to 2.5″ (3.8 cm to 6.4 cm) - 🪖 Tactical/Military Style Hat (Velcro Patch Area):
Width: 3.5″
Height: 2″ - 🔘 Circle Patch (for curved crown or flat bill caps):
Diameter: 2.5″ to 3″ - 🧵 Side Patch or Small Logo Patch:
Width: 1.5″ to 2″
Height: 1″ to 1.5″
These dimensions offer enough visibility for branding or personalization while keeping the proportions harmonious with the overall hat design.
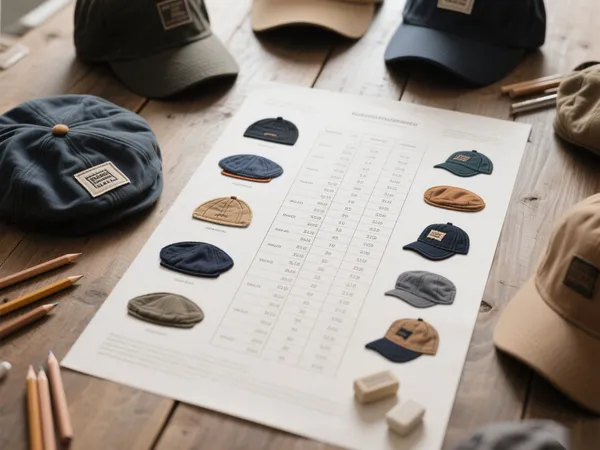
Popular Hat Styles and Ideal Patch Sizes
🎩 Snapbacks & Flat Brims
- Front patch: 3.5″ W × 2″ H
- Circle patch: 2.75″ diameter
- Side patch: 1.5″ W × 1.5″ H
🧢 Trucker Hats (Mesh Back)
- Front foam panel can accommodate a slightly larger patch (up to 4″ W × 2.5″ H)
- Velcro patch area (optional): 3″ × 2″
🧢 Dad Hats / Unstructured Caps
- Soft fabric contours require smaller patches
- Recommended: 2.5″ W × 1.5″ H or less
🪖 Tactical Hats (Velcro-ready)
- Most come with a 3″ × 2″ hook-and-loop area
- Ideal for name tags, flags, or morale patches
🧢 Baseballkappen
- Classic front center patch: 3.25″ × 2″
- Small side patch: 2″ × 1.25″

Choosing Patch Shape Based on Design
- Rectangle Patch (most common) – Perfect for text, logos, or flag-style designs
- Circle Patch – Great for icon-style logos, vintage branding
- Ovaler Aufnäher – Works well on curved crown hats
- Schildaufnäher – Often used in law enforcement or sports team branding
- Custom Die-Cut Shapes – Adds uniqueness but must be balanced for size and visual weight
🔍 Profi-Tipp: When using long text (like full names or phrases), opt for a horizontal rectangular shape to improve readability.
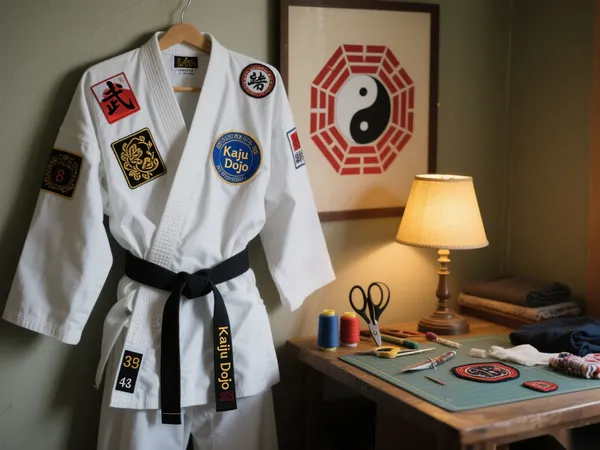
Materials Matter: Embroidery vs. Woven vs. PVC
- Gestickte Aufnäher – Traditional and textured; usually 75% or 100% coverage
- Gewebte Aufnäher – Ideal for smaller fonts or intricate logos
- Sublimierte Patches – Full-color prints for photo-quality visuals
- PVC-Patches – Durable and weather-resistant; ideal for outdoor or tactical caps
Each material works best with slightly different patch thicknesses and dimensions, so consult your patch provider before finalizing your design.

Tips for Designing and Positioning Your Hat Patch
🧷 Balance – Center the patch horizontally on the front panel unless doing a side placement for flair.
📐 Avoid Curved Seams – Position the patch where the fabric lies flat for clean adhesion or stitching.
🎯 Keep Text Legible – Use bold fonts and avoid going below 0.2″ in letter height for embroidered patches.
🧼 Leave Margin – Allow for 1/8″ border around the edge for stitching or heat seal application.
Conclusion: Size Your Patch for Impact and Fit
Der standard hat patch size plays a crucial role in how your hat looks, feels, and represents your brand or personal style. Whether you’re customizing a tactical cap, designing team merch, or launching a lifestyle brand, keeping your patch dimensions within recommended ranges will result in a clean, professional, and comfortable fit.
Ready to create the perfect hat patch? Start with the right size—and you’ll stand out for all the right reasons.