أحدثت رقع التطريز بالكي ثورةً في طريقة تخصيص الناس لملابسهم وإكسسواراتهم. سواءً كنت تُزيّن سترة جينز، أو تُصلح ثقبًا في بنطالك الجينز، أو تُروّج لقضيةٍ ما، رقعة تطريز قابلة للكي نقدم حلاً بسيطًا وأنيقًا. سيساعدك هذا الدليل الشامل على فهم كيفية عمل هذه الرقع، وكيفية استخدامها بفعالية، والأفكار الإبداعية التي يمكنك استكشافها رقعة حديد مخصصة.

لماذا تختار رقعة التطريز بالمكواة؟
ازدادت شعبية الرقع التي تُثبّت بالكي بفضل سهولة استخدامها وتأثيرها البصري. على عكس الرقع التقليدية التي تُثبّت بالخياطة، رقعة تطريز قابلة للكي تتميز بوجود طبقة لاصقة يتم تنشيطها بالحرارة مما يسمح للمستخدمين بتثبيتها دون الحاجة إلى إبرة وخيط.
تشمل المزايا ما يلي:
- تطبيق سهل:لا يتطلب الخياطة - فقط مكواة منزلية.
- متانة:قوي بما يكفي لتحمل الاستخدام والغسيل المنتظم.
- Design flexibility:متوفر في عدد لا يحصى من الألوان والأشكال وخيارات التخصيص.
- فعالة من حيث التكلفة:طريقة اقتصادية لتجديد الملابس أو إصلاحها.
أين يمكنك استخدام رقعة التطريز بالمكواة؟
رقع الكي مناسبة لمجموعة واسعة من أسطح الأقمشة. من الاستخدامات الشائعة:
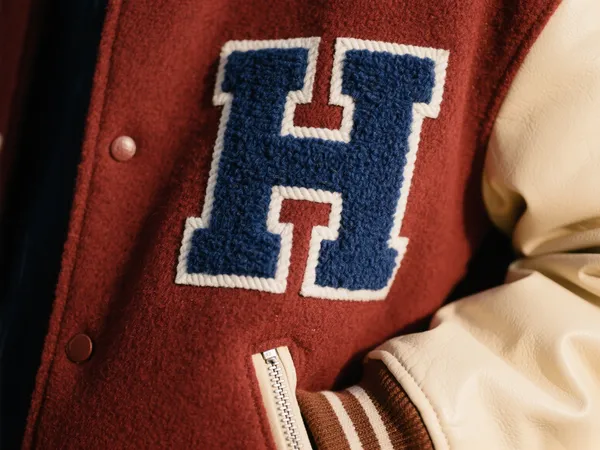
- سترات الدنيم:اختيار كلاسيكي للأعمال الترقيعية الإبداعية.
- حقائب الظهر وحقائب اليد:أضف لمسة شخصية إلى ملابسك اليومية.
- القمصان والبلوزات:قم بإنشاء بيان أزياء بنفسك.
- الزي الرسمي:قم بوضع شعارات المدرسة أو شعارات الفريق أو بطاقات الأسماء.
- أعمال الإصلاح:قم بتغطية الثقوب أو البقع بشكل أنيق دون خياطة مرئية.
تذكّر أن الرقع تلتصق بشكل أفضل بالقطن والجينز والبوليستر. لكنها أقل فعالية على الأقمشة المطاطة أو المقاومة للماء، وقد لا تلتصق جيدًا بالجلد أو النايلون دون تقوية.
كيفية تثبيت رقعة التطريز بالكي: دليل خطوة بخطوة
أحد أكثر الاستعلامات التي يتم البحث عنها حول هذا الموضوع هو كيفية وضع المكواة على رقعة التطريزولسبب وجيه - حيث تضمن التقنية المناسبة بقاء الرقعة مثبتة بشكل آمن لفترة طويلة.
إليك كيفية القيام بذلك بشكل صحيح:
ما ستحتاجه:
- رقعة الخاص بك
- مكواة (بدون بخار)
- سطح كي نظيف ومسطح
- قطعة قماش رقيقة أو منشفة
تعليمات:
- سخني المكواة مسبقًا إلى درجة الحرارة الموصى بها للقطن (حوالي ١٥٠ درجة مئوية). أوقف تشغيل البخار.
- وضع التصحيح المكان الذي تريده على الملابس. تأكد من أنه يظهر تمامًا كما تريد.
- تغطية الرقعة بقطعة قماش رقيقة أو منشفة لحمايته من الحرارة المباشرة.
- اضغط بقوة بالمكواة لمدة ٢٠-٣٠ ثانية. لا تُحرّك المكواة، بل حافظ على ثباتها لضمان الالتصاق الكامل.
- اقلب الثوب وكرري العملية على الجانب الخلفي لمدة 20 ثانية إضافية.
- دعها تبرد لمدة بضع دقائق للسماح للمادة اللاصقة بالتماسك.
نصيحة احترافية:إذا كنت تريد أقصى قدر من الثبات، ففكر في تأمين الرقعة ببضع غرز حول الحواف بعد الكي - خاصة في المناطق ذات الحركة العالية مثل المرفقين أو الركبتين.

رقعة مخصصة للكي: خصص أسلوبك
واحدة من أفضل الميزات رقعة تطريز قابلة للكي هي إمكانية تخصيصها. سواء كنت تدير مشروعًا صغيرًا، أو تدعم ناديًا، أو تُعبّر فقط عن ذوقك الفريد، رقعة حديد مخصصة تسمح لك بتجسيد رؤيتك.
تتضمن خيارات التخصيص الشائعة ما يلي:
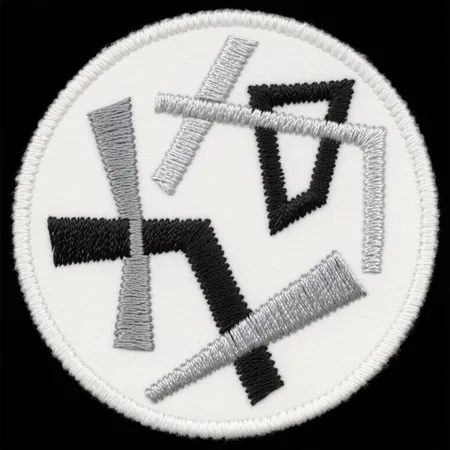
- شعارات الشركة
- علامات الاسم والرقم
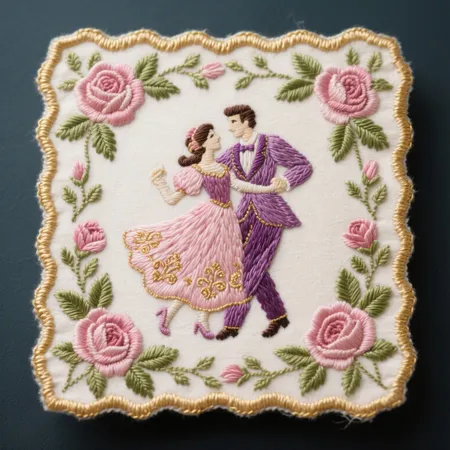
- الأعمال الفنية أو الشعارات
- التصاميم الموسمية (على سبيل المثال، الهالوين، عيد الميلاد)
- تذكارات الأحداث (الحفلات الموسيقية، والأحداث الرياضية، والتجمعات)
توفر معظم شركات توفير الرقع كميات منخفضة من الطلب وتطريزًا كامل الألوان مع خياطة مفصلة، مما يمنحك التحكم الكامل في المنتج النهائي.
العناية بالرقعة اللاصقة
لضمان بقاء الرقع الخاصة بك نابضة بالحياة ومثبتة بشكل آمن:
- اغتسل بالخارج في دورة لطيفة.
- تجنب الحرارة العالية التجفيف - تجفيف بالهواء أو استخدام إعدادات منخفضة.
- الحديد من الداخل إلى الخارج إذا لزم الأمر، ولا تقم بالكي مباشرة على الرقعة.
- تعزيز بالخياطة إذا بدأت الحواف بالرفع.
إن اتباع إرشادات العناية البسيطة هذه سوف يطيل عمر ملابسك وقطعتك.
أفكار مشاريع إبداعية
إذا كنت تبحث عن طرق ممتعة لاستخدام رقعة تطريز بالكيوهنا بعض الأفكار الإبداعية:
- سترات جينز اصنعها بنفسك:قم بتزيين اللوحة الخلفية بمجموعة من الرقع المخصصة.
- ملابس الاطفال:استخدم الرقع لتغطية التآكل أو قم بإضافة عناصر مرحة ببساطة.
- إكسسوارات الحيوانات الأليفة:تخصيص سترات أو أحزمة الكلاب.
- ديكور المنزل:أضف رقعًا إلى الوسائد أو الستائر أو اللحاف للحصول على لمسة فريدة من نوعها.
- حقائب السفر:اعرض البلدان أو المدن التي قمت بزيارتها باستخدام أعلامها أو علاماتها المميزة.
الأفكار النهائية
رقعة تطريز قابلة للكي طريقة رائعة لإضفاء لمسة شخصية على أسلوبك، أو الترويج لعلامتك التجارية، أو إضفاء لمسة جديدة على ملابسك القديمة. بفضل سهولة استخدامها، وإمكانية تخصيصها التي لا حصر لها، وإمكانياتها الإبداعية الواسعة، تُعد هذه الأدوات أداة لا غنى عنها للحرفيين، وهواة الموضة، والمؤسسات على حد سواء. سواء كنت تستخدم رقعة حديد مخصصة أو التعلم كيفية وضع المكواة على رقعة التطريزهناك شيء واحد مؤكد: الرقعة هي أكثر من مجرد زينة، إنها عبارة عن بيان.
هل ترغب في إعداد هذا المحتوى بصيغة HTML للمدونة أو تحويله إلى دليل PDF؟