Adding a patch to your clothing can be both a creative expression and a practical repair. Whether you’re fixing a tear in your jeans or adding a decorative element to your jacket, knowing how to stitch a patch properly ensures it stays in place and looks great. In this blog, we’ll explore essential patch stitching techniques, tools you’ll need, and step-by-step instructions on how to stitch a patch like a pro.
Why Stitching a Patch Is Better Than Ironing
While iron-on patches are easy to apply, they often peel off with time or after multiple washes. Stitching, on the other hand, offers:
- Long-lasting durability
- Greater flexibility on different fabric types
- More creative freedom with stitch designs
Sewing a patch also gives a personal, hand-crafted look that adds character to any garment.
Types of Patches That Can Be Stitched
Before diving into how to stitch, it’s good to know the types of patches suitable for stitching:
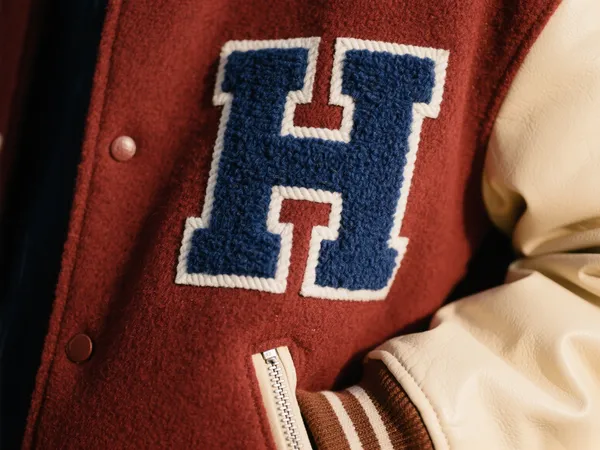
- Embroidered Patches: Typically have a thick border for easy stitching.
- Woven Patches: Great for clean lines and intricate detail.
- Fabric Patches: Often used for repairs, made from leftover cloth or denim.
- Custom Patches: Tailored to your design, often used for branding or fashion.
Tools You Need for Stitching a Patch
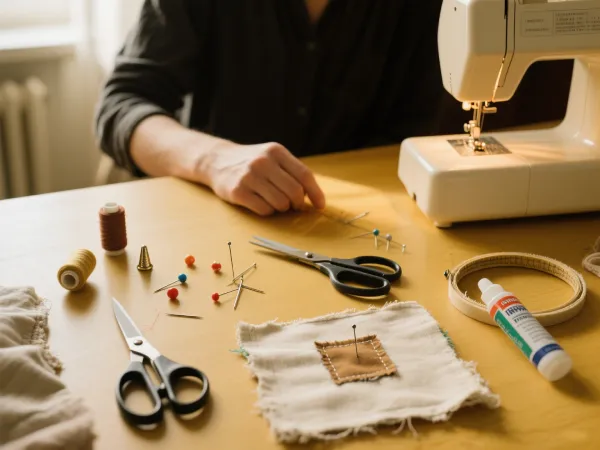
Here are the basic tools needed to get started:
- Needle (hand sewing or sewing machine)
- Thread (match it with patch or garment)
- Thimble (for thick fabrics)
- Scissors
- Pins or temporary fabric glue
- Patch to be stitched
Optional: A sewing hoop or stabilizer for thin or stretchy fabrics.
Step-by-Step: How to Stitch a Patch by Hand
Step 1: Place the Patch
Decide where you want your patch and pin it in place. For better results, iron the patch first to remove any creases and keep it flat.
Step 2: Thread the Needle
Cut about 18–24 inches of thread. Knot one end and thread the needle. Double threading is a great way to add strength.
Step 3: Begin Stitching
Start from the inside of the garment so the knot is hidden. Use a straight stitch, running stitch, or blanket stitch, depending on the patch type and your aesthetic preference.
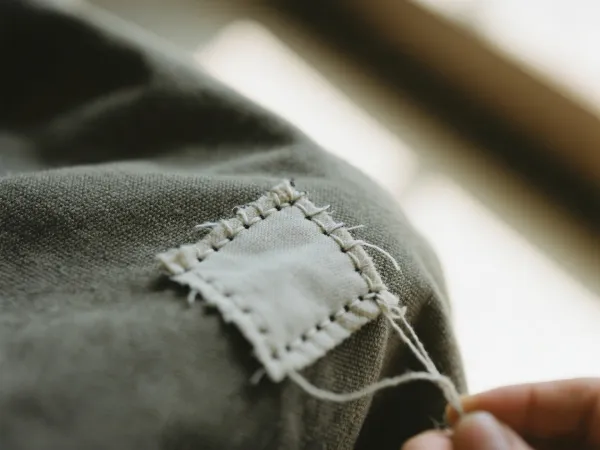
Step 4: Go Around the Edge
Work your way around the patch, keeping your stitches evenly spaced. If the patch has a border, follow along it for a cleaner look.
Step 5: Finish Securely
Once complete, tie off your thread on the inside with a knot and trim any excess.
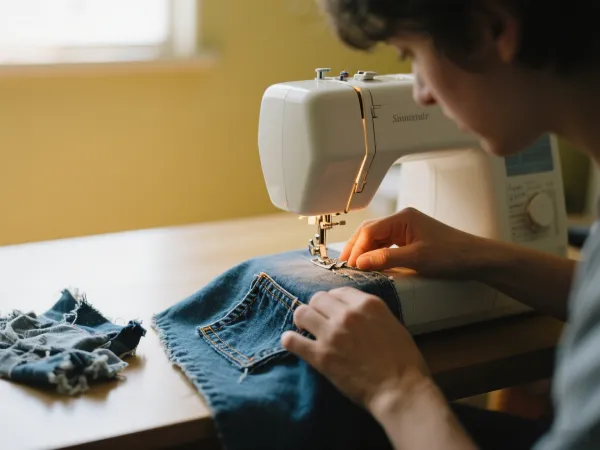
Machine Stitching: Faster and Stronger
If you have a sewing machine, stitching a patch becomes much quicker, especially for thicker materials like denim or canvas.
- Use a zigzag stitch for reinforced edges.
- Set stitch length to short for cleaner results.
- Match the thread color to your patch for subtlety or contrast for a bold statement.
Make sure to test your stitch settings on scrap fabric first to avoid mistakes.
Best Stitch Types for Different Patches
Here are some common patch stitching techniques:
- Running Stitch: Simple and fast; great for temporary or decorative applications.
- Backstitch: Stronger and better for high-stress areas.
- Blanket Stitch: Ideal for fabric patches on visible areas like elbows or jackets.
- Zigzag Stitch (machine): Perfect for patches on stretch fabrics or thick materials.
Each stitch type offers different aesthetic and functional benefits, so choose according to the fabric and patch location.
Creative Uses for Stitching Patches
Repairing Clothing
Cover tears in jeans, elbows, or knees with fabric patches to extend garment life while adding a stylish twist.
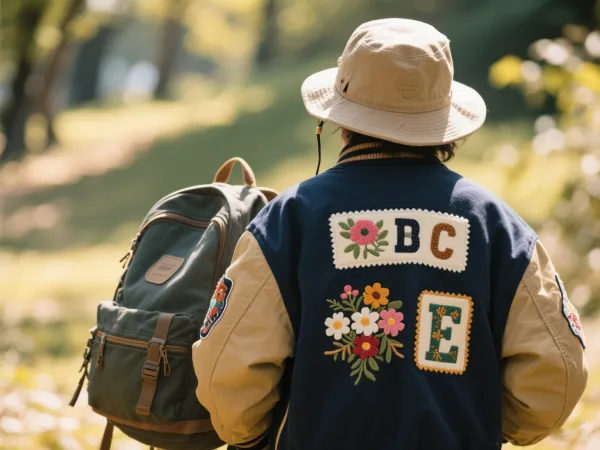
Fashion Decoration
Customize hats, bags, or jackets with funky, floral, or monogrammed patches for a personalized look.
Brand Representation
Uniforms or team wear often use sewn patches to display names, logos, or ranks, making them essential for professional appearance.
Common Mistakes to Avoid
- Wrong thread tension: Can cause puckering or loose stitches.
- Skipping pins: Causes the patch to move while stitching.
- Ignoring fabric stretch: Use stabilizer or stretch stitch for knits or spandex.
- Mismatched thread: Can clash visually or draw attention away from the patch.
Caring for Your Stitched Patch
Once sewn, your patch can last years if maintained properly:
- Wash in cold water to preserve stitches.
- Avoid high-heat drying, which can weaken threads.
- Check regularly for frayed stitches and repair as needed.
Final Thoughts
Learning how to stitch a patch is a valuable DIY skill for anyone who wants to repair clothing, add personality to garments, or apply custom branding. By understanding various patch stitching techniques, you’ll ensure your patch stays put and stands out in all the right ways.
Whether you’re using patches for fashion, function, or fun, the needle and thread approach guarantees longevity and a touch of personal craftsmanship. So, grab your patch and start stitching—your wardrobe (and wallet) will thank you.