Patch sewing is a timeless and practical skill that serves both functional and aesthetic purposes. Whether you’re looking to cover a tear, reinforce a worn-out area, or customize your jacket with a creative design, knowing how to sew on a patch can be incredibly useful. While iron-on patches offer convenience, sewing them ensures durability, especially for clothing that undergoes regular washing or heavy use.
In this guide, we’ll walk you through everything you need to know about sewing patches on clothes—from the tools you’ll need to step-by-step instructions and creative ideas for patch placement.
Why Choose Patch Sewing Over Iron-On?
While iron-on patches are quick and easy, they’re not always long-lasting—especially when applied to stretchable fabrics or items that are frequently laundered. Sewing provides a more secure attachment, ensuring that your patches stay firmly in place.
Here’s why sewing patches is the preferred method:
- Long-term durability
- Compatibility with all fabric types
- Better resistance to washing and drying
- Enhanced aesthetic control (you can add decorative stitching!)
Tools and Materials You’ll Need
Before getting started with DIY patch repair, gather the following tools:
- A patch (embroidered, woven, fabric, etc.)
- A sewing needle or sewing machine
- Matching or contrasting thread
- Scissors
- Pins or fabric glue (optional for positioning)
- Thimble (optional but helpful for thick fabrics)
If you’re new to sewing, start with a basic hand-sewing kit and gradually explore machine sewing once you’re comfortable.
How to Sew on a Patch by Hand: Step-by-Step
1. Choose the Right Patch
Depending on your goal, select a decorative or functional patch. Embroidered patches are great for jackets and backpacks, while denim or canvas patches work well for jeans and workwear.
2. Position the Patch
Lay the garment flat and position the patch where you want it. Use pins or a dab of fabric glue to hold it in place.
3. Thread the Needle
Cut a length of thread—about 18 inches—and thread your needle. Tie a knot at the end.
4. Start Sewing
Insert the needle from inside the garment (so the knot stays hidden). Use a running stitch or whip stitch to secure the patch. Keep stitches close together for a neat finish.
5. Tie Off and Finish
Once you’ve sewn all the way around, tie a knot on the inside and trim any excess thread.
This method works well for most patch types and is ideal for adding personality to jeans, hats, jackets, or bags.
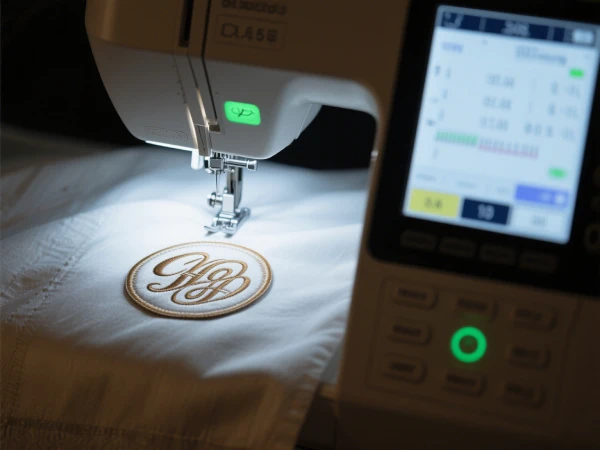
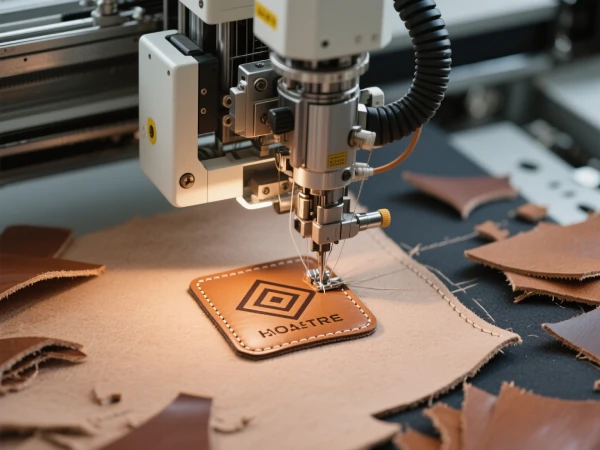
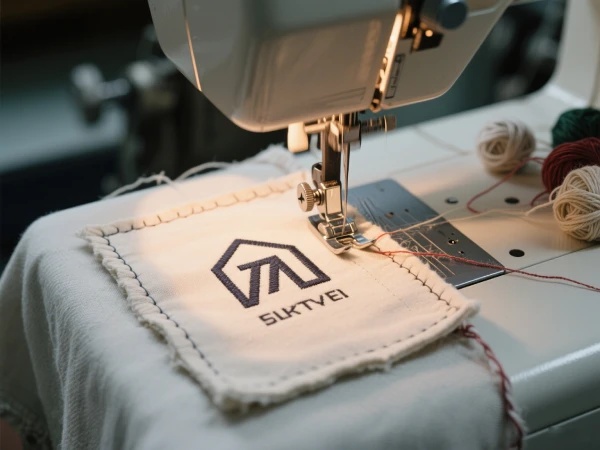
Sewing Patches on Clothes with a Machine
If you’re looking for extra strength or stitching speed, use a sewing machine. This is particularly effective for large patches or heavyweight garments like denim jackets or work uniforms.
Steps:
- Choose a matching thread color.
- Set the machine to a straight stitch or zigzag.
- Sew along the edge of the patch, keeping the stitching even.
- Backstitch at the end for reinforcement.
Make sure to use a sturdy needle and test on scrap fabric first to adjust tension and stitch length.
Patch Placement Ideas: Mix Functionality with Creativity
Sewing patches isn’t just about repair—it’s a form of creative self-expression. Here are some ideas:
- Elbows of sweaters or blazers – Both trendy and functional.
- Knees of jeans – Reinforce and refresh old pairs.
- Backpacks or tote bags – Show off your hobbies or style.
- Sleeves or chest of jackets – Create a custom look with logo or themed patches.
By experimenting with different placements, thread colors, and patch shapes, you can personalize your wardrobe and make old clothes feel new again.

Tips for Success
- Prewash your garment to avoid shrinkage after sewing.
- Use strong polyester thread for added durability.
- Choose patch sizes wisely—large patches may be harder to sew but offer more coverage.
- Practice on scrap fabric if you’re new to sewing.
When to Consider Professional Patch Sewing
Some scenarios—like sewing on leather jackets, uniforms, or motorcycle gear—may require professional equipment and skills. If the patch is large or needs to be aligned precisely (e.g., logos or name tags), a tailor or patch professional can help you achieve flawless results.
Conclusion
Whether you’re upcycling old clothes or giving your outfit a custom flair, patch sewing is a rewarding and practical craft. It allows you to transform and personalize garments while extending their life. With just a bit of practice and patience, you’ll soon master the art of sewing patches on clothes for both style and repair.
So next time your jeans rip or your jacket needs a refresh, don’t toss them—patch them!