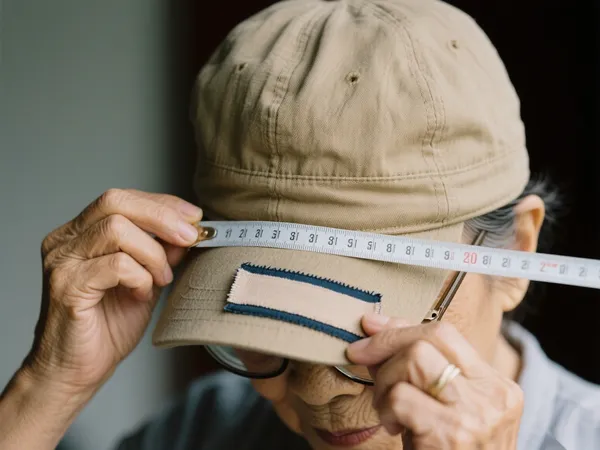
When it comes to customizing your clothing or accessories with patches, la taille compte. Whether you’re creating custom embroidered patches for uniforms, jackets, hats, or bags, knowing the right dimensions is crucial for both aesthetics and functionality. This guide will walk you through everything you need to know about using a patch size chart, understanding standard patch sizes, and making smart choices for patch placement.

Why Patch Size Matters
The size of your patch affects visibility, wearability, and how well it integrates with your garment. A patch that’s too large can overpower the clothing, while one that’s too small may lose impact. By referring to a patch size chart, you ensure your design fits the space it’s intended for and achieves the look you want.
Patch dimensions are also important for pricing, as larger patches require more material and stitching. Whether you’re designing a custom name tag, a back patch for a jacket, or a morale patch for tactical gear, getting the size right is step one.

Common Patch Dimensions and Their Uses
Here’s a quick overview of standard patch sizes commonly used across various industries and apparel types:
| Type de patch | Common Sizes (Inches) | Typical Use Case |
|---|---|---|
| Name Patch / ID Patch | 1” x 3” to 1.5” x 4” | Uniforms, tactical gear |
| Small Logo Patch | 2” x 2” to 2.5” x 2.5” | Hats, sleeves, backpacks |
| Medium Chest Patch | 3” x 4” to 4” x 5” | Work shirts, casual jackets |
| Large Back Patch | 10” x 10” to 12” x 12” or larger | Biker jackets, denim vests |
| Patch rond | 2”, 3”, 3.5”, 4”, 5” diameter | Versatile; used on caps, bags, jackets |
| Shoulder Patch (Military) | 2” x 3” or 2” x 2” | Army, Air Force, law enforcement |
| Morale Patch / Velcro Patch | 2” x 3”, 3” x 3”, or 3” x 5” | Tactical clothing, outdoor wear |
These are not fixed rules, but they reflect standard patch sizes found in most custom patch shops and military-grade apparel.

How to Read a Patch Size Chart
UN patch size chart is usually displayed in width x height format. For example:
- 3” x 4” means the patch is 3 inches wide and 4 inches tall.
- 3” round refers to a circular patch with a 3-inch diameter.
If you’re designing a custom patch, knowing your exact dimensions helps avoid production errors and ensures the final patch fits well on your item.
Patch Placement Guide: Matching Size to Location
Where you place the patch is just as important as its dimensions. Here’s a quick patch placement guide based on garment type:
Jackets & Coats
- Back: Large patches (10”–12”) are commonly centered on the back panel.
- Chest: Medium patches (3”–4”) work well on the left or right breast area.
- Shoulders: Smaller patches (2”–3”) are often used on sleeves or epaulettes.
Hats & Beanies
- Front Panel: Ideal size is 2”–2.5” wide.
- Side: Small circular or rectangle patches under 2”.
Bags & Backpacks
- Top Flap or Pocket: 2”–3” rectangle or square patches.
- Main Panel: Up to 5” x 5” for prominent branding or visuals.
Shirts & Uniforms
- Name/ID Patches: 1” x 3” or 1.5” x 4”, typically placed above the pocket.
- Company Logo: 3” x 3” on the chest or sleeve.

Tips for Choosing the Right Patch Size
- Measure the placement area first – Don’t guess. Use a ruler or fabric measuring tape.
- Consider garment movement – Avoid large, stiff patches in areas that flex often (like elbows or underarms).
- Balance aesthetics and visibility – A logo patch should be large enough to be seen, but not too overpowering.
- Match shape to design – Square, rectangle, circular, or custom die-cut patches can be adapted to your logo or artwork.
- Factor in border and stitching – The actual design area is slightly smaller due to border edges and stitching paths.

Can You Customize Beyond the Size Chart?
Absolutely! While the patch size chart is a helpful reference, many patch manufacturers offer fully custom patch dimensions to suit unique needs. Whether you want a long horizontal patch for a sleeve or a miniature circle for a cap, you can tailor the patch to your design goals.
Just keep in mind that non-standard sizes may require additional setup time or cost, especially for complex embroidery or silicone molds.
Conclusion
Using a patch size chart helps you make informed decisions when designing or ordering patches for clothing, accessories, or uniforms. By understanding patch dimensions, typical use cases, and placement strategies, you can create patches that not only look great but also serve a functional purpose. Whether you’re designing a set of name tags for a team, a collection of band patches, or a fashion-forward patch line, size is a key part of the creative process.


